Welcome to a more personalized dining experience! Customizing the text on your digital menu to perfectly match your brand's unique voice is quick and easy on eMenu AI. Follow these 4 simple steps to edit your QR menu translations:
Access your dashboard via the mobile app or web app to get started.
Step 1: Go to Your Settings
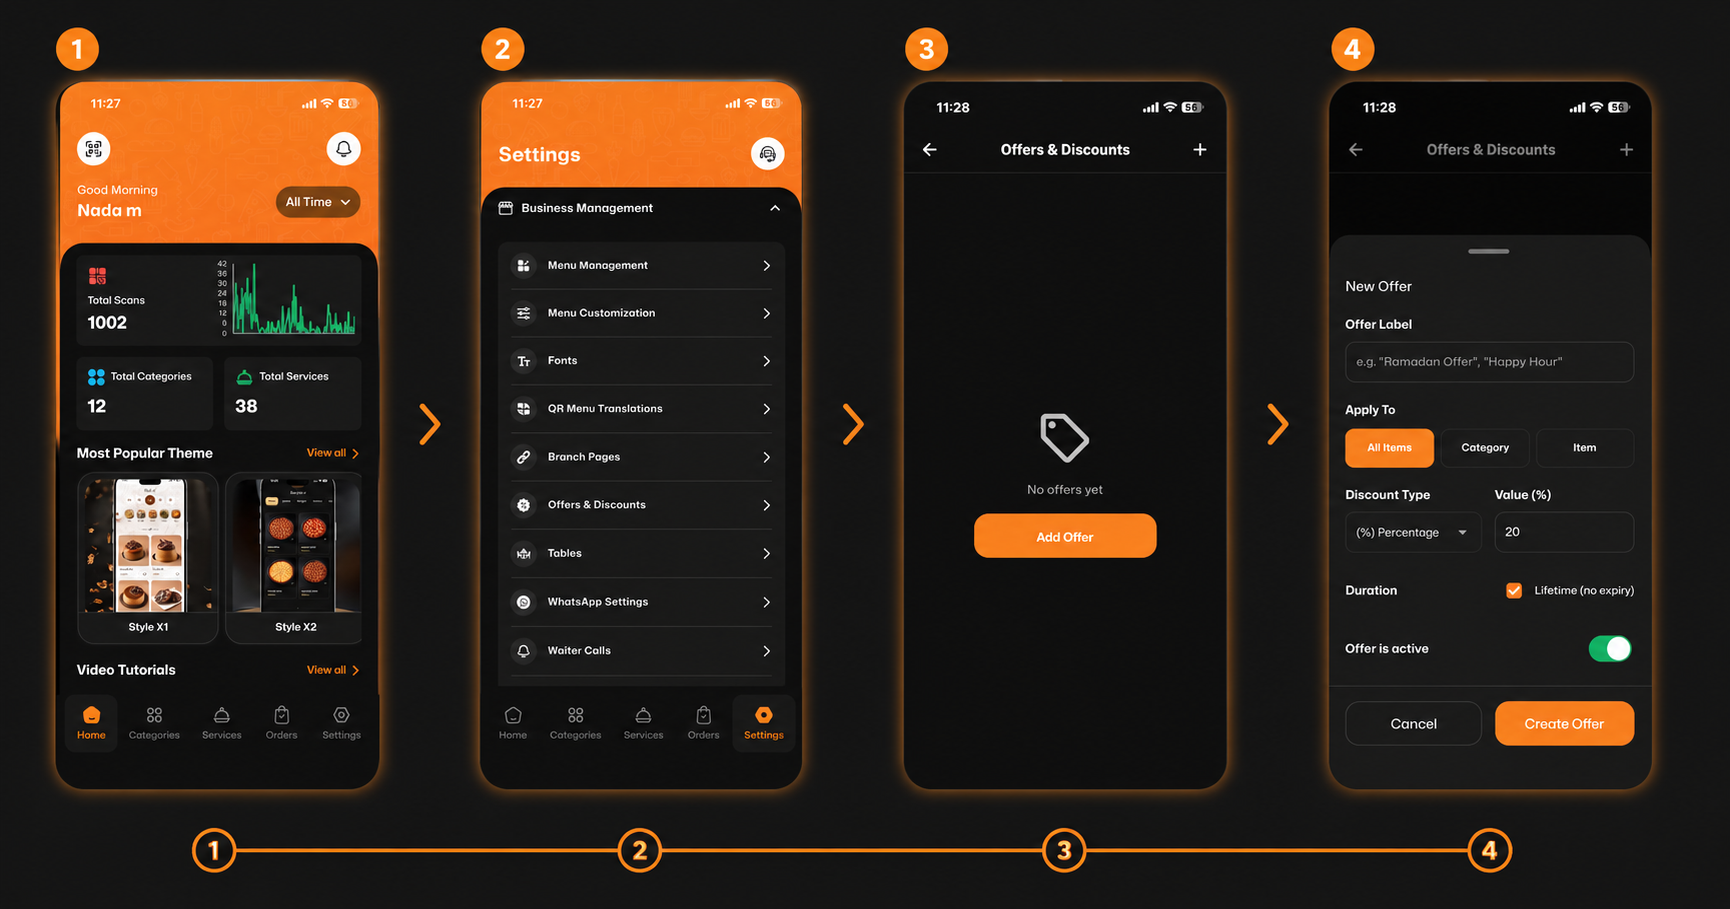
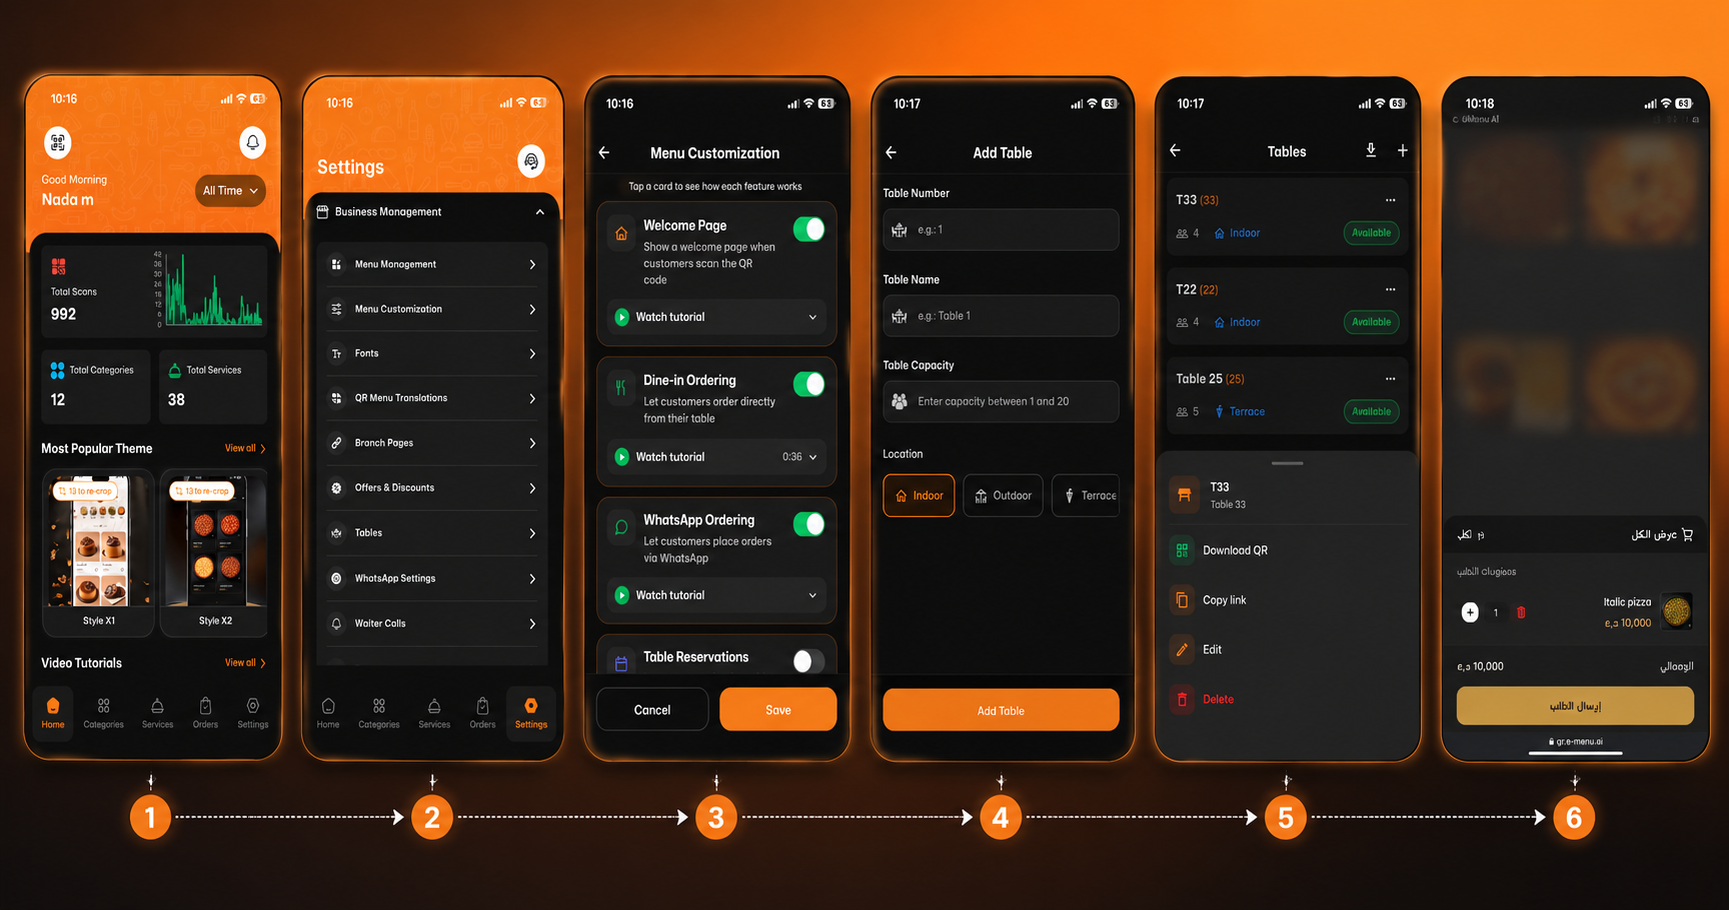
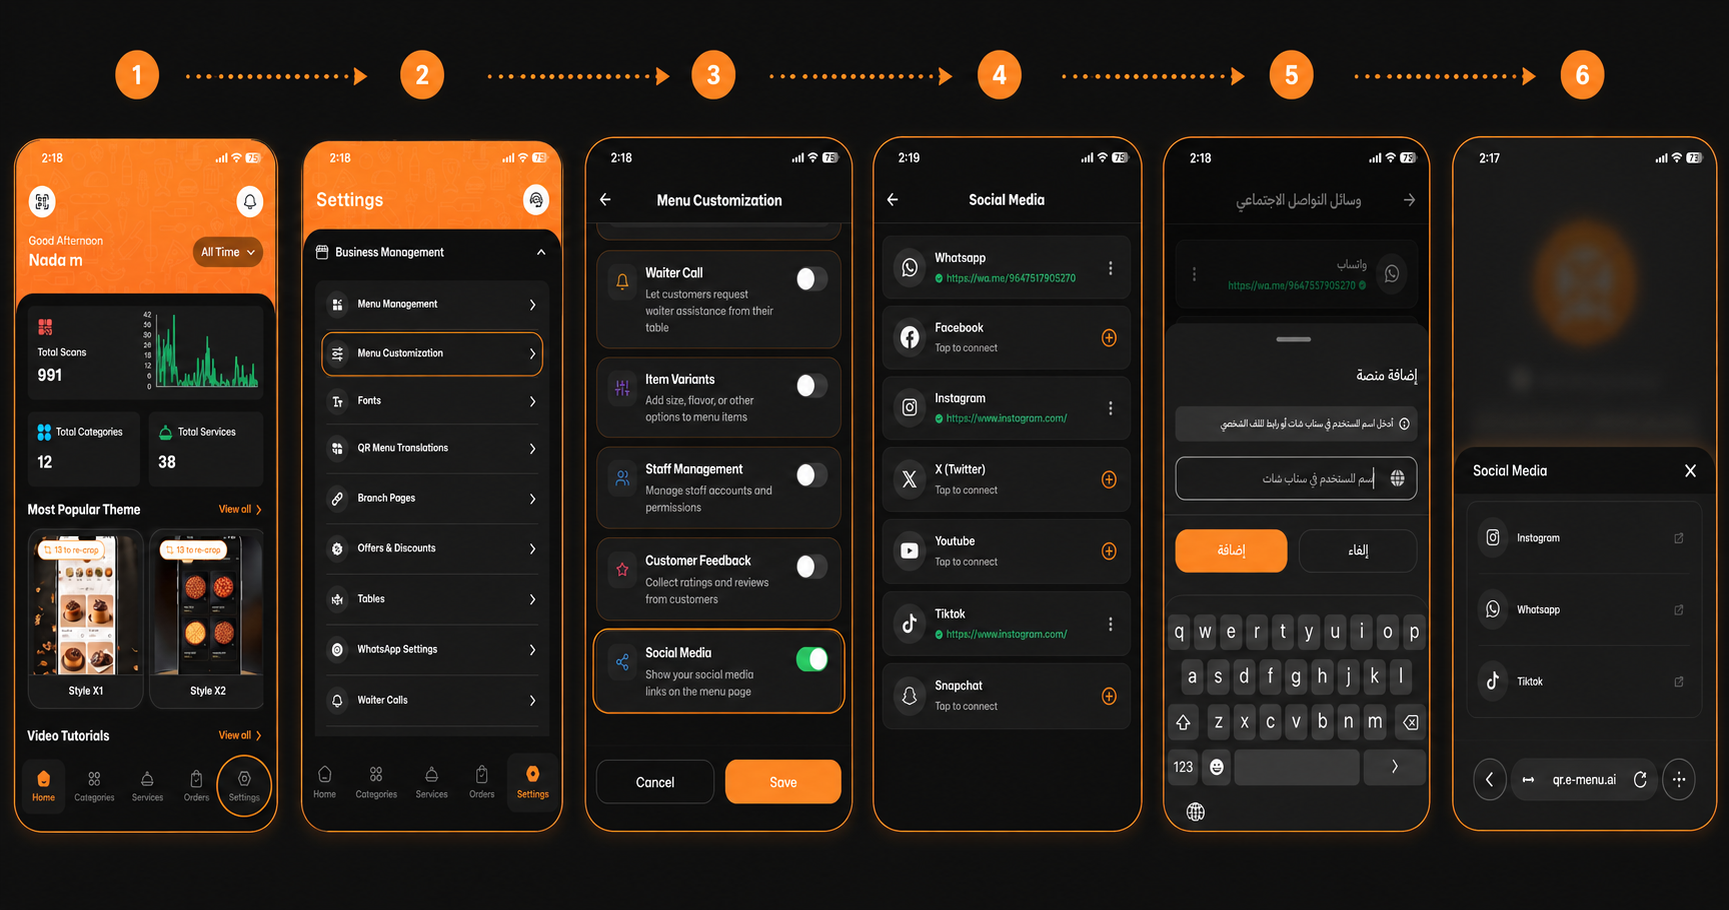
First, open the app to view your main dashboard.
Look at the navigation bar at the very bottom of the screen.
Tap on the Settings icon to open your configuration options.
Step 2: Access QR Menu Translations
Next, you will need to locate the translation menu.
Look under the Business Management section.
Find and tap on QR Menu Translations.
Step 3: Select the Text to Edit
Now it’s time to find the exact wording you want to change!
Ensure your desired language is selected at the top (e.g., English).
Scroll through the list of terms or use the Search bar to find a specific string (like "Add to cart").
Tap the Edit (pencil) icon next to the text you want to customize.
Step 4: Enter and Save Your Custom Translation
Make it your own! A pop-up window will appear:
You will see the Default Value for reference.
Type your brand's preferred wording into the Custom Translation box.
Tap the orange Save button to apply your changes instantly.
🎉 Congratulations!
Your custom translation is saved and live. You are now ready to offer a seamlessly tailored ordering experience to your customers with eMenu AI!