Why Implement a Menu AI System?
Step 1: Access the Platform and Create Your Account
The first practical step is to access the system. Whether you use an iPad, an Android tablet, or a desktop computer, the system works seamlessly. Simply open eMenu AI to start on the web or download the app. This single smart link automatically detects your device and directs you to the App Store, Google Play, or the correct web version without any hassle.
Step 2: Add Your Dishes with AI Image Generation
Once your account is ready, it is time to build your digital menu. Adding items is incredibly fast. eMenu AI features built-in AI food image generation. This tool creates high-quality, appetizing images for your items in seconds, saving you the cost of a professional photoshoot.
You never have to worry about translating your menu for tourists. The platform automatically translates your offerings into over 100 world languages. Your international customers can switch to their native language with a single click, ensuring they understand exactly what they are ordering without asking for translations.
Step 3: Choose a Professional Template
Your digital menu should reflect your restaurant brand. Instead of a basic list, you can choose from multiple ready templates. Explore the templates gallery to find a layout that matches your vision. Every template is fully customizable, and custom templates are made free on request. Apply your brand colors, upload your logo, and make the digital experience feel like an extension of your physical dining room.
A modern smart menu does much more than display food. You can enable different ordering methods based on how your restaurant operates:
- Table Ordering: Let seated guests browse and send orders directly to the kitchen from their table.
- WhatsApp Orders: Enable this feature to let customers order via WhatsApp with live order tracking.
- Pickup Orders: Accept takeaway orders straight through the menu. Customers place their orders without calling, saving your staff valuable time.
Step 5: Connect Your Kitchen and Print the QR Code
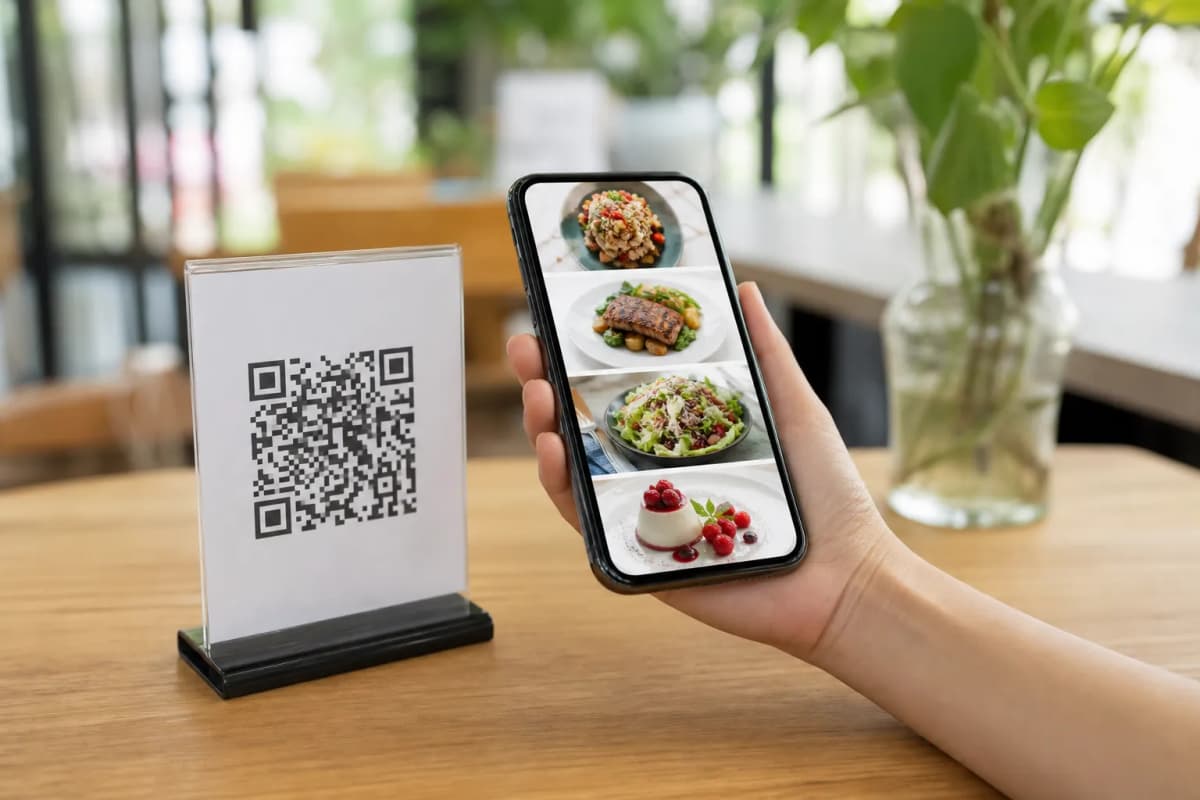
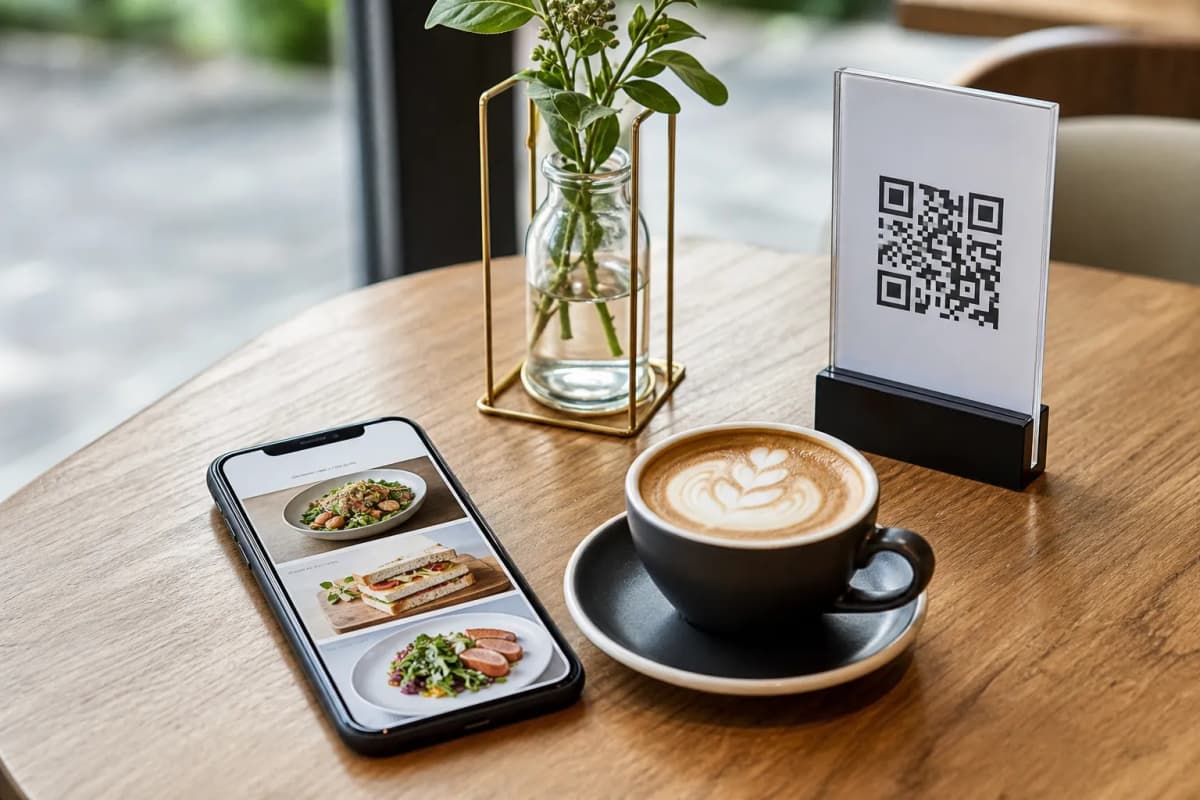
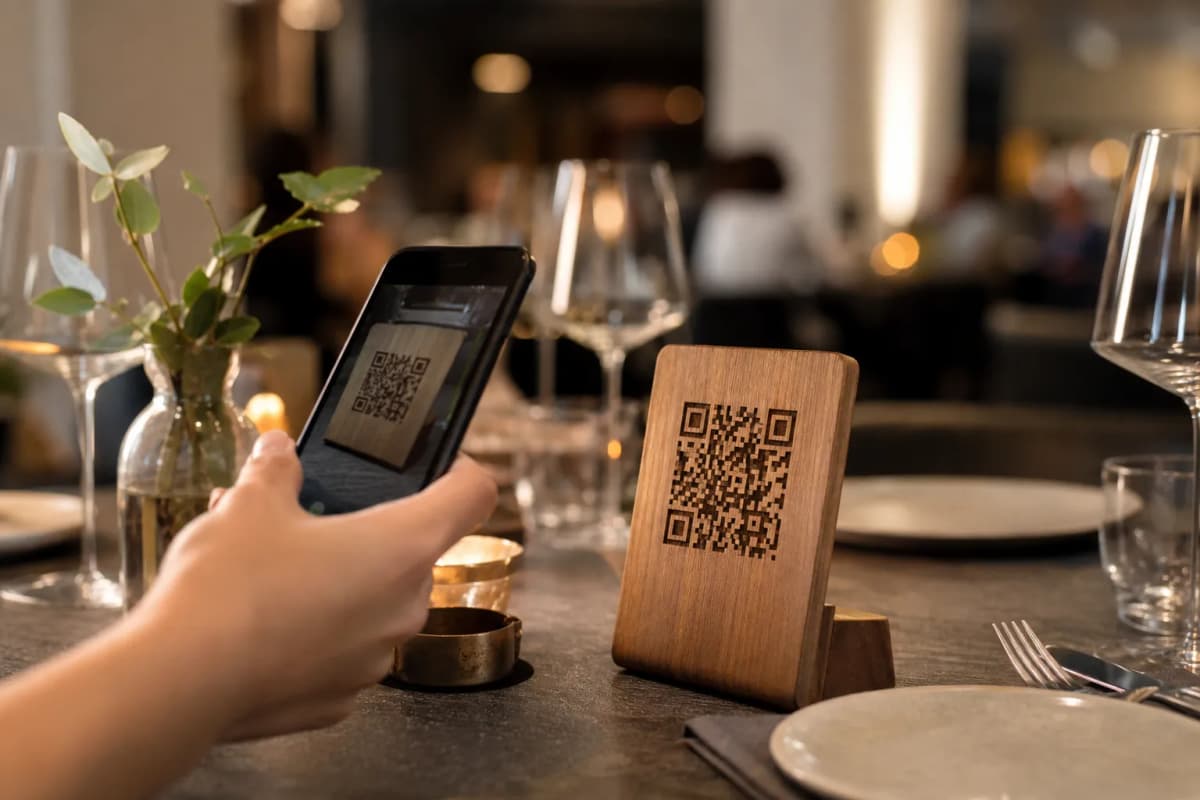
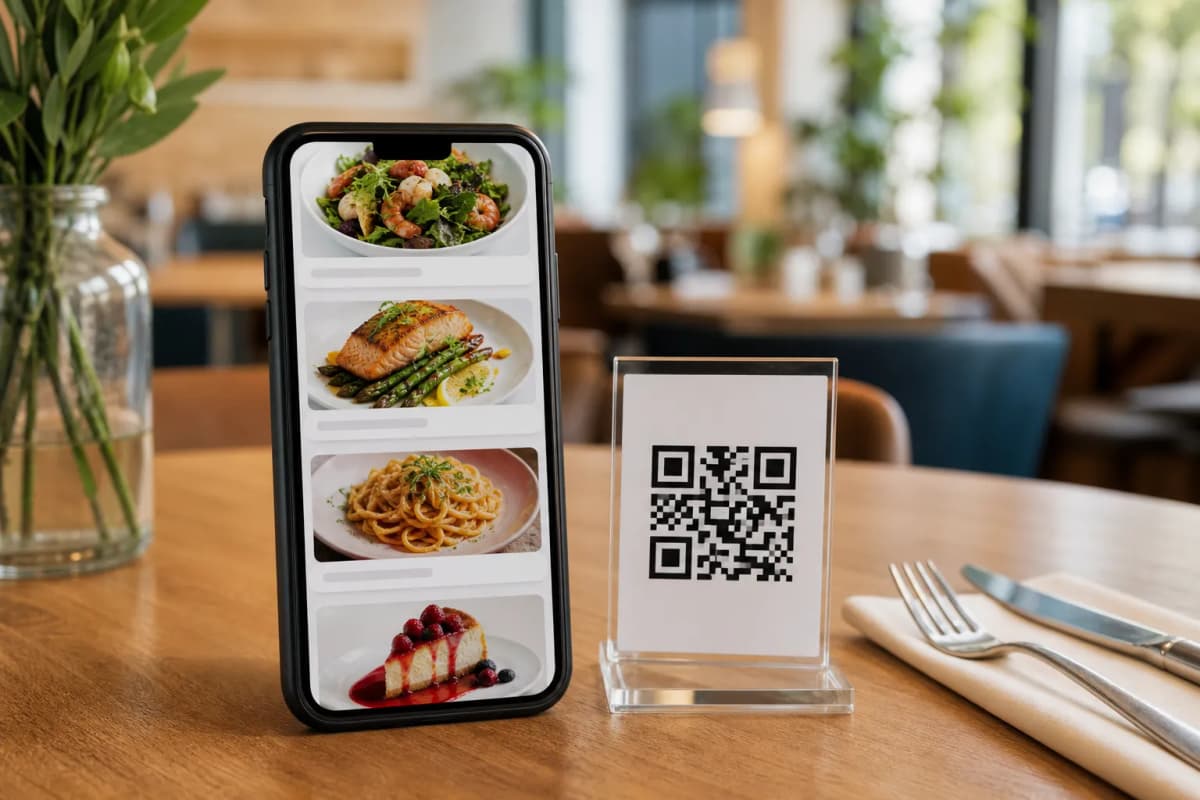
Finally, generate your professional QR code. Customize the code to match your brand colors and place your logo in the center. Print these customized codes and place them on your tables or at your entrance for easy access.
Step 6: Activate Customer Experience Tools
Once your menu is live, turn on features that keep your guests happy. The Call Waiter function lets guests request assistance or ask for the bill with one tap. Your staff receives instant notifications showing the table number and the exact request type. You can also enable the table reservation system so guests can book future visits, and turn on the in-menu rating system to collect comprehensive customer feedback before they leave.
Ready to Transform Your Restaurant?
Setting up your digital menu is straightforward and highly affordable. You can start with our flexible plans, including a free tier to test the waters. Review our pricing options to see what fits your needs. Do not wait to modernize your operations. Just create your menu today and give your customers the seamless dining experience they expect.