A Practical Guide to QR Integration Restaurant Setup
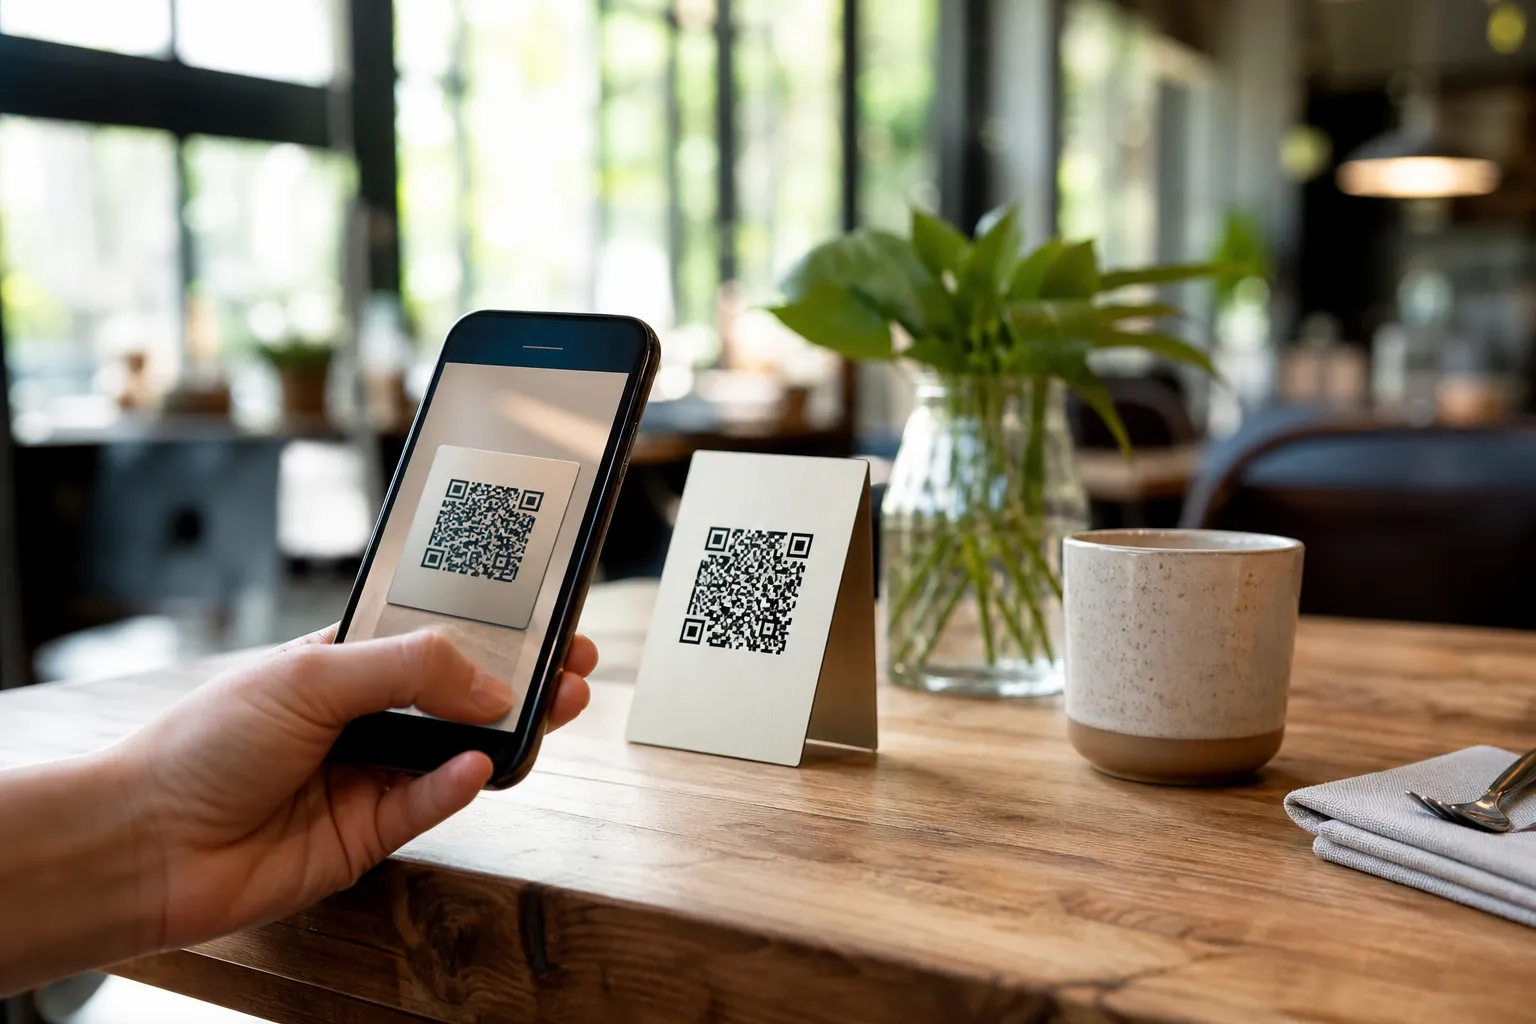
When owners search for a reliable qr integration restaurant solution, they usually want more than just a digital PDF on a screen. A true integration means your tables, menus, payments, and kitchen operations are all connected in one seamless loop. With eMenu AI, you can build a system where customers scan a code without installing any apps, browse a dynamic menu, and send orders straight to your POS system and kitchen printers.
Setting up this workflow does not require technical expertise or expensive hardware upgrades. Here is how you can implement a complete, automated ordering system in your cafe or restaurant today.
Step 1: Launch Your Digital Menu Base
Before connecting your printers and POS, you need a structured digital menu. Start by opening the eMenu AI platform. Because this is a smart link, you can manage everything directly from your computer browser via the web dashboard, or use your iPhone, iPad, or Android device.
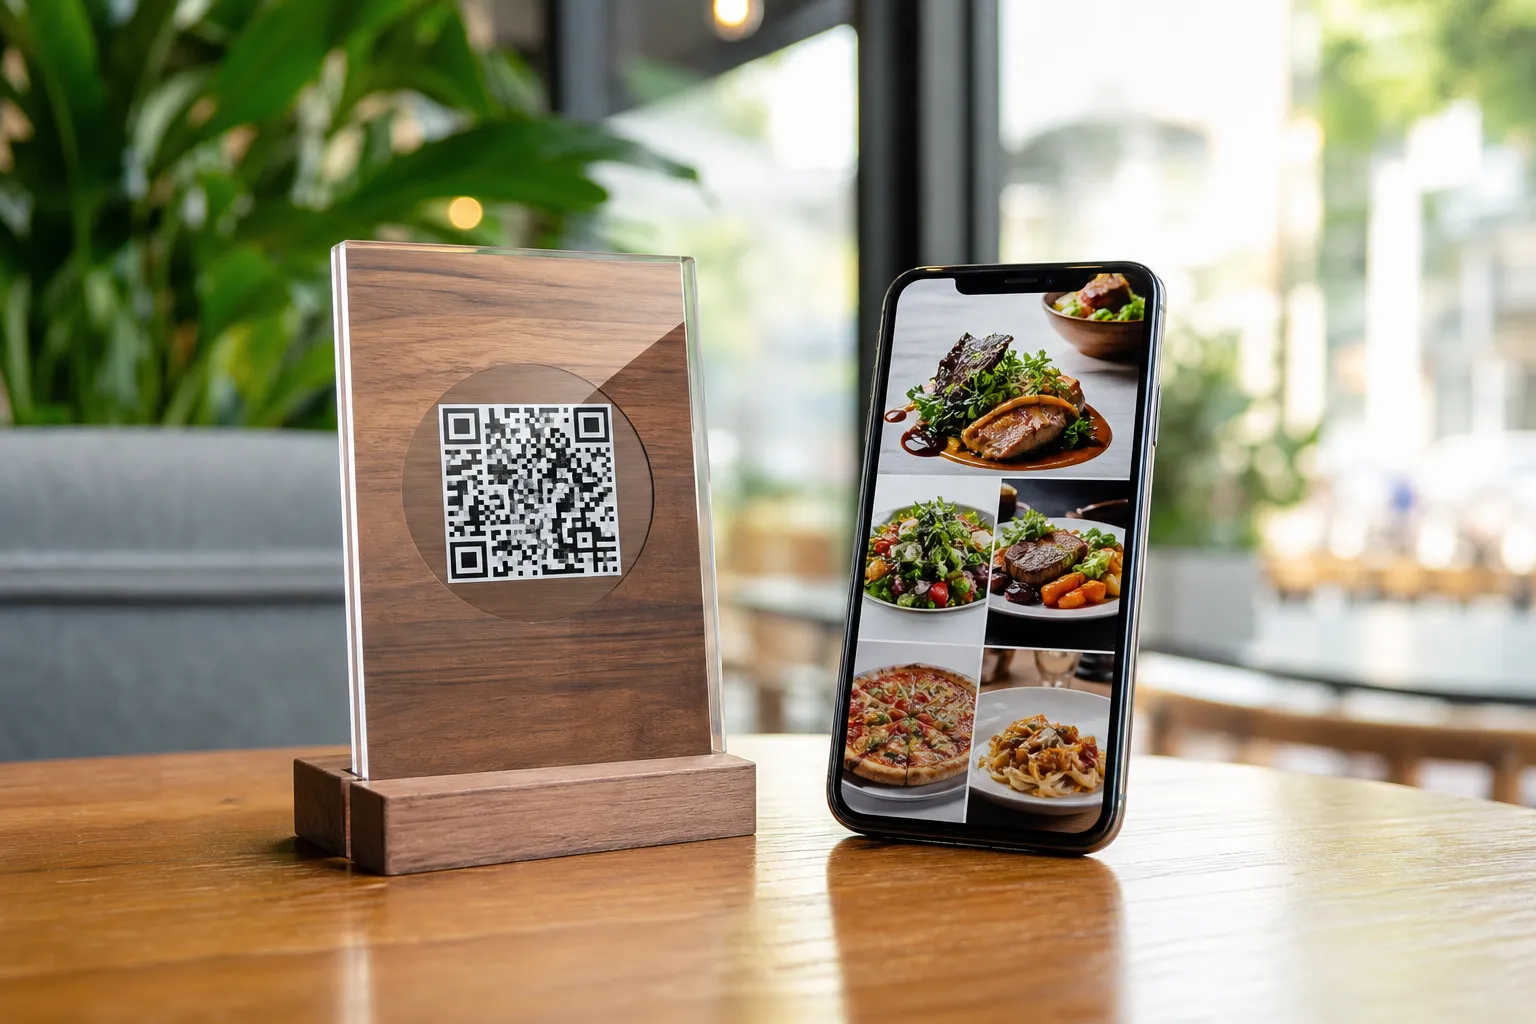
Begin adding your categories and dishes. If you are missing professional photos, you can use the built-in AI food image generation to create appetizing visuals for your menu items instantly. Choose a layout from the multiple ready templates available. Every template is fully customizable to match your brand colors, and new designs are added regularly. If you need something unique, custom templates can be made free on request.
Step 2: Connect Orders to Your Kitchen and POS
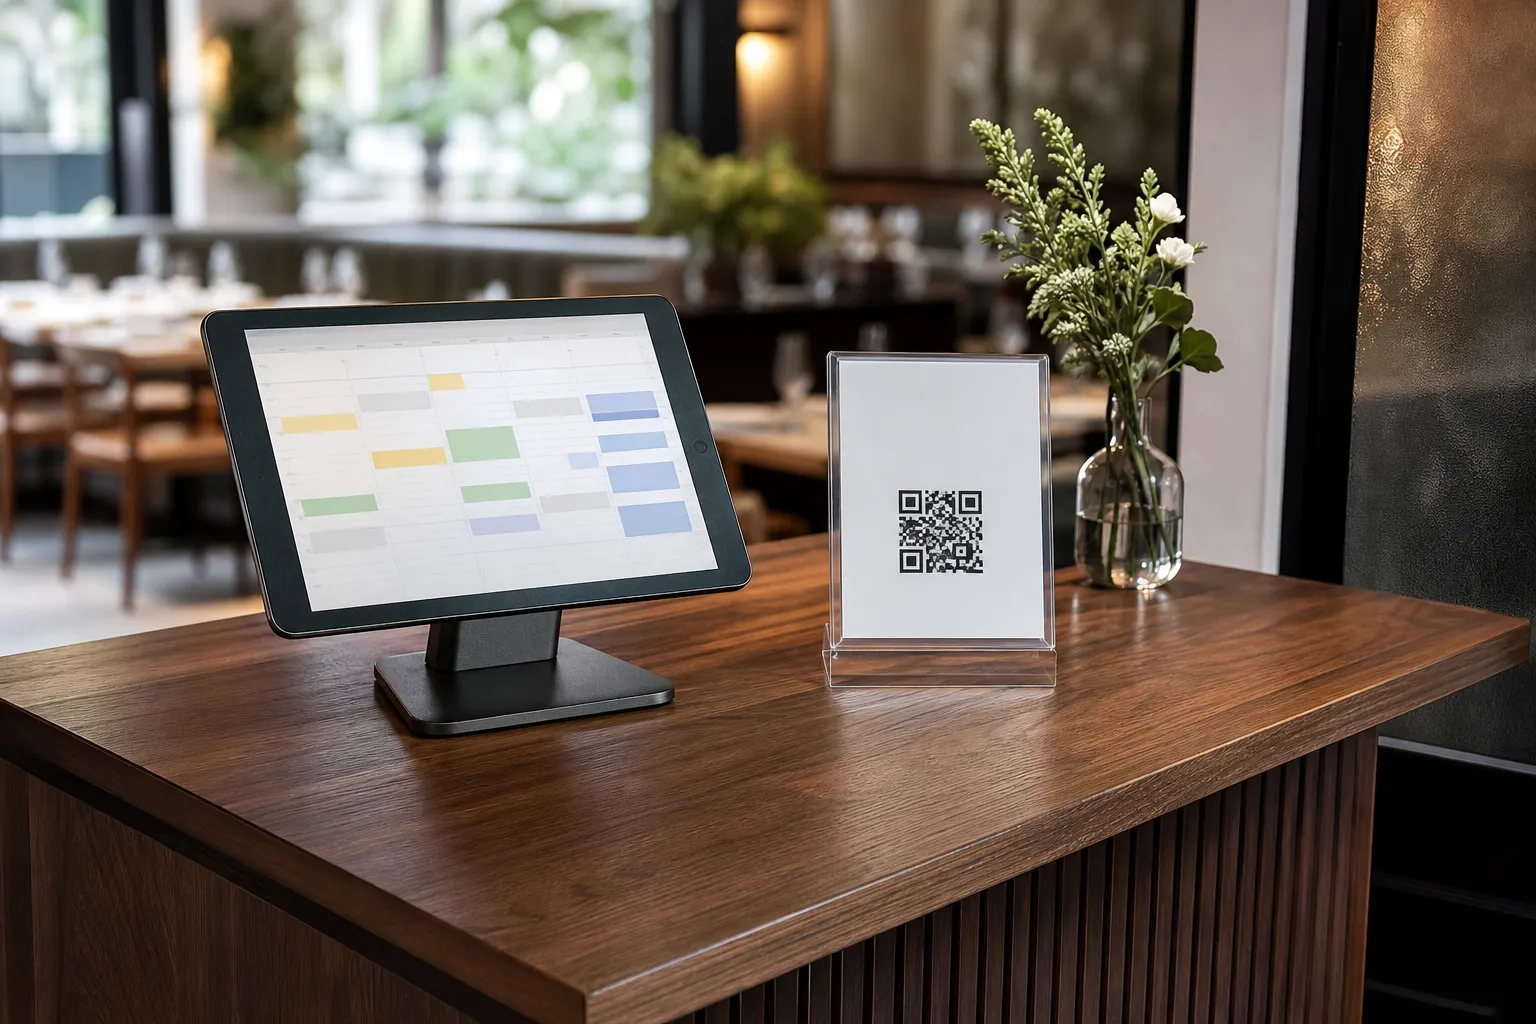
The core of an effective digital setup is how orders flow from the customer's phone to your staff. eMenu AI features robust POS and printer integration. When you enable this capability, table orders stream directly to your kitchen printers the second a customer taps the order button. Your staff will see the incoming requests immediately.
You can also enable other ordering channels. Let customers place pickup orders straight through the menu for takeaway, or activate WhatsApp orders so guests can send requests via chat with live order tracking. For payments, turn on the Pay in Menu feature. Customers can settle their bills directly from their phones using cards or local payment gateways. The system supports over 95 world currencies, and any new currency can be added within seconds upon request.
Step 3: Activate Guest Experience Features
Integration is also about connecting with the customer. Your digital menu automatically supports over 100 world languages. Tourists and local guests can switch to their preferred language with a single click, breaking down communication barriers completely.
Next, turn on the Call Waiter function. This allows guests to request assistance or ask for the bill with one tap. Your staff will receive instant notifications detailing the exact table number and the specific request type. You can also enable the in-menu rating system to collect comprehensive, private feedback before the customer leaves the table, and activate the table reservation system so future guests can book a spot directly from the menu.
Step 4: Print Your Professional QR Codes
Once your items, POS connections, and customer features are ready, it is time to generate your access points. eMenu AI provides a professional QR code generator. You can customize the code with your restaurant logo and brand colors. Print these codes and place them securely on your tables, counters, or at the entrance.
Because the system is entirely cloud-based, any price changes or new menu sections you add from your web dashboard will instantly update for anyone scanning the QR code.
Start Your Integration Today
Connecting your tables directly to your kitchen operations saves time and drastically reduces order errors. With flexible pricing plans available, including a free tier, you can modernize your operations immediately. Build your smart menu, connect your POS, and transform your dining experience by launching the eMenu AI app right now.