Why You Need a Scan for Menu System
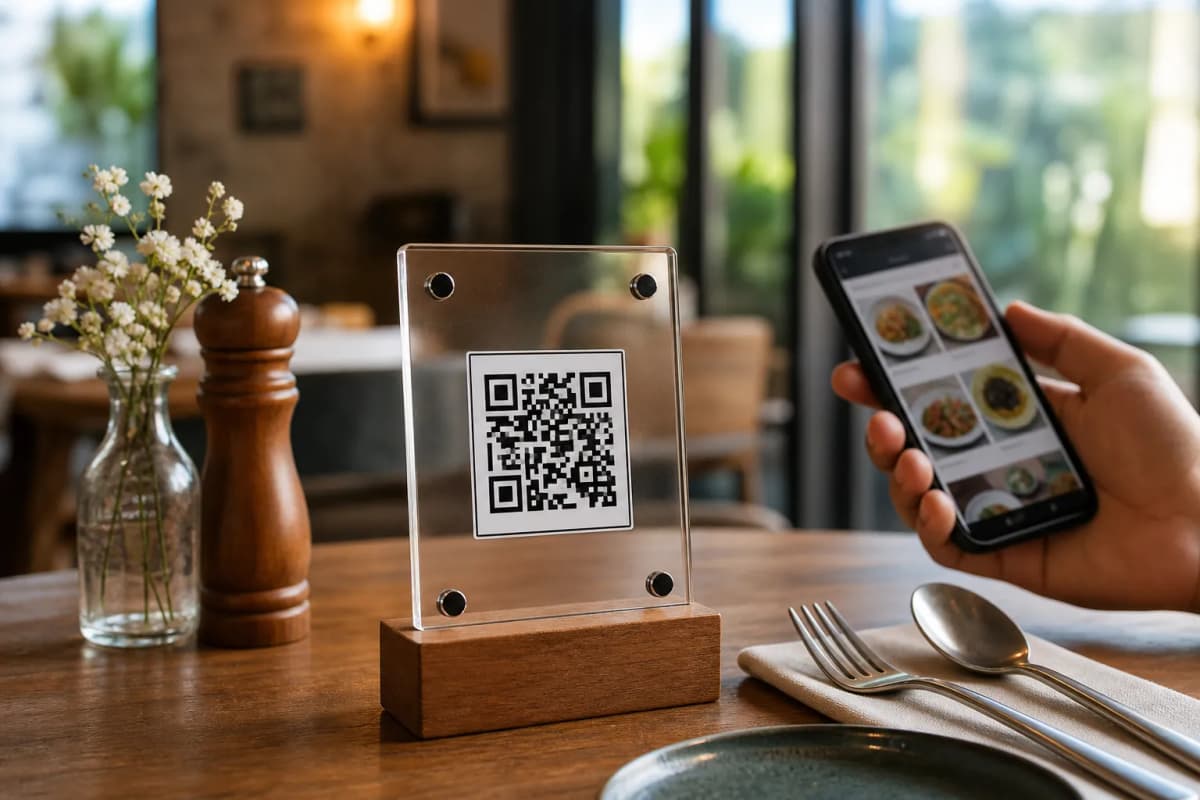
When hungry customers sit at a table, they expect instant service. Offering a "scan for menu" experience is the easiest way to give them exactly what they want without making them wait for a physical menu. With eMenu AI, your guests simply point their phone camera at a QR code and browse your offerings instantly. There is no app to install, and you get to manage everything directly from your phone, tablet, or web dashboard.
Step 1: Get Started and Build Your Menu
The first step to offering a digital experience is adding your dishes to a smart platform. You can do this from any device, whether you are at the restaurant or at home.
- Create your menu: Open the smart link at https://app.e-menu.ai/appp to access eMenu AI on the web, iOS, or Android.
- Add your items: Enter your dishes, prices, and detailed descriptions.
- Use AI for photos: If you are missing professional food photos, eMenu AI includes an AI food image generation tool to create mouth-watering pictures for your items instantly.
Step 2: Design and Localize Your Digital Menu
A digital menu should look exactly like your brand and cater to all your guests without any communication barriers.
- Select a layout: Browse multiple ready templates at our templates gallery. You can customize them completely, and if you need a specific look to match your brand, custom templates are made free on request.
- Turn on languages: The system supports over 100 world languages with automatic translation. Customers can switch to their native language with a single click.
- Set your currency: eMenu AI supports over 95 international currencies, and any new currency can be added within seconds on request.
A true scan for menu setup does more than just show pictures. It turns a smartphone into a complete ordering tool.
Enable Table Ordering so customers can send their requests straight from their table to the kitchen. If you prefer a different workflow, you can activate WhatsApp Orders with live order tracking, or let customers place Pickup Orders directly through the menu without any phone calls.
Step 4: Enhance the Customer Experience
Once the basics are ready, you can add features that make dining at your restaurant unforgettable.
- Call Waiter: With one tap from the menu, guests can request assistance or ask for the bill. Your staff will get instant notifications showing the table number and request type.
- Table Reservations: Allow customers to book their tables directly from within the menu for future visits.
- In-Menu Rating System: Collect comprehensive customer feedback directly inside the digital menu before the customer even leaves the restaurant.
Step 5: Print Your Professional QR Code
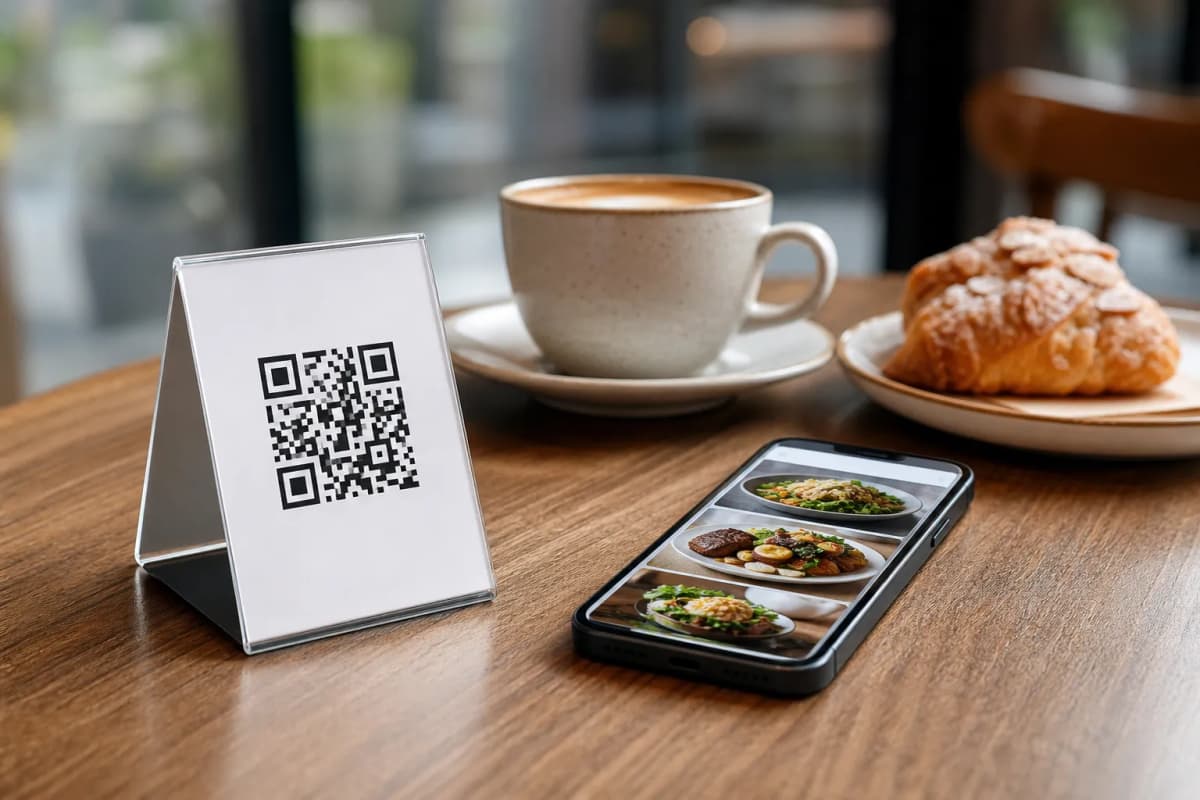
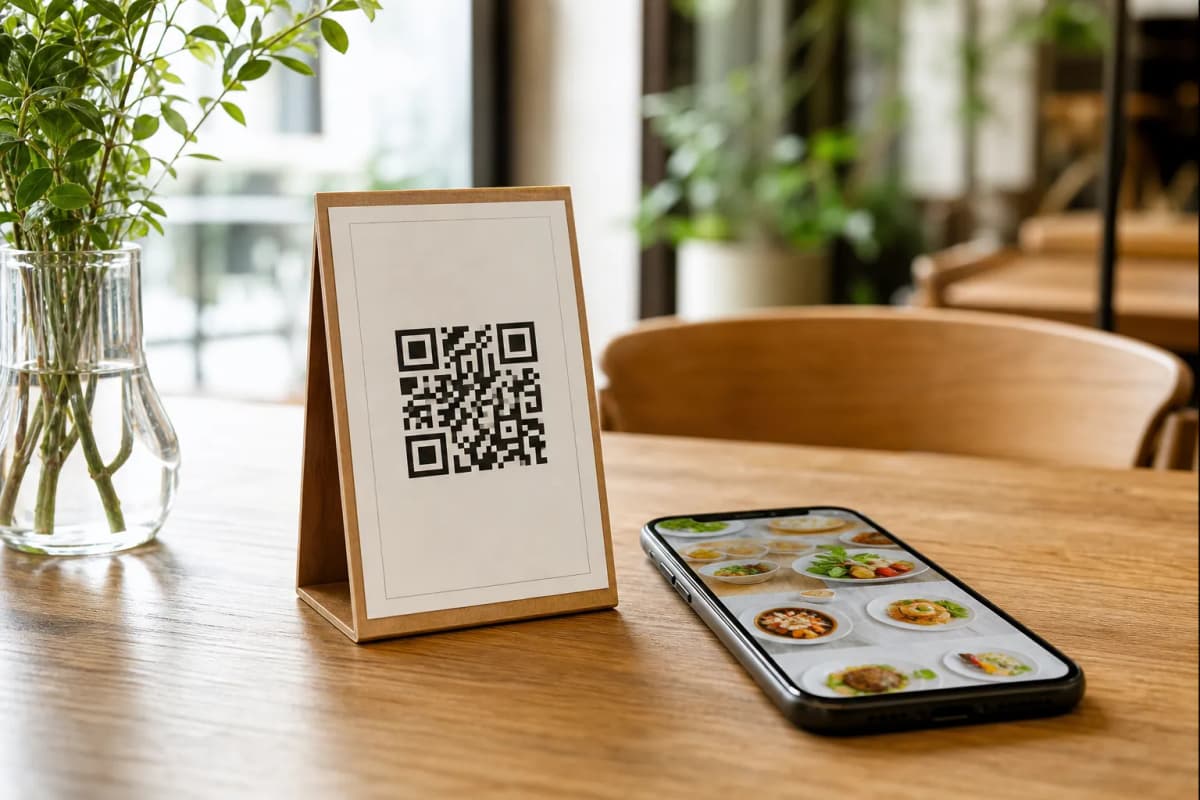
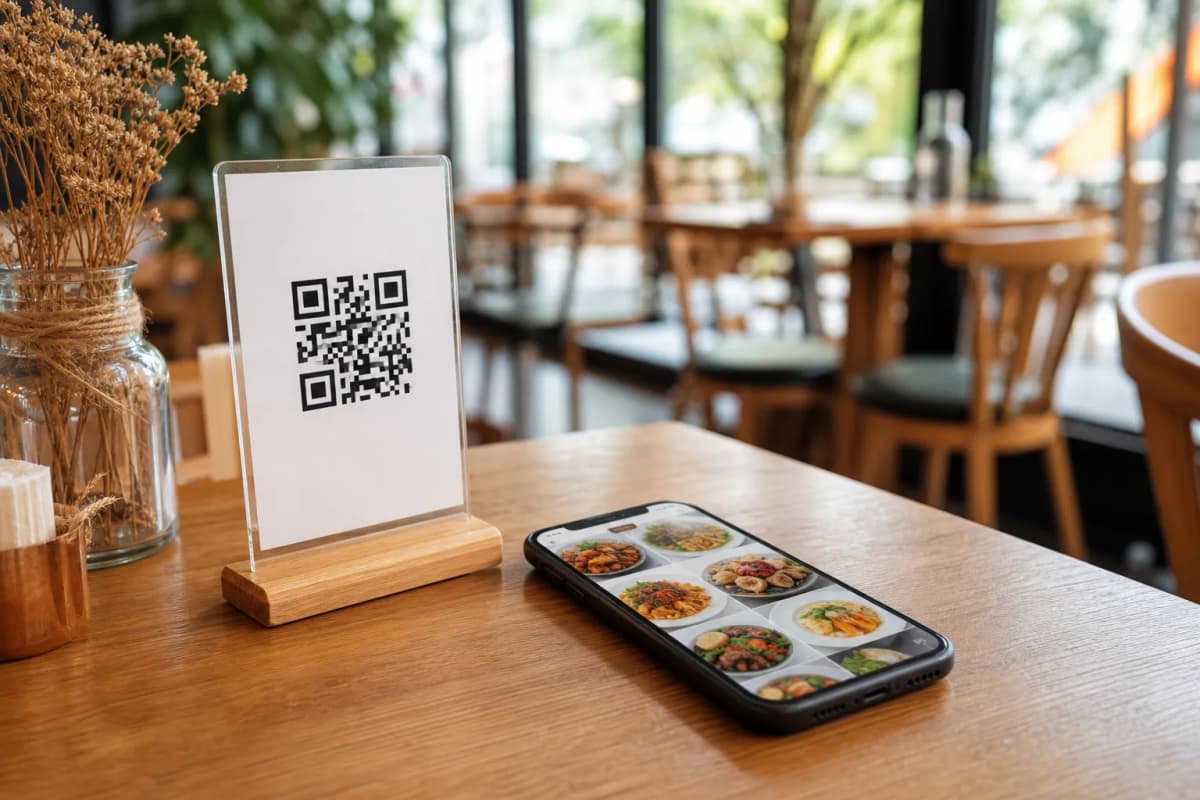
The final step to launch your digital system is placing the codes on your tables. You can generate a Professional QR Code customized with your restaurant's colors and logo directly from the eMenu AI dashboard. Print these codes on table tents, stickers, or entrance signs so guests can scan and order immediately.