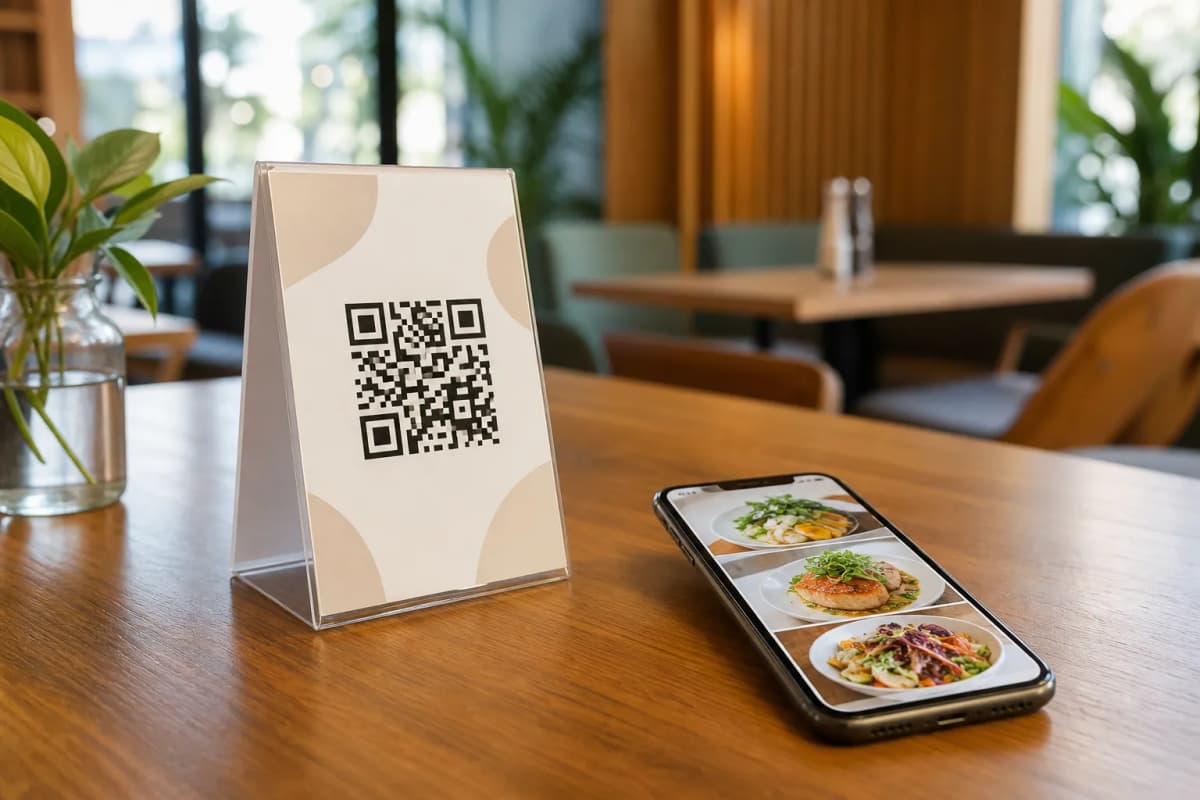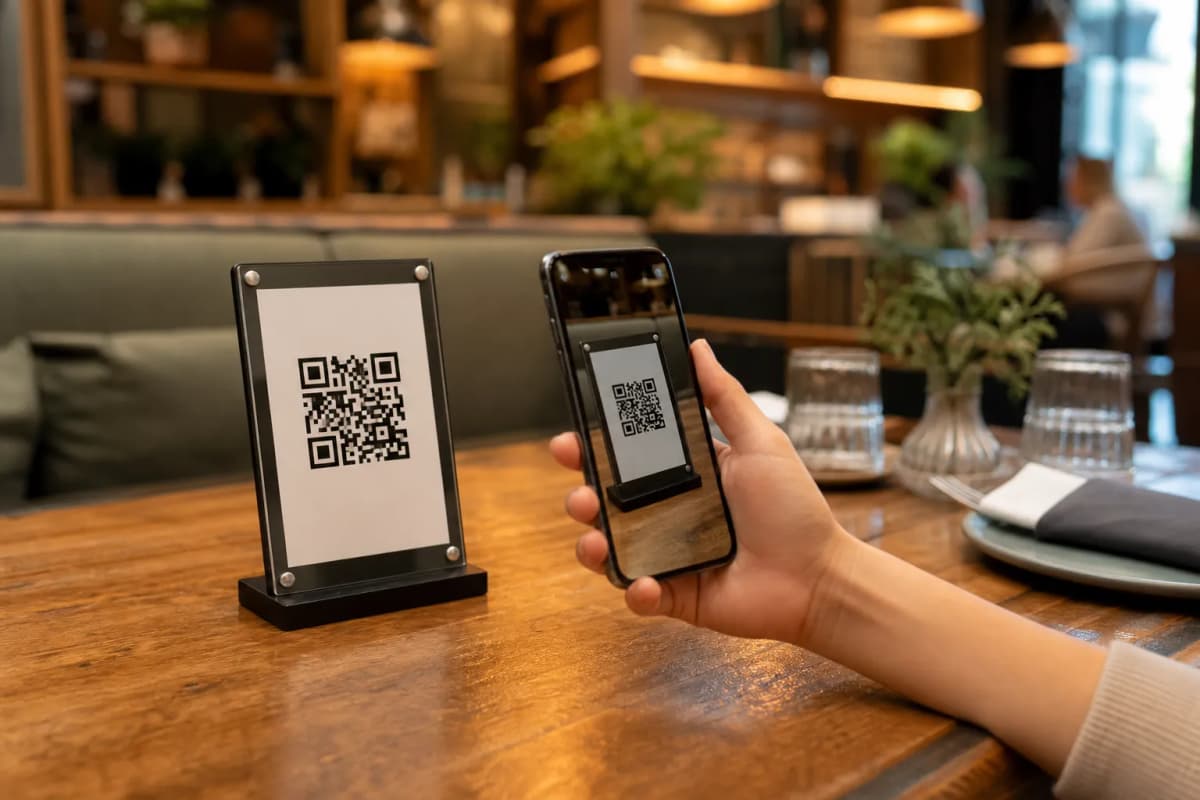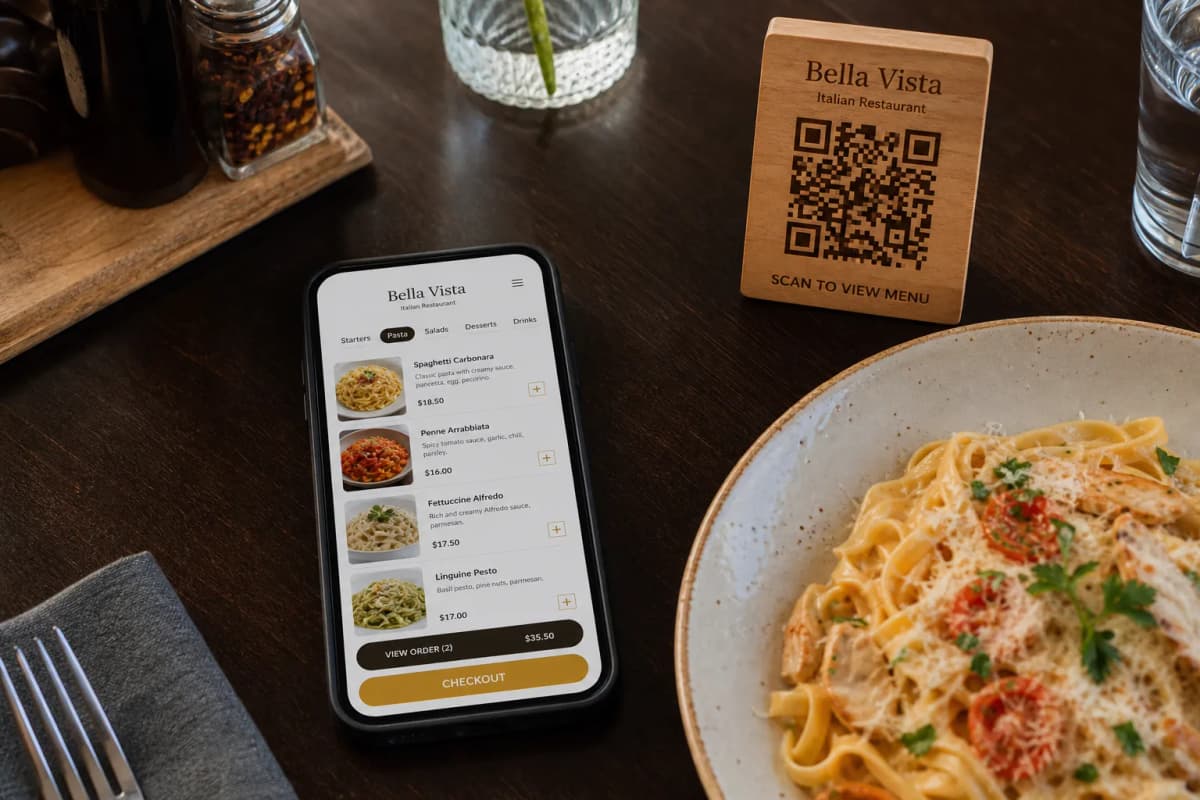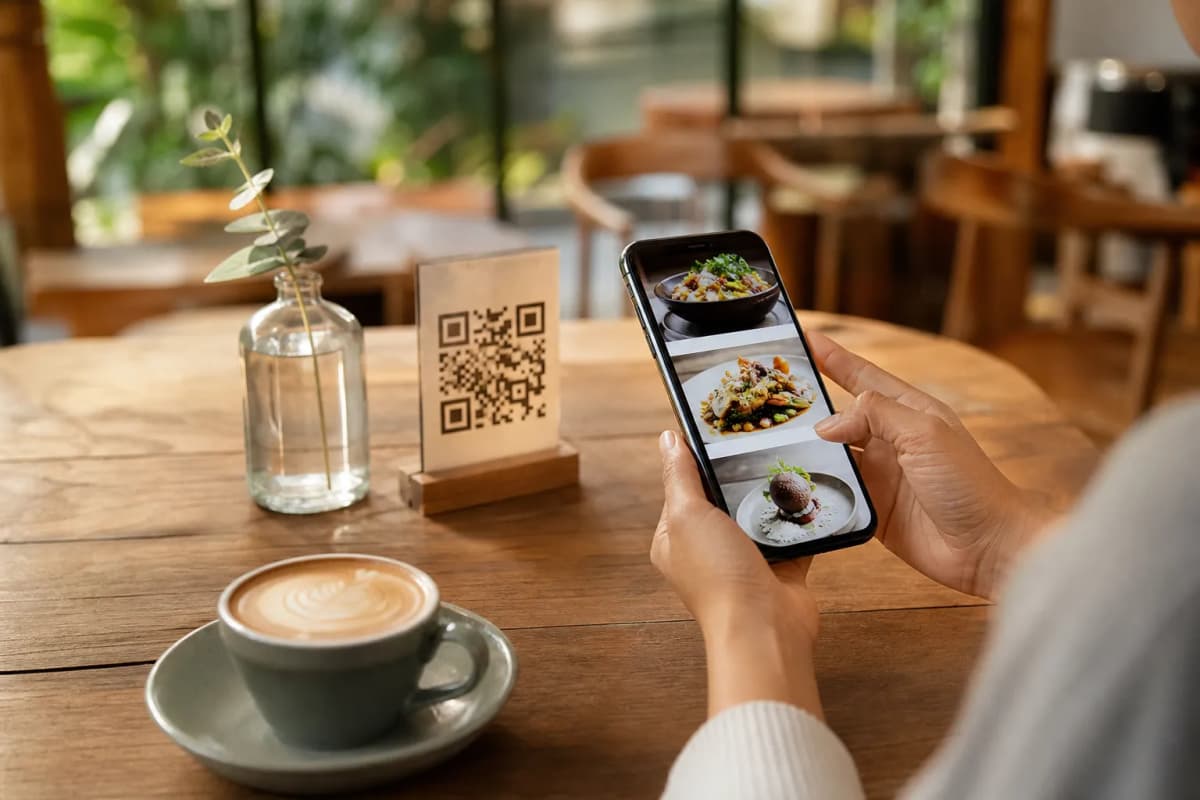
Setting up a digital qr menu is one of the most effective ways to modernize your restaurant, streamline your kitchen operations, and improve the overall guest experience. Instead of handing out sticky, outdated paper booklets, you allow customers to scan a code and browse your offerings instantly on their own mobile phones. With eMenu AI, this process requires no app installation for your diners. As an owner, you manage everything centrally from your phone, tablet, or a computer web browser, making the setup highly practical.
Step 1: Create Your Account and Add Your Dishes
To begin the setup process, establish your restaurant profile and build your digital catalog. You can do this from absolutely any device. Simply open eMenu AI to access the smart dashboard via the web, or download the dedicated app for your iOS or Android device. Once your account is active, you can start building your menu categories and adding dishes.
If you do not have professional photography ready, the platform features a built-in AI food image generation tool that creates stunning visuals for your menu items in seconds. Furthermore, because your restaurant likely serves a diverse clientele, the platform automatically supports over 100 world languages. Diners can switch to their native language with a single click, completely removing the language barrier between your staff and your guests.
Step 2: Select a Digital QR Menu Template
Your digital qr menu should match your brand identity perfectly. Explore the multiple ready templates to find a professional design that fits your cafe or fine dining establishment. Every template is fully customizable, and new designs are added regularly. If you need something specific, custom templates can be created completely free on request.
A modern menu can handle much more than just displaying food pictures. You can enable various smart ordering methods directly through the system.
- Table Ordering: Allow seated customers to browse the menu and send orders directly from their table to your kitchen staff.
- WhatsApp and Pickup Orders: Enable takeaway pickup orders directly through the menu without external apps. You can also accept ordering via WhatsApp with live order tracking.
Step 4: Enhance the Dining Experience
Once your core ordering features are active, activate several tools to improve floor service. The Call Waiter feature lets guests request assistance or ask for the check with just one tap. Your floor staff receive instant notifications detailing the exact table number and request type. Additionally, turn on the Table Reservation System for future bookings, and the In-Menu Rating System to collect comprehensive customer feedback directly from your diners before they leave.
Step 5: Generate and Display Your Custom QR Code
The final step is getting the newly created menu onto your actual restaurant tables. Using the eMenu AI web dashboard, you can instantly generate a professional QR code. You can customize this code with your specific restaurant colors and place your logo right in the center for a premium look. Print these branded codes on table tents or entrance signs. Whenever you update a price or add a seasonal dish in the dashboard, the changes reflect instantly for anyone who scans the code.
Ready to upgrade your operations and serve customers faster? Start building your smart menu today. Explore our affordable pricing plans (including a free tier) and transform how you manage your daily food service.