With eMenu AI, launching this system is simple and requires zero technical skills. Whether you run a small coffee shop or a multi-branch restaurant, this platform gives you full control over your digital presence. Here is a practical guide to building your smart digital menu.
Step 1: Create Your Account and Add Details
To get started, open eMenu AI and register your venue. This single smart link will automatically direct you to the App Store, Google Play, or the web dashboard depending on your device. Once inside, fill in your restaurant details, location, and operating hours. Because the platform supports over 95 international currencies, you can instantly select the exact currency you need. If your local currency is missing, it can be added within seconds upon request.
Step 2: Build Categories and Add Dishes
Using the web dashboard or the mobile app, start organizing your offerings into logical sections like Starters, Main Courses, and Desserts. High-quality photos are crucial for a successful digital menu. If you do not have professional photography for every item, eMenu AI features built-in AI food image generation to help you create mouth-watering visuals instantly for your entire catalog.
Step 3: Choose a Professional Template
Your digital storefront should reflect your brand identity. Instead of a generic list, you can browse multiple ready templates designed specifically for the hospitality industry. Choose a layout that fits your style, and customize the colors to match your interior. Every template is fully customizable, and if you have a specific vision in mind, custom templates can be requested for free to perfectly align with your brand.
Step 4: Enable Smart Features for Your Menu with QR Code
A modern menu with qr code does much more than display prices. Inside your dashboard, you can enable several powerful features to streamline your service:
- Table Ordering: Allow guests to send their orders straight from the table to the kitchen.
- WhatsApp Orders: Let customers place takeaway or pickup orders via WhatsApp with live order tracking.
- Call Waiter and Reservations: Give customers a one-tap button to call for assistance or book a table directly from the menu.
Additionally, you do not need to worry about language barriers. The platform supports over 100 world languages with automatic translation, letting customers switch to their native language with a single click.
Step 5: Generate and Print Your Custom Codes
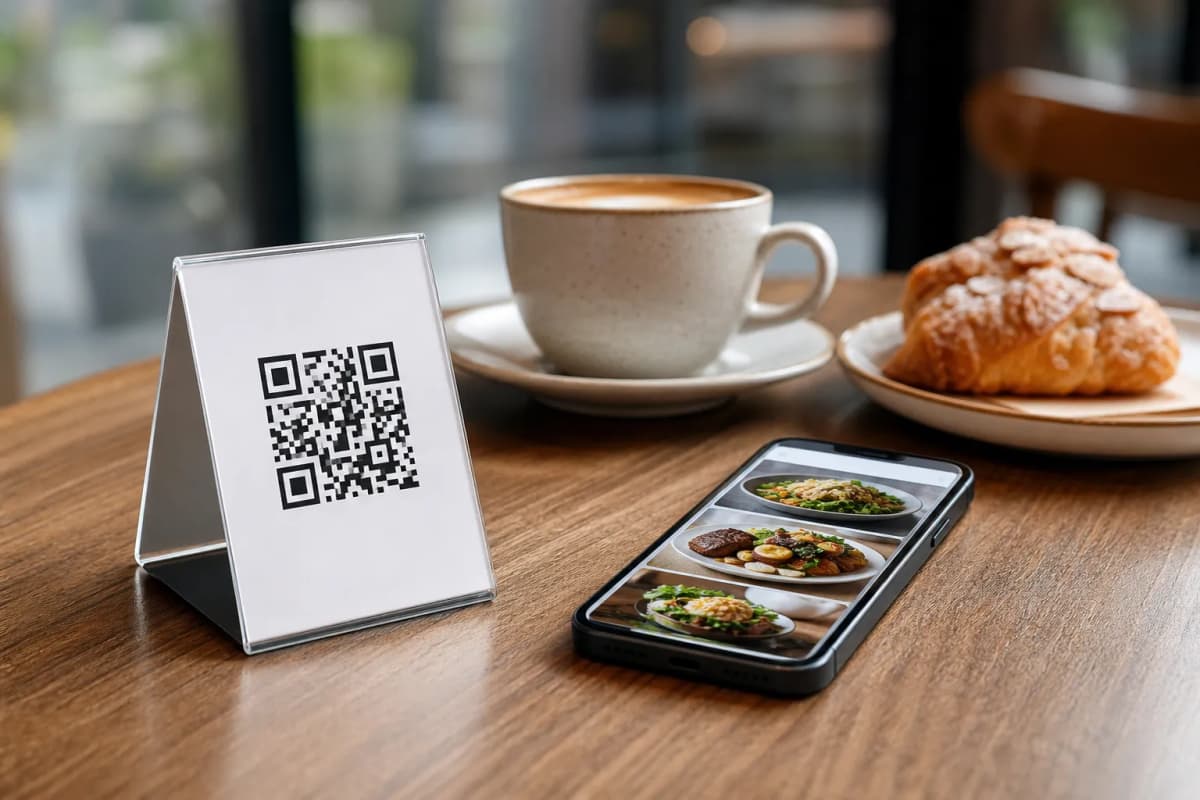
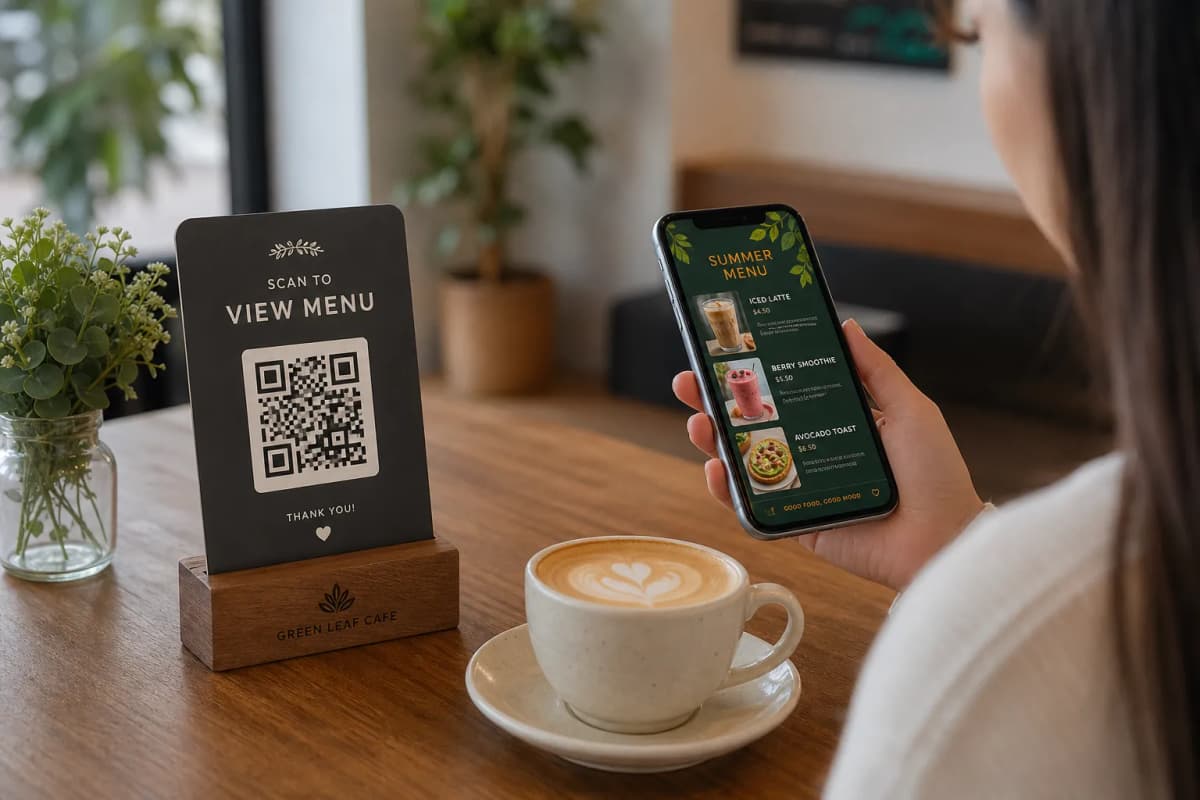
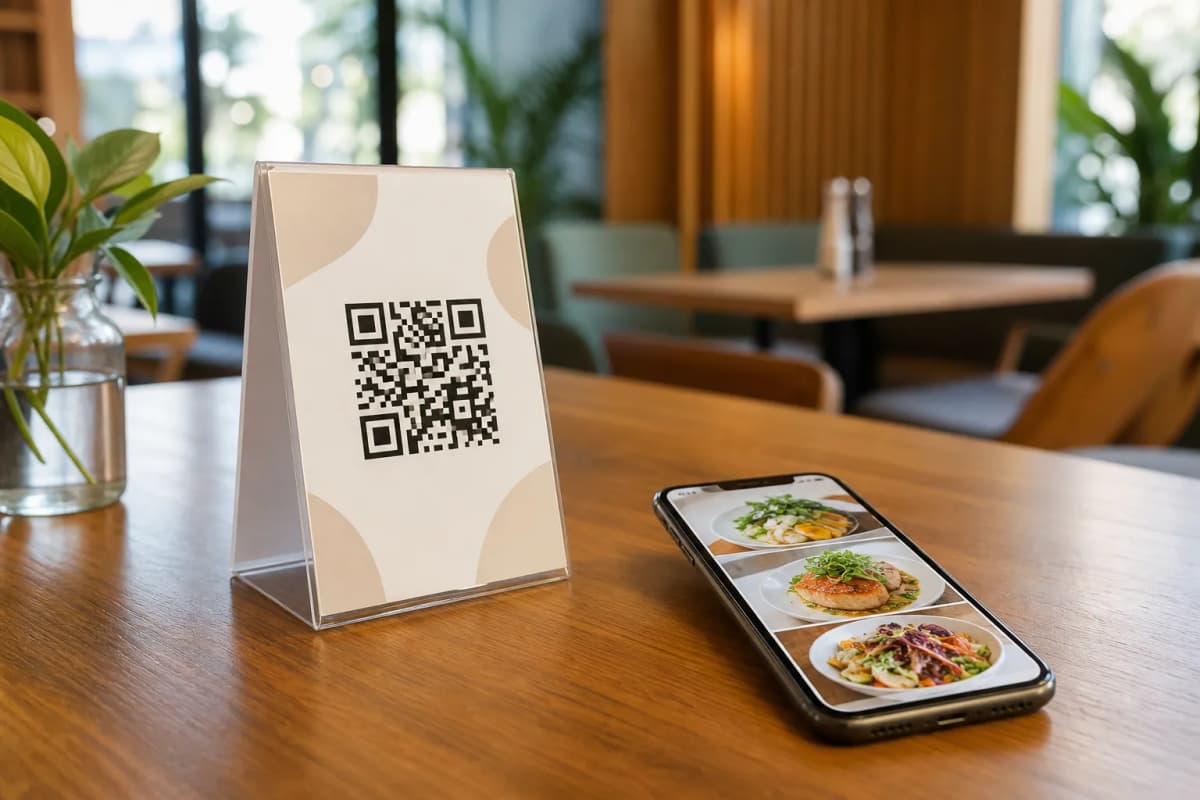
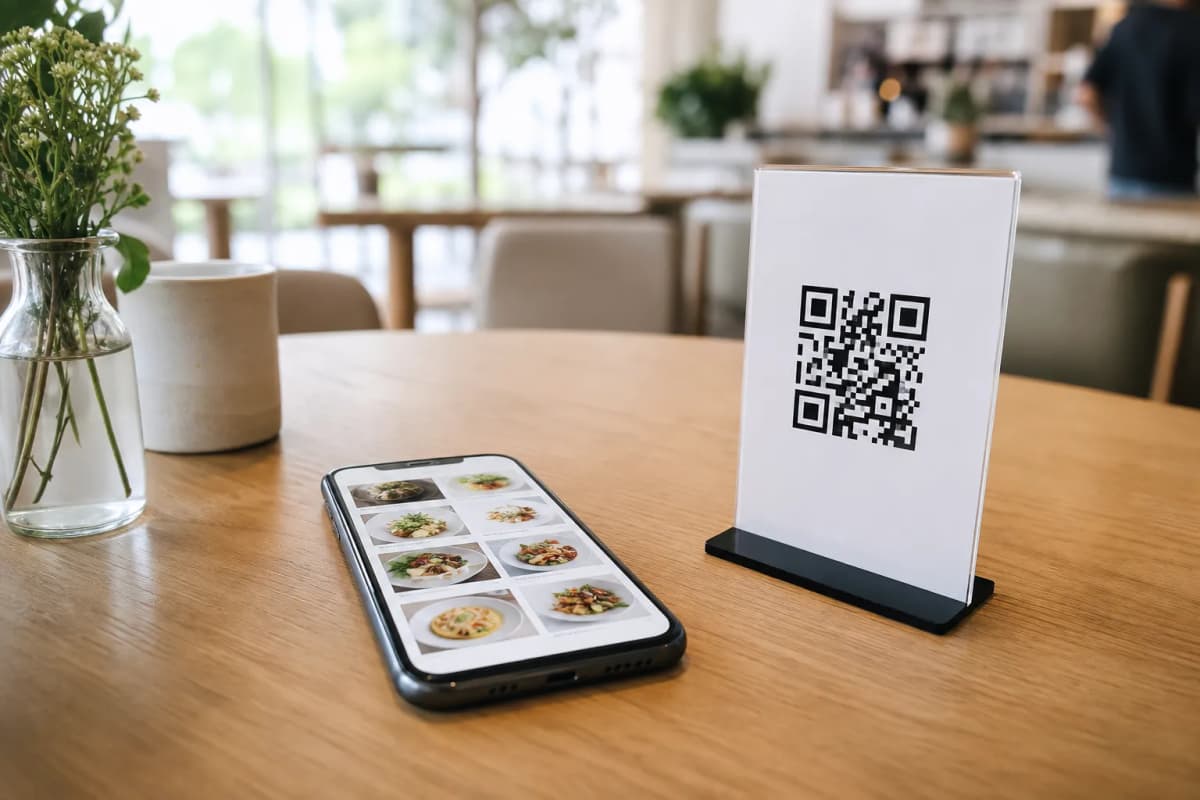
Once your items are added and settings are configured, generate a professional QR code directly from the platform. You can customize the code with your specific brand colors and place your logo right in the center. Print these codes on table tents, stickers, or entrance signage. When customers scan it, they are instantly immersed in your beautifully designed digital storefront.
Start Serving Smarter Today
Upgrading your ordering process takes just a few minutes. To see the platform in action before building your own, check out a live demo like Cap Restaurant.
Ready to modernize your dining room? Start building your menu today and explore our affordable plans on the pricing page to find the perfect fit for your business.