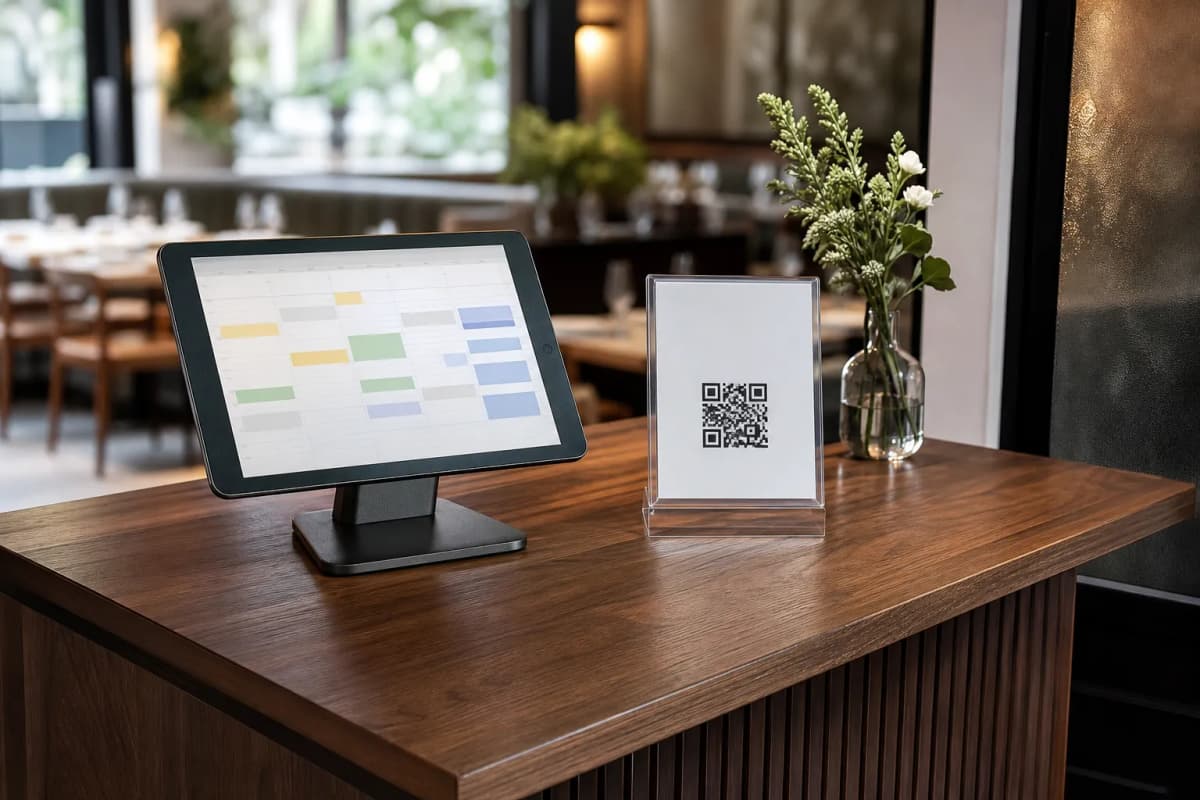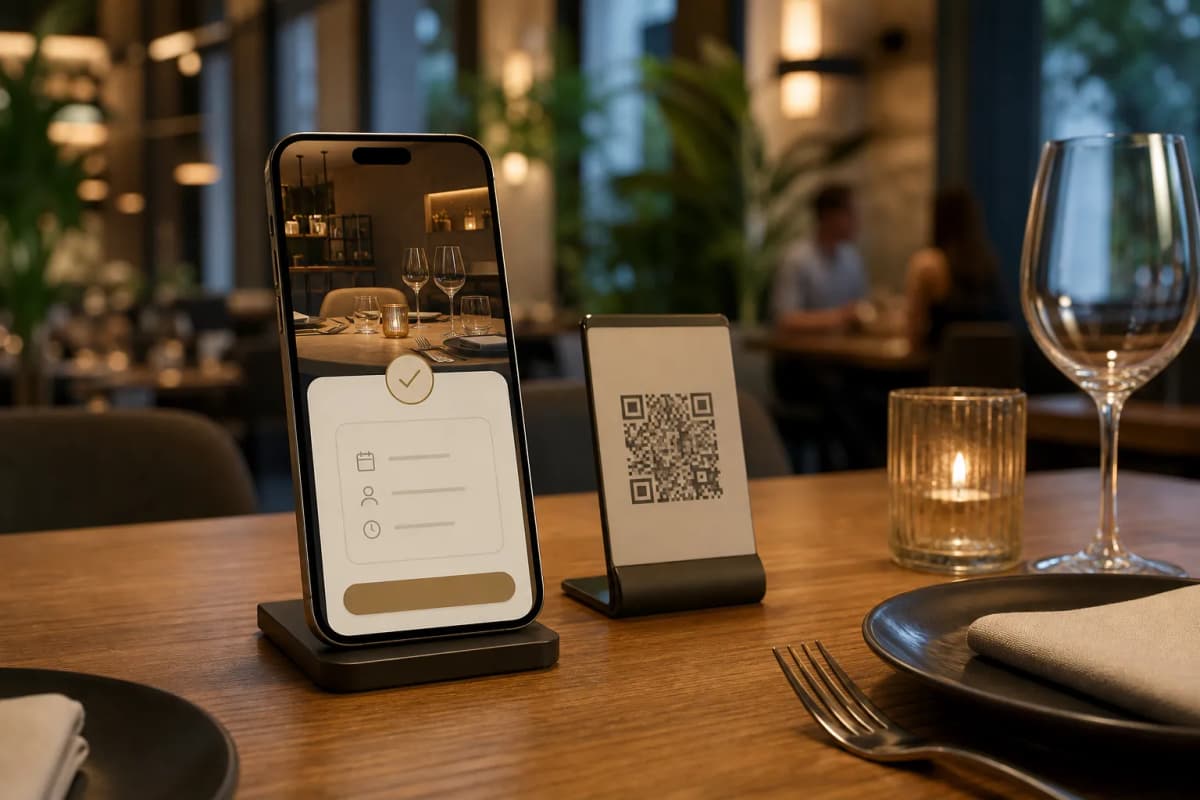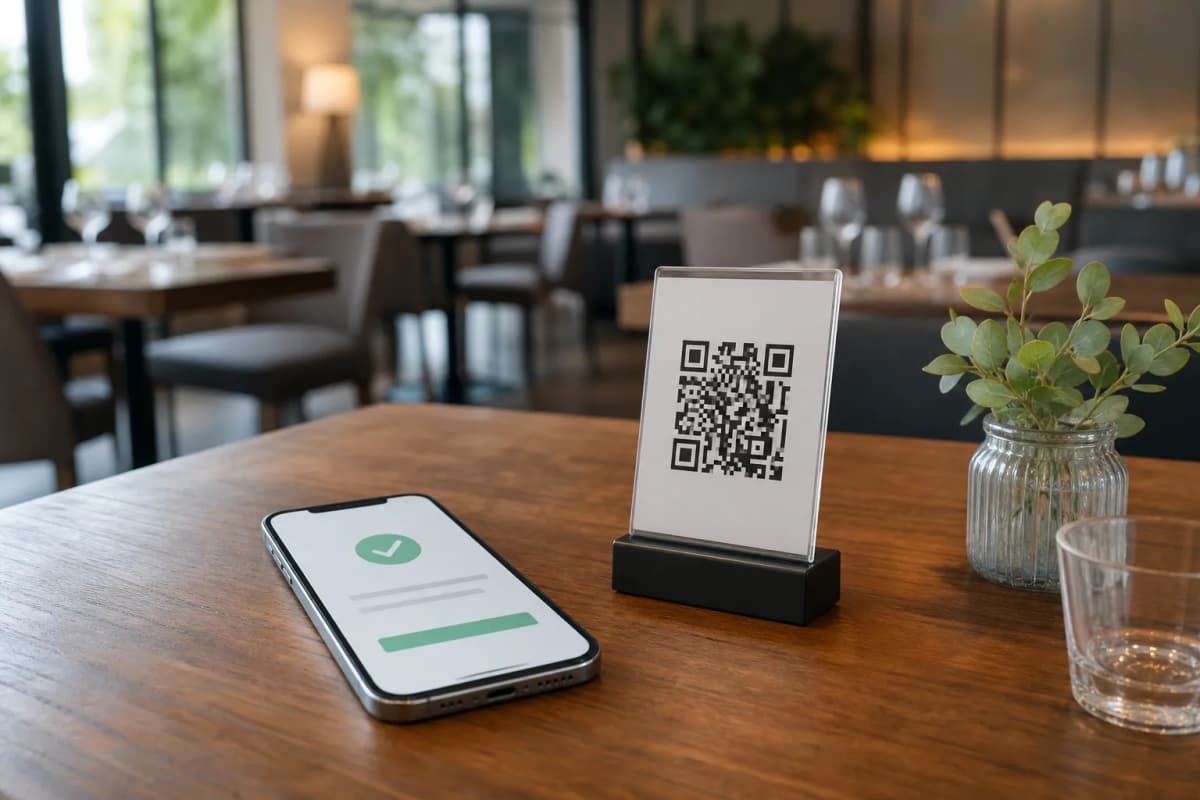
Setting up a reliable restaurant table booking system is one of the easiest ways to secure consistent daily revenue and reduce front-desk workload. Instead of managing phone calls or messy paper logbooks, modern venues are moving their reservations online. When your reservation tool is directly integrated into your digital QR menu, guests can book tables, browse your food options, and even pre-order in their own language before they even arrive.
With eMenu AI, you can launch a complete digital menu and reservation desk without any coding or expensive hardware. Here is a practical guide on how to configure and deploy this tool for your cafe or restaurant today.
Why Move Your Bookings to a Digital QR Menu?
When you combine your menu with a digital reservation system, you create a seamless loop for your customers. They do not just book a table: they get immediate access to your offerings. This unified approach provides several benefits:
- No App Downloads: Customers simply scan your custom QR code on their phone or visit your smart link to book.
- Multi-Language Support: The system automatically translates your booking interface and menu into over 100 world languages, allowing international tourists to book effortlessly.
- Instant Notifications: When a reservation is made, your team gets notified immediately through the web dashboard or WhatsApp.
How to Enable Your Restaurant Table Booking System
Setting up your booking system with eMenu AI is straightforward and takes only a few minutes. Follow these practical steps to get started:
- Create Your Account: Visit the eMenu AI smart app link to download the mobile app or launch the web dashboard on your computer browser.
- Set Up Your Digital Menu: Input your dishes, add prices, and organize your sections. You can even use the built-in AI food image generator to create high-quality photos for your items. To customize the look, browse the professional designs in our templates gallery, which can be modified for free to fit your branding.
- Activate Reservations: Go to your settings inside the web dashboard to enable the built-in table reservation system. Here, you can define your booking rules, available hours, and maximum seating capacity.
- Generate Your QR Code: Print your professional, custom-colored QR code and place it at your restaurant entrance, on your tables, or share the booking link on your social media channels.
- Manage Bookings Live: As customers book, view and organize all incoming reservations from your dashboard. Your staff can prepare tables in advance and ensure a flawless dining experience.
Maximizing the Dining Experience After Booking
Once a guest arrives through your restaurant table booking system, the digital experience continues. Customers can scan the table's QR code to access the active digital menu. From there, they can use features like "Call Waiter" to request assistance or ask for the bill with one tap, sending an instant notification to your staff with the exact table number.
Get Started with eMenu AI Today
Ready to automate your reservations and elevate your guest experience? Explore our flexible plans on the pricing page, where you can find a suitable option, including a free plan, to start growing your business right away.