Here is a practical guide to launching your own smart menu system quickly.
Step 1: Set Up Your Menu and Add Items
The first thing you need to do is build your digital catalog. You can do this from any device by accessing the smart app and web dashboard. Whether you prefer working on an iPad, an Android tablet, or a computer browser, the system gives you full control.
Start adding your sections, dishes, and prices. If you do not have professional photos of your food, you can use the built-in AI food image generation tool to create high-quality, realistic pictures for every menu item instantly.
Step 2: Apply a Professional Design
Your digital menu should match your restaurant brand. You can browse multiple ready templates and apply one that fits your unique style. Every template is completely customizable, allowing you to change colors, fonts, and upload your logo.
If you need a highly specific look, custom templates are made free on request to ensure your branding is exactly how you want it.
Step 3: Configure Your Digital Menu QRcode Orders
A digital menu qrcode is much more than just a static file, it is an interactive ordering system. Inside your eMenu AI settings, you can enable several order types to fit your operations:
- Table Ordering: Customers send their selections straight from the table to the kitchen.
- WhatsApp Orders: Allow guests to order via WhatsApp with live tracking updates.
- Pickup Orders: Let customers place takeaway orders directly through the menu, meaning no phone calls and no extra apps.
Step 4: Enhance the Customer Experience
Turn on features that make dining easier for your guests. Enable the automatic translation feature so your menu is available in 100+ world languages. International visitors can switch to their native language with a single click.
Next, activate the Call Waiter function. This lets customers request assistance or ask for the bill with one tap. Your staff will receive an instant notification with the table number. You should also enable the In-Menu Rating System to collect customer feedback, and turn on the Table Reservation System so guests can book future visits directly from their phones.
Step 5: Generate and Print Your QR Code
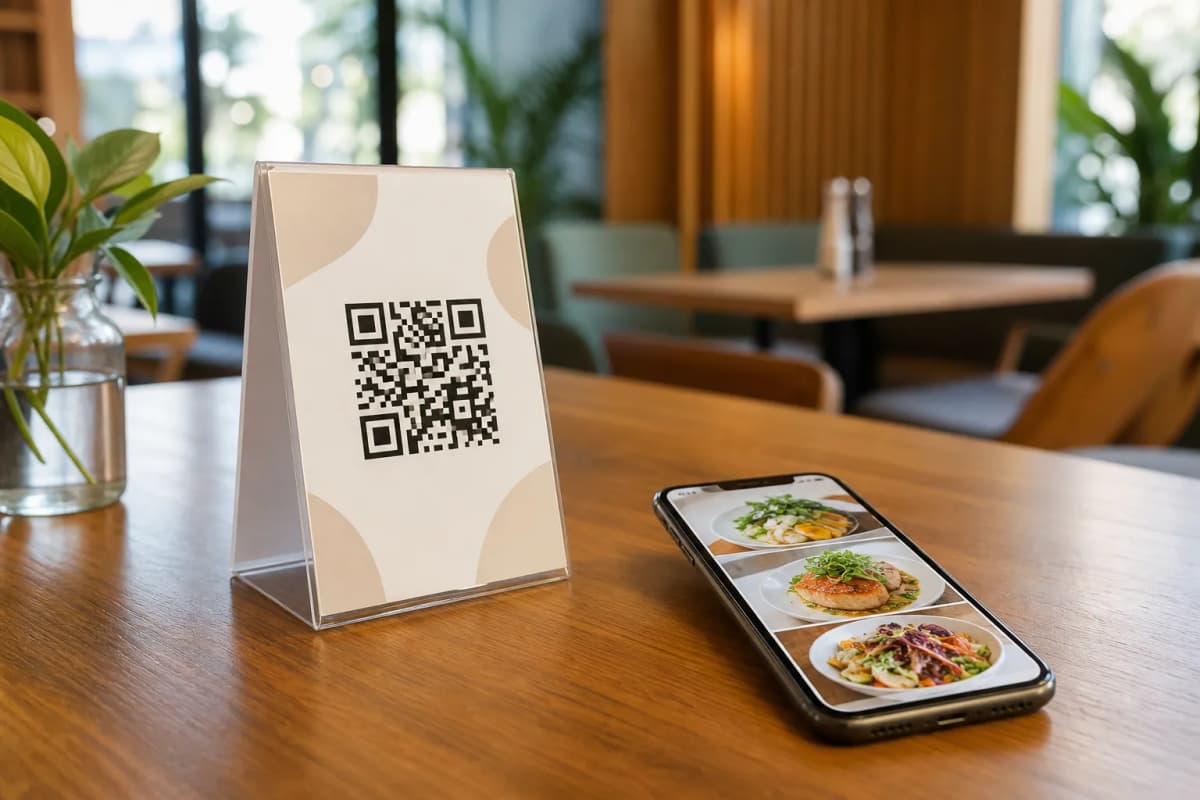
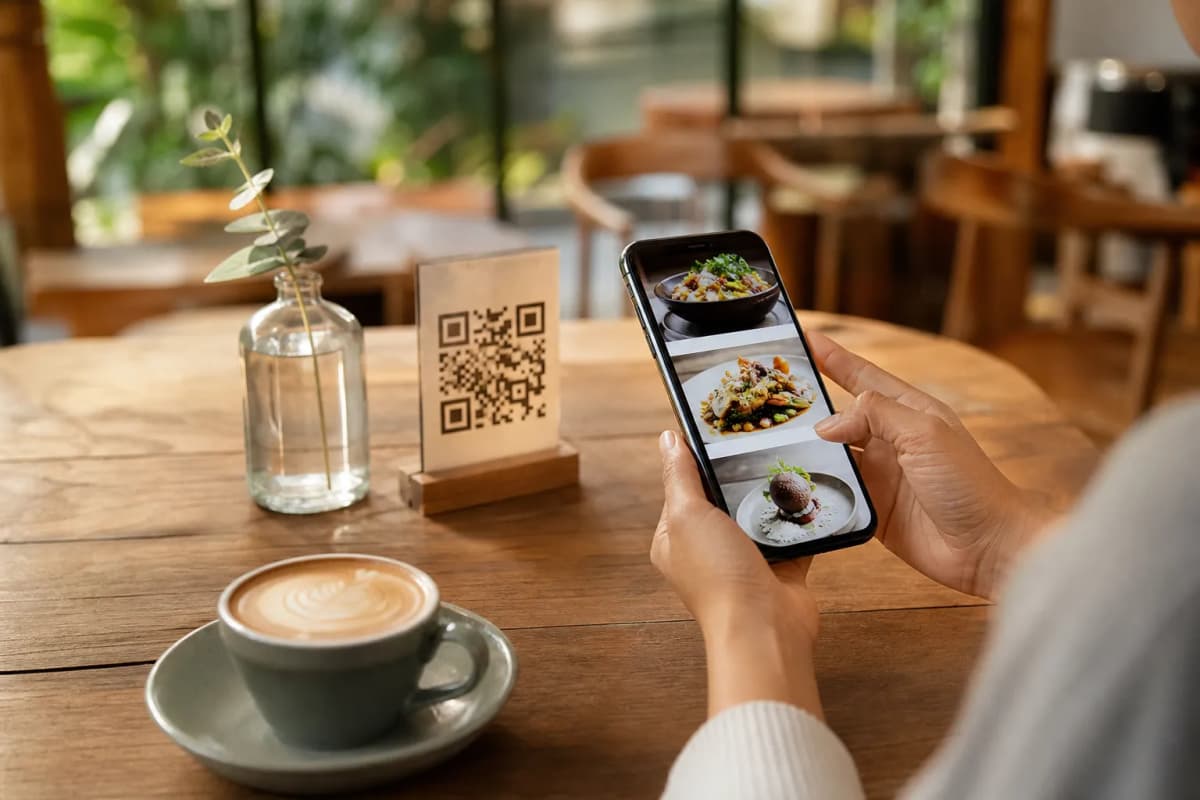
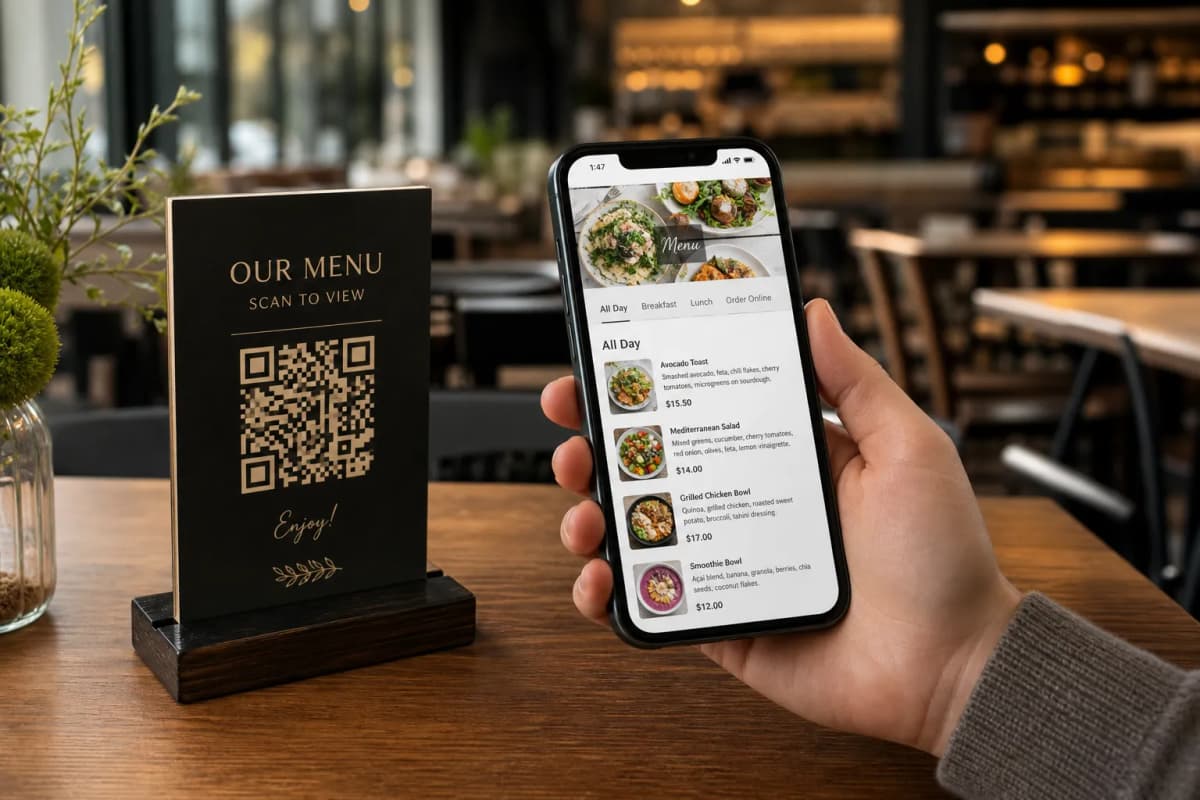
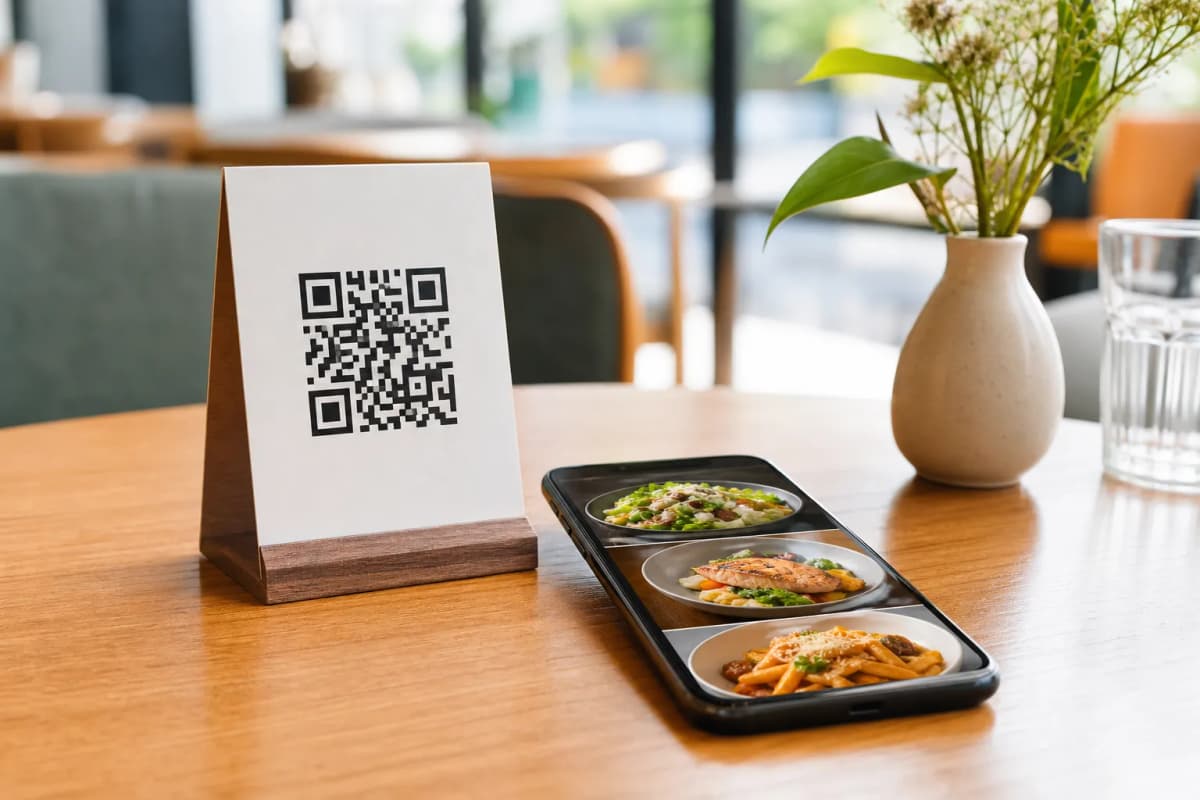
Once your catalog is ready, generate your professional QR code. You can customize the look of the QR code to include your brand colors and logo. Print these codes and place them on your tables or at the front entrance. When customers scan it, they will instantly see your beautiful, interactive menu.
Launch Your Smart Menu Today
Setting up a modern ordering system takes only a few simple steps. With highly affordable plans available, including a free tier, there is no reason to wait. Check out the pricing options to see what works best for your restaurant, and head over to the eMenu AI platform to create your menu today.