Step-by-Step Digital Menu System Launch
Setting up your new menu is fast and straightforward. You can manage everything from a computer browser or directly from your phone. Here are the practical steps to get your restaurant online today.
Step 1: Get the App and Build Your Menu
First, access the platform. Open eMenu AI on your computer, iPhone, iPad, or Android device. This smart link will automatically direct you to the correct version for your device. Once inside, you can start building your categories and adding dishes. The platform automatically translates your menu into over 100 world languages, allowing tourists and locals alike to switch languages with a single click.
Step 2: Design Your Menu and Generate Photos
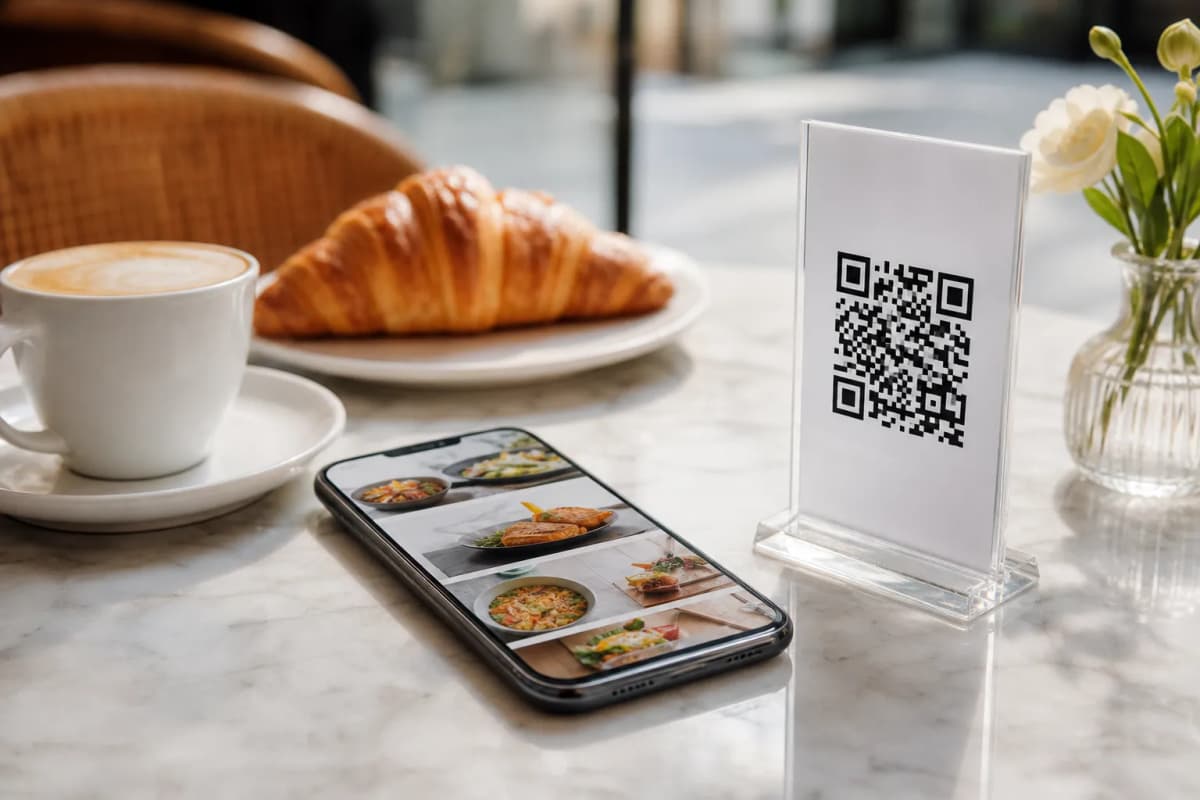
A text-only menu rarely converts as well as one with beautiful photos. If you lack professional photography, eMenu AI includes an AI food image generator that creates appetizing pictures for your items in seconds. Next, apply a professional design. You can browse multiple ready templates to find one that matches your brand perfectly, and every template is fully customizable.
A true digital menu does more than display prices: it handles transactions. Turn on the table ordering feature so seated guests can send requests directly to the kitchen. You can also enable WhatsApp orders for takeout, complete with live order tracking.
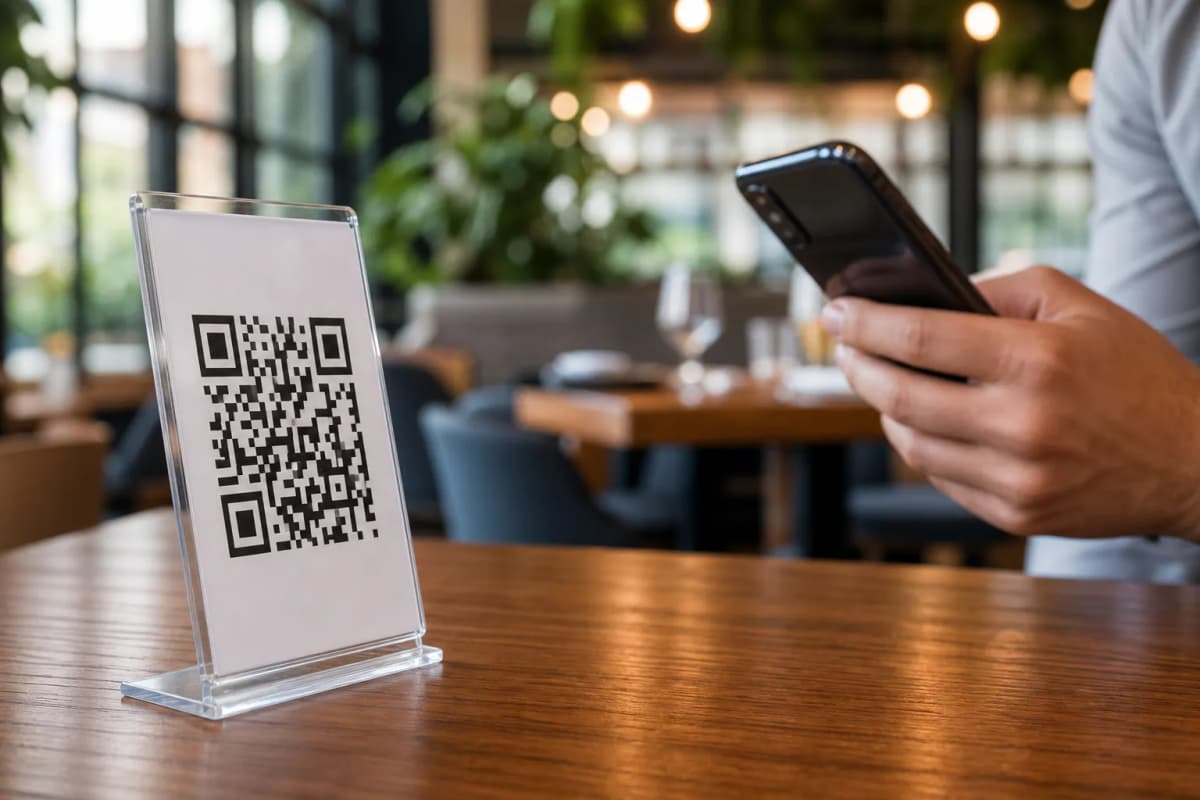
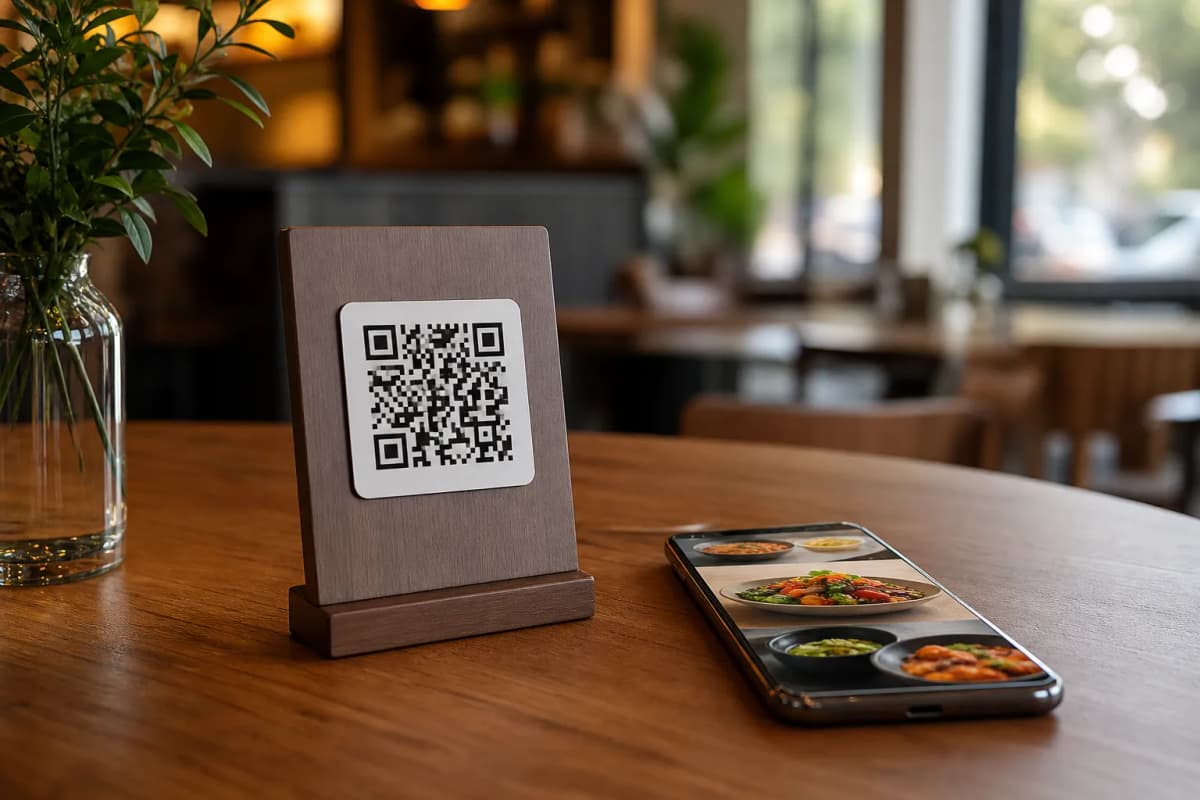
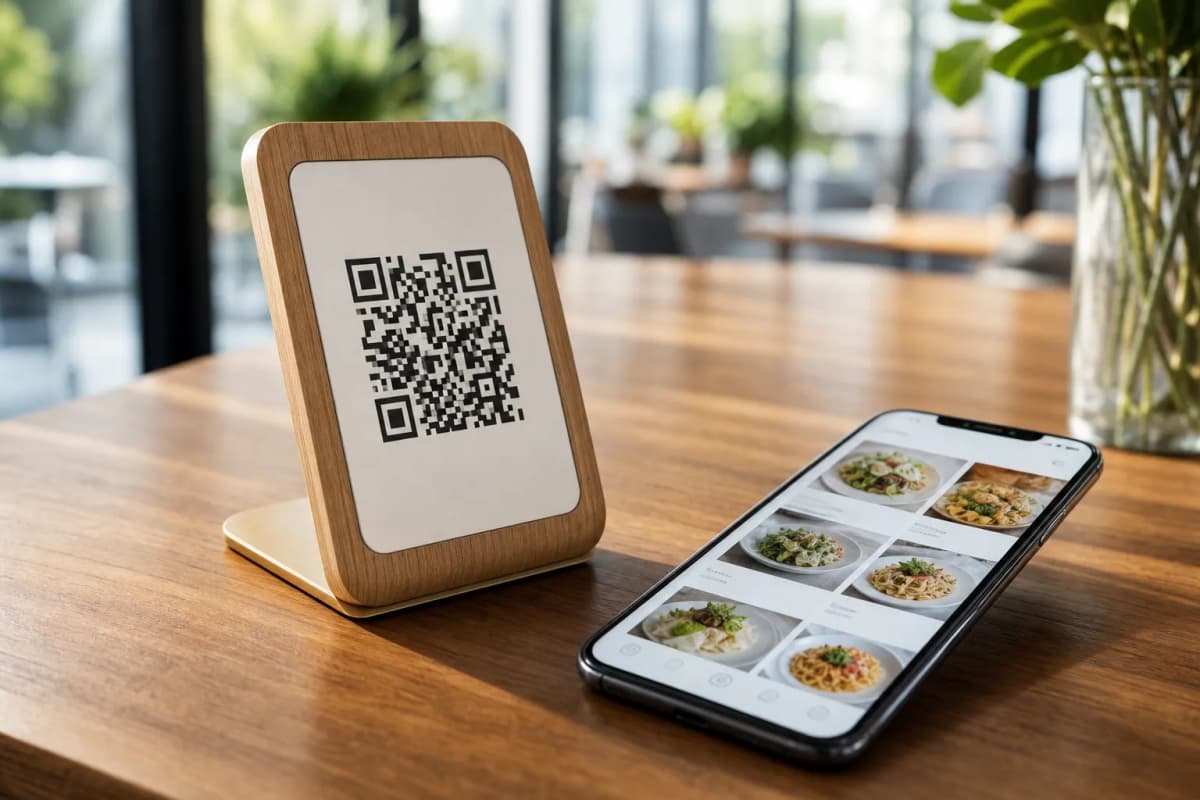
Step 5: Generate and Print Your QR Code
Finally, generate your professional QR code. You can customize the code with your restaurant colors and logo to fit your aesthetic. Print these codes and place them on your tables. When guests sit down, they scan, order, and can use the Call Waiter feature to request the bill or ask for assistance with one tap.
Step 6: Enhance the Guest Experience
Once the basics are running, utilize the built-in customer experience tools. Activate the table reservation system so future guests can book a spot directly through your menu. You should also turn on the in-menu rating system. This allows you to collect comprehensive customer feedback privately and improve your service.
Start Your Digital Menu Journey Today
Upgrading your restaurant technology does not have to be complicated. eMenu AI provides an all-in-one solution for your daily operations. Check out our affordable pricing plans, including a free tier, to help you get started risk-free. Take control of your guest experience and launch your new menu right now.