Here is a practical, step by step guide to getting your digital menu live and running smoothly.
Step 1: Build Your Digital Menu Quickly
The foundation of any great dining experience is a clear, appetizing menu. To start, open eMenu AI and create your account. You can do this from any device, whether it is an iPhone, Android tablet, or your computer web browser. Once inside, begin adding your categories and dishes. If you do not have professional photos for every item, eMenu AI features built-in AI food image generation to help your menu look delicious instantly. You have full control from the web dashboard to update prices, hide out of stock items, and organize sections in real time.
Step 2: Choose Your QR Menu Restaurant Design
Your menu should reflect your brand perfectly. eMenu AI offers multiple ready templates that you can customize with your specific brand colors and logo. You can explore these designs at the templates gallery. At this stage, you will also want to configure your language options. eMenu AI breaks down language barriers by offering:
- Automatic translation for over 100 world languages.
- One tap language switching for international guests.
- Fully customizable text layouts to fit your chosen template.
Step 4: Enhance the Customer Experience
Before you print your codes, take advantage of built-in features that make dining smoother. Enable the Call Waiter feature so guests can request assistance or the bill with one tap from their phones. Your staff will receive instant notifications with the exact table number. You can also turn on the in-menu rating system to collect comprehensive customer feedback privately before they leave. If you handle takeaways, be sure to enable pickup orders so customers can order ahead without making a phone call.
Step 5: Print Your Custom QR Codes
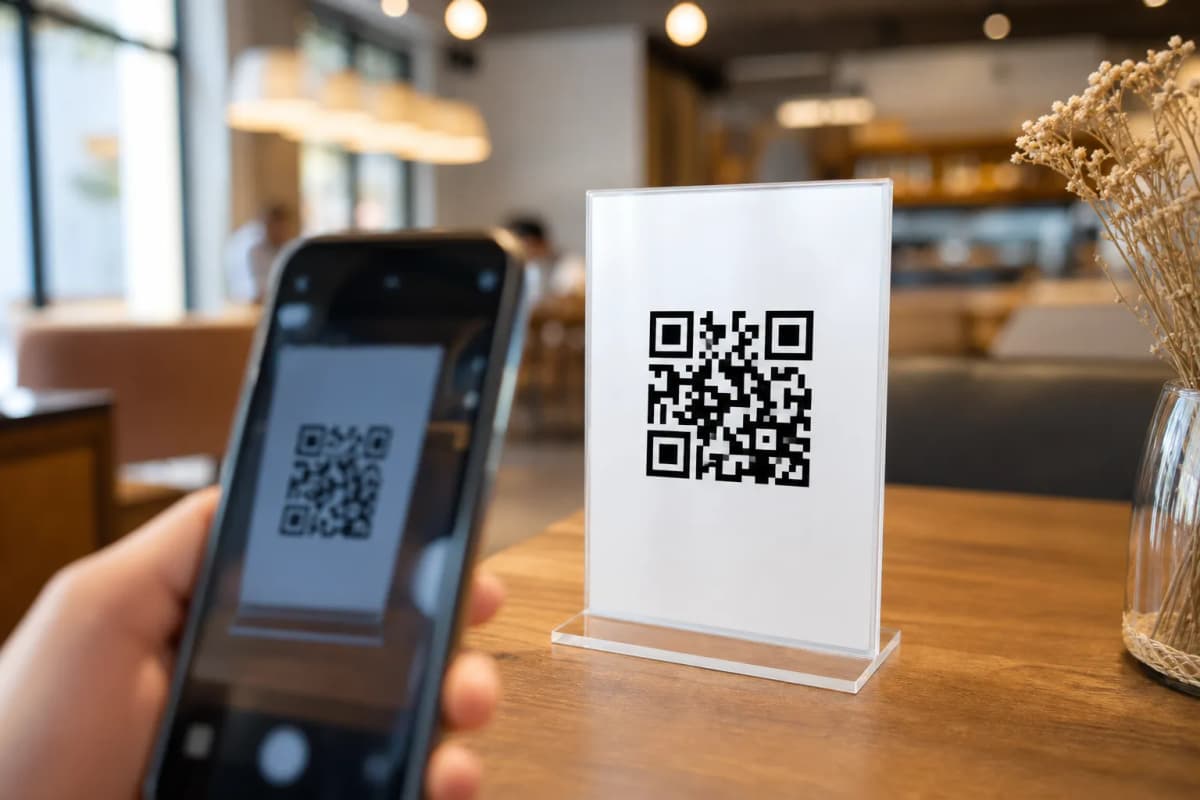
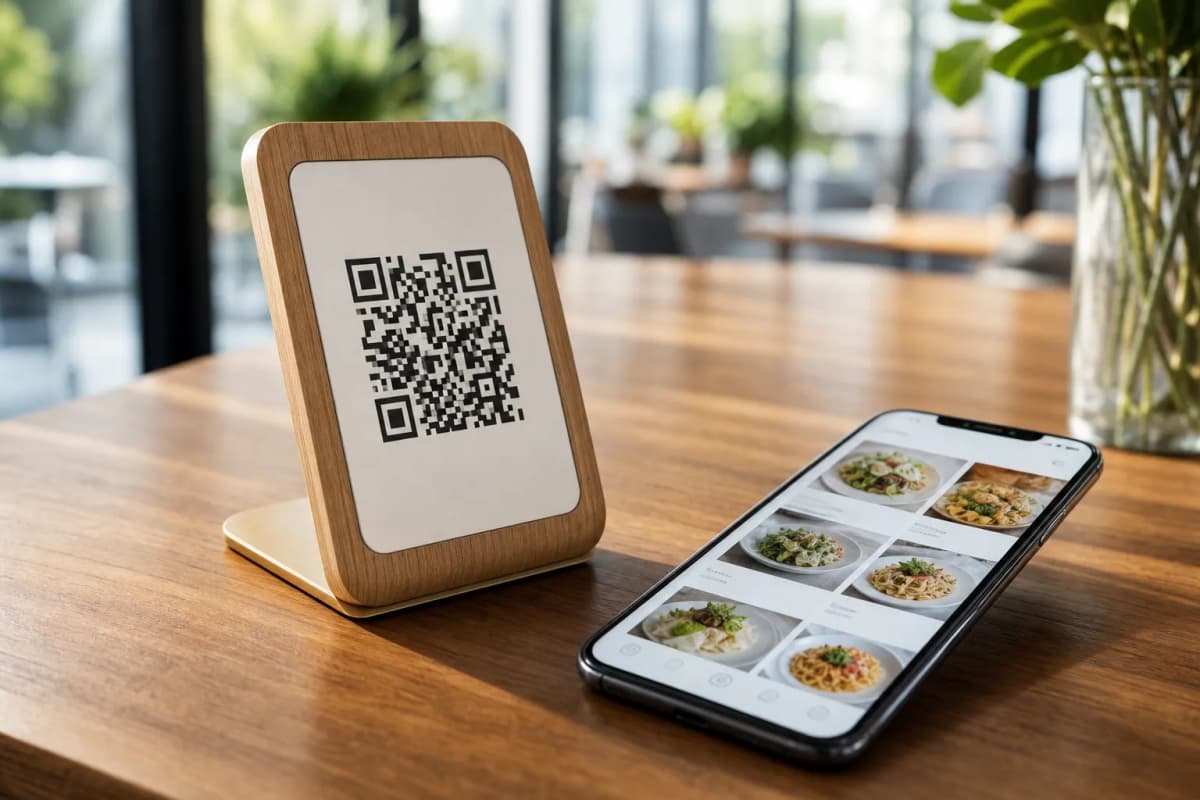
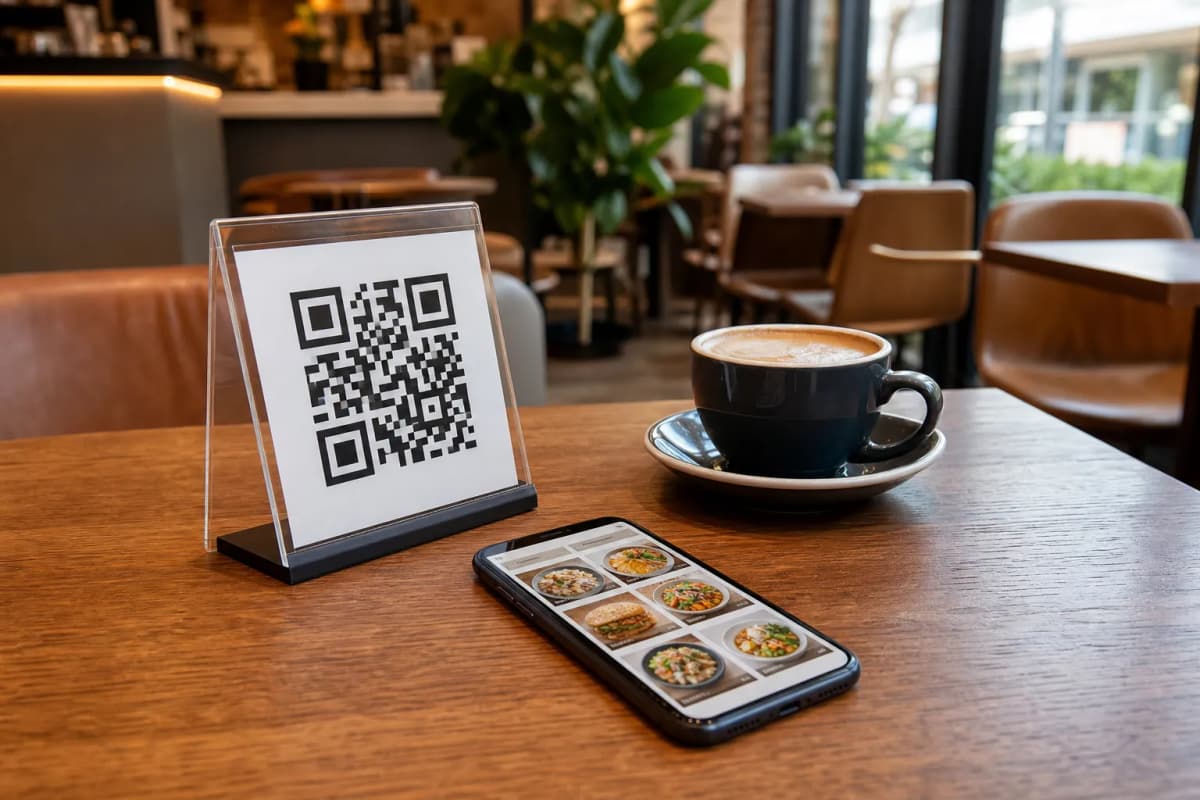
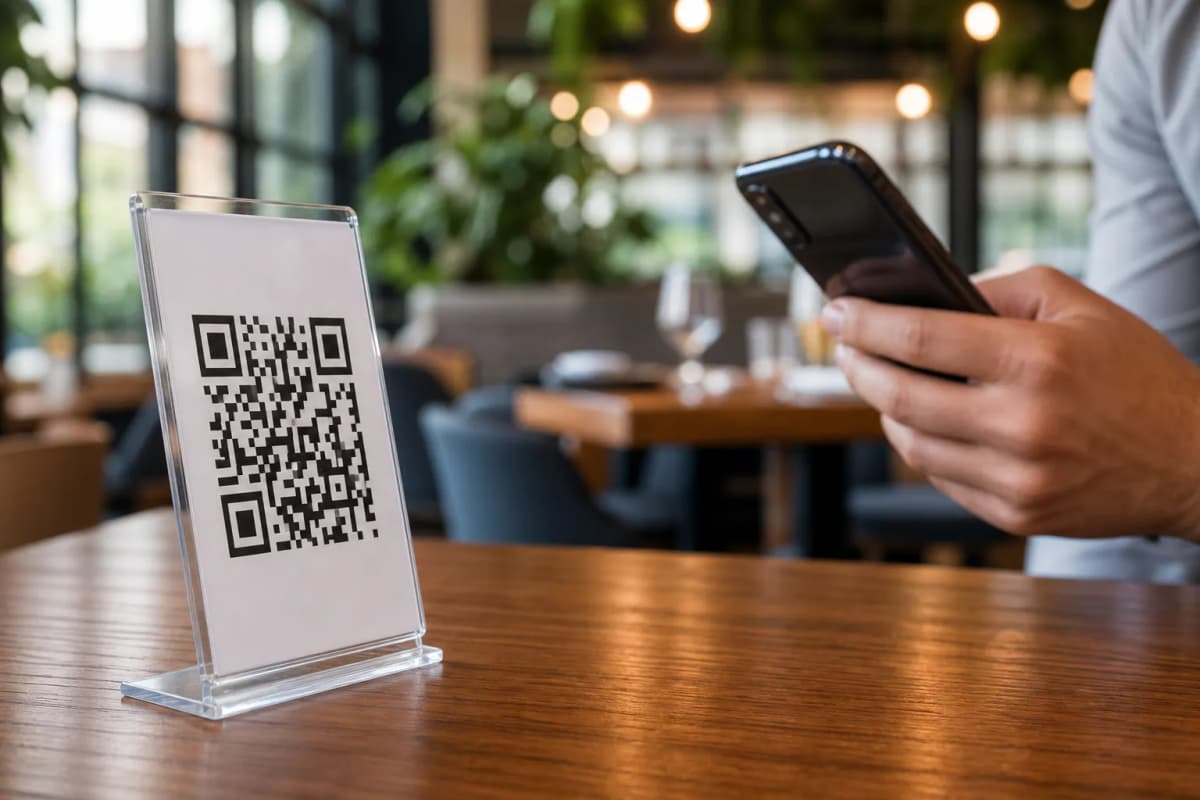
The final step is getting the code onto your tables. eMenu AI generates a professional QR code that you can customize to match your restaurant aesthetic. Download the high-resolution code and print it for table tents, stickers, or entrance displays. Because the QR code links dynamically to your digital menu, you never have to reprint it when you change prices, update images, or add new seasonal dishes.
Start Your Digital Transformation Today
Upgrading your ordering process takes just a few minutes, but it will save your staff hours of work every week. With very affordable pricing plans available (including a free tier), there is no reason to delay. Download the eMenu AI app today to build a faster, smarter, and more profitable dining experience for your customers.