Tutorials

Digital Restaurant Menu: Easy Setup Steps

eMenu AI TeamJul 11, 20263 min read707 views

Launch Your Digital Restaurant Menu Today

Setting up a digital restaurant menu is no longer a complicated technical project. If you want to modernize your cafe or dining room, you need practical steps to get started right away. Using eMenu AI, you can transform how guests view your dishes, place orders, and pay bills. This guide walks you through the exact steps to launch your setup, ensuring you give your customers a smooth, app-free dining experience while maintaining full control over your daily operations.

Step 1: Access the Platform and Build Sections

The first step is to get your restaurant onto the system. You do not need to install complex software. Simply open eMenu AI on your iPhone, iPad, Android device, or web browser. Manage everything from a computer browser in your back office or from a tablet at the host stand. Start by adding your dishes, setting prices, and organizing items into clear sections. If you lack professional photos, use the built-in AI food image generation to create mouth-watering pictures instantly.

Step 2: Design and Translate Your Digital Restaurant Menu

Your digital restaurant menu should reflect your brand perfectly. Navigate to the ready templates section to choose a professional design. Every template is fully customizable to match your brand colors. If you need something specific, custom templates are made free on request. Next, ensure guests can read your offerings. The platform supports over 100 world languages with automatic translation. Customers switch languages with one click, eliminating communication barriers.

Step 3: Enable Ordering and POS Integration

Once your items look great, decide how customers will order. Enable table ordering, allowing guests to send orders directly from their seat to the kitchen. For takeout, turn on pickup orders so customers can arrange takeaways through the menu without phone calls. You can also activate WhatsApp orders with live tracking. To keep staff efficient, connect the system to your POS and kitchen printers. Orders placed from tables stream instantly to the kitchen, so staff see them the moment they arrive.

Step 4: Set Up Payments and Experience Tools

Processing bills should be fast and secure. Enable the Pay in Menu feature so customers can settle checks directly from their phones using cards or local payment gateways. Funds settle directly to your account. The system supports over 95 world currencies, and new ones can be added in seconds. Elevate the dining experience by turning on the Call Waiter function, letting guests request assistance or the bill with one tap. Instant notifications with the table number alert your staff. Enable the Table Reservation system for direct bookings and the In-Menu Rating system to collect private feedback.

Step 5: Print Your Custom QR Code

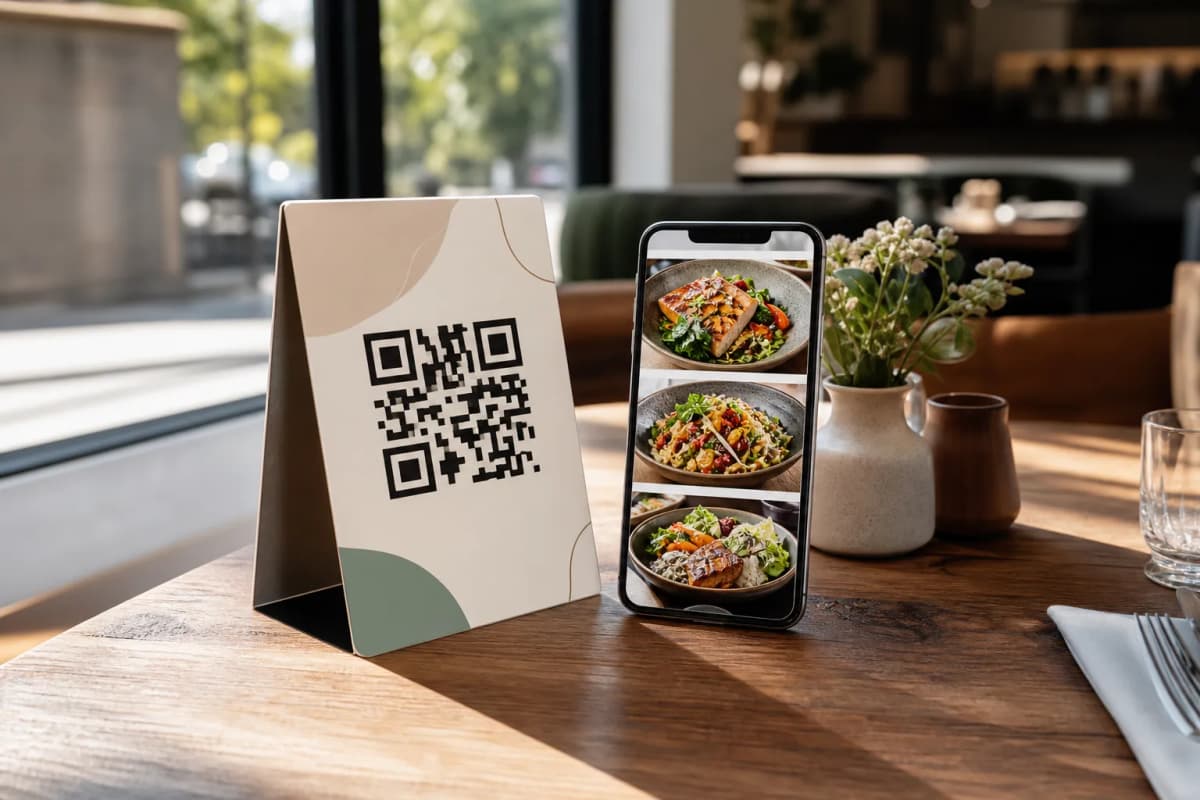
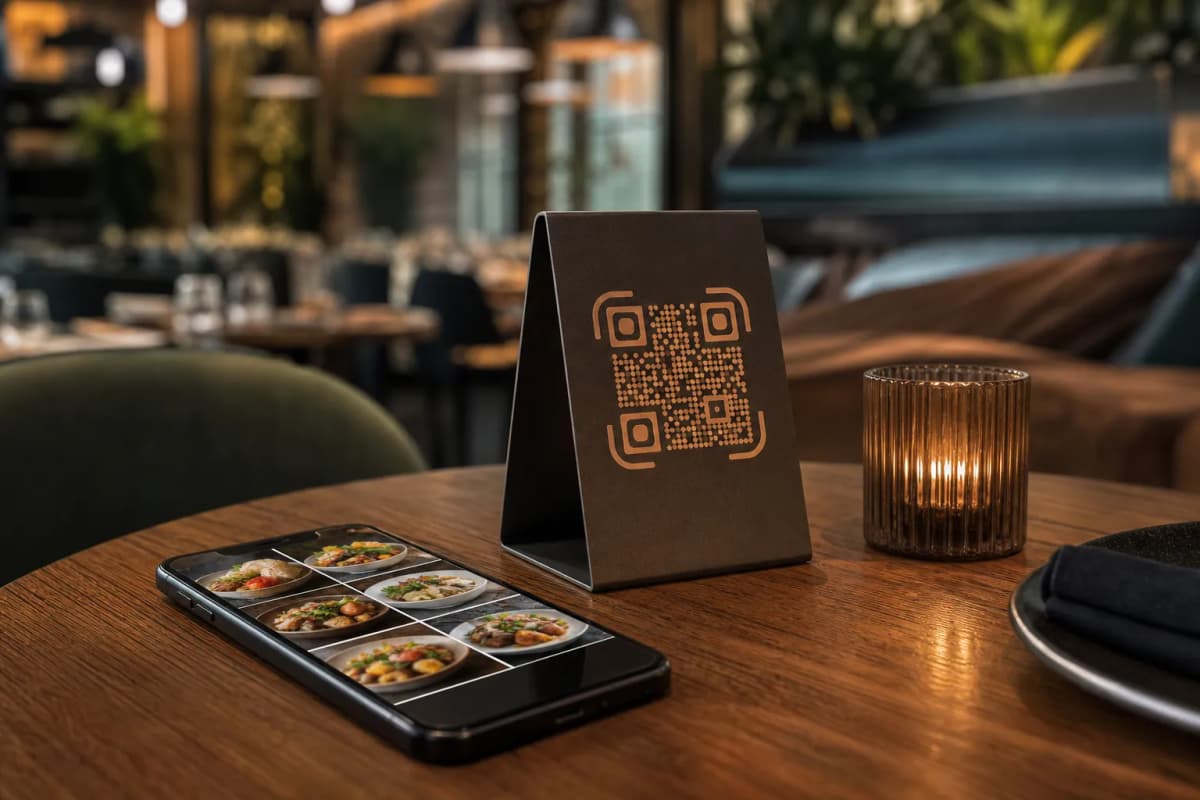
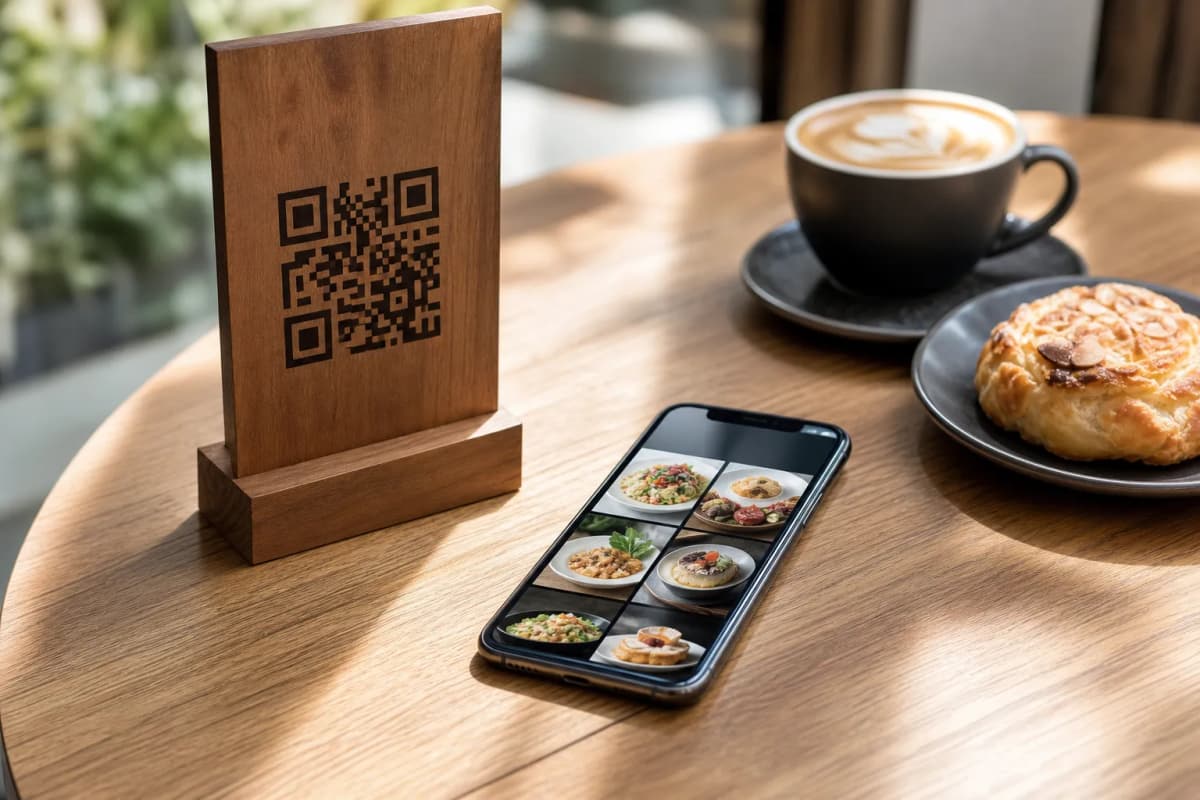
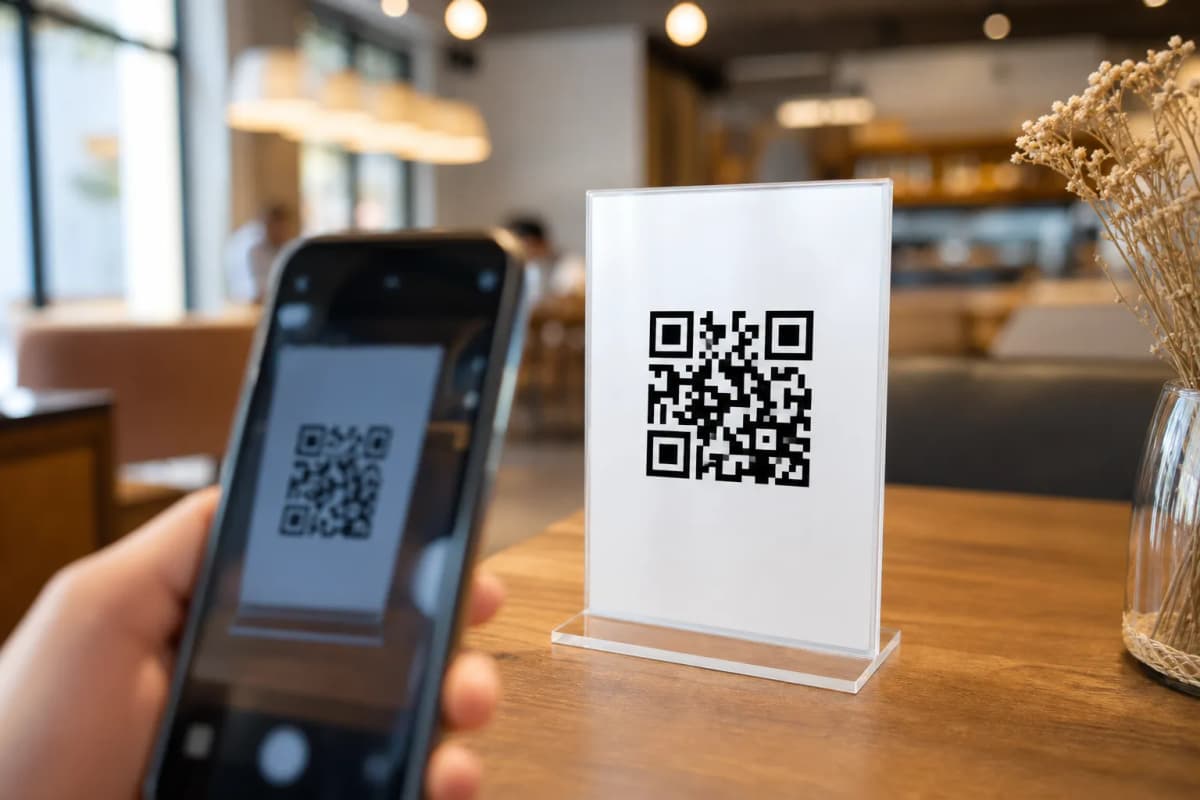
The final step is getting the system in front of customers. Generate your professional QR code from the dashboard, customizing it with your restaurant logo and brand colors. Print these codes on table tents or stickers. Customers simply scan the code with their smartphone camera to start browsing instantly, with no app installation needed.

Start Upgrading Your Restaurant Today

Launching your setup takes only minutes. Whether you manage a small cafe or a large venue, control your entire operation from one dashboard. Check out the affordable pricing plans (free plan available) to start risk-free. Stop relying on outdated paper and offer a modern dining experience. Get started today by opening eMenu AI to build your items now.
digital restaurant menurestaurant managementQR code menutable orderingPOS integrationrestaurant tech

Related articles