Here are the practical steps to launch your digital ordering system today.
Step 1: Access the eMenu AI Platform
To get started, you do not need complex hardware. Manage your setup from an iPhone, iPad, Android device, or a web dashboard. Simply open eMenu AI to create your account. This smart link detects your device and directs you to the correct version, whether you use the App Store, Google Play, or the web.
Step 2: Create and Customize Your Digital Menu
Once your account is ready, it is time to build your menu. Adding items is fast, and you can organize dishes into clear categories.
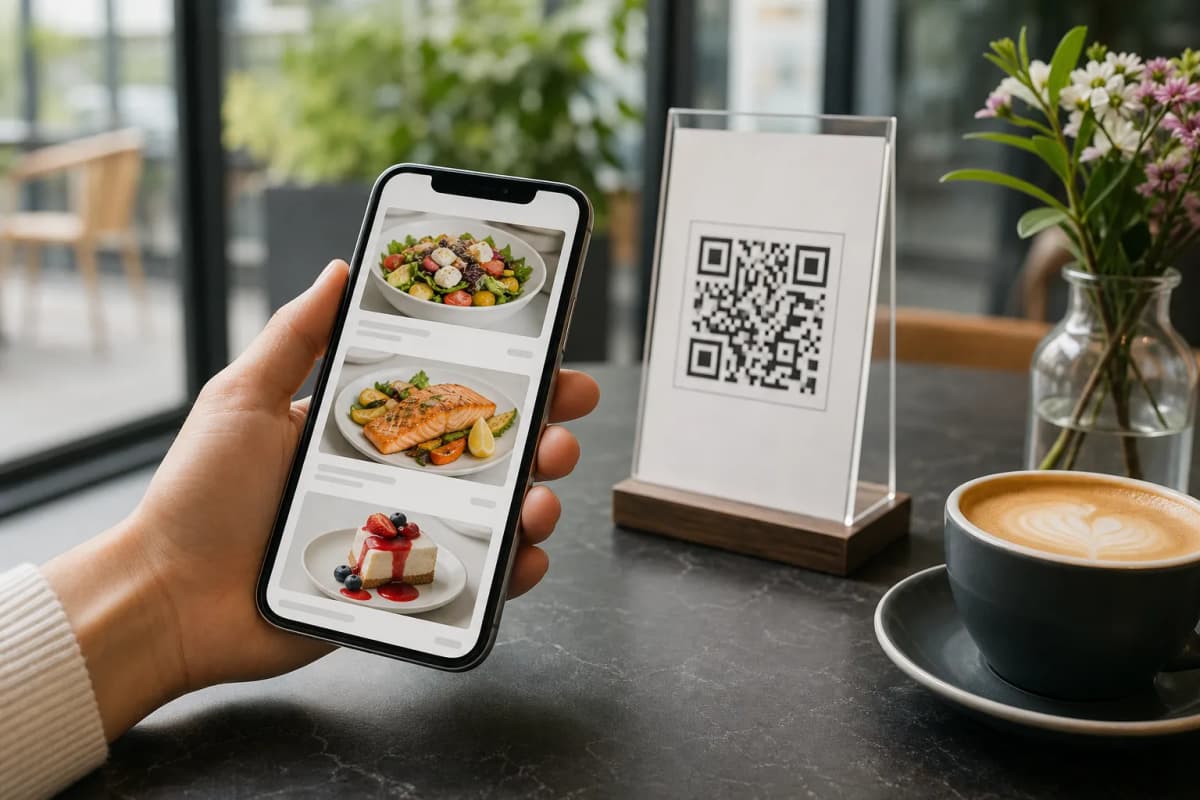
- AI Food Images: eMenu AI can generate high-quality AI food images for your menu items instantly if you do not have your own photography.
- Global Languages: Your menu is automatically available in over 100 world languages with automatic translation. Customers switch languages with one click.
- Professional Design: Choose from multiple ready templates designed for restaurants. Browse options in the templates gallery. Every template is fully customizable, and custom designs are created free on request to match your brand.
Step 3: Configure Your e Menu Order System for Restaurant Operations
The core of your setup is how you receive orders. eMenu AI provides multiple ways to serve customers smoothly depending on your exact workflow.
- Table Ordering: Allow guests to send orders straight from their table directly to the kitchen.
- WhatsApp Orders: Enable ordering via WhatsApp. Customers send orders to your business number and receive live order tracking.
- Pickup Orders: Let customers place takeaway orders straight through your menu, completely eliminating busy phone lines.
Step 5: Print Your Custom QR Code
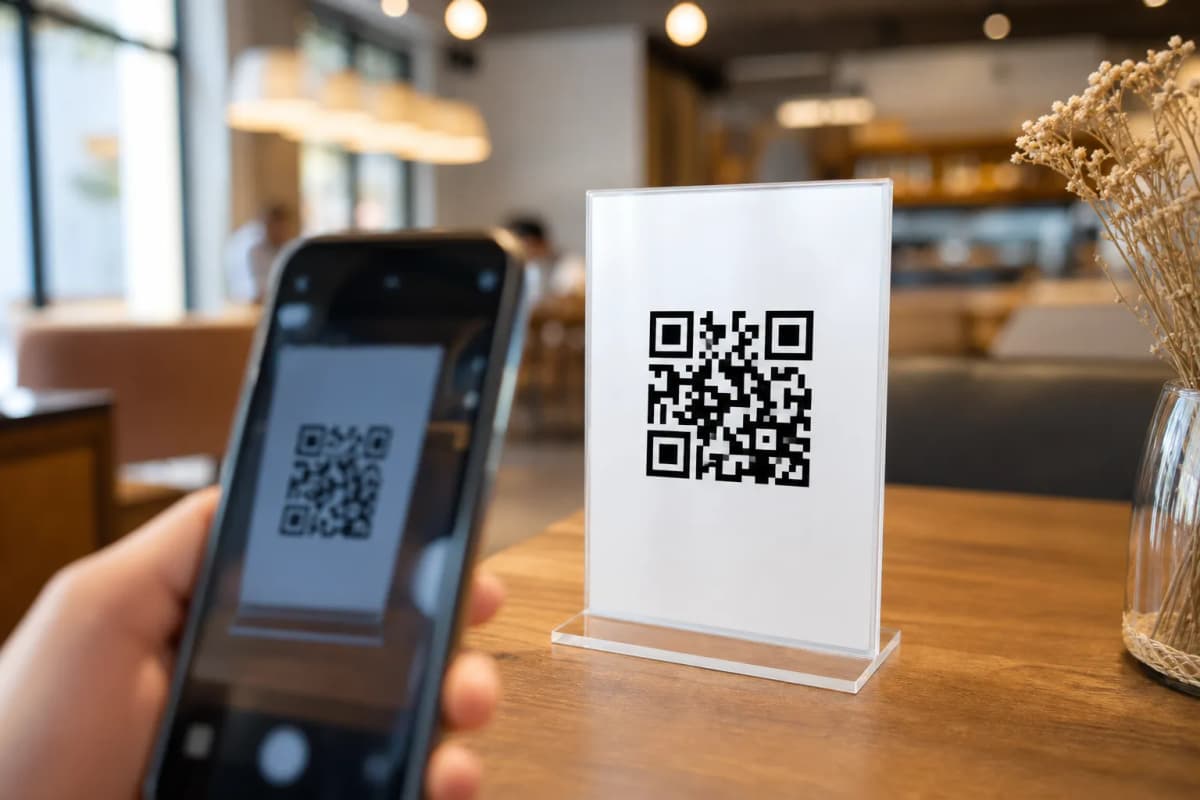
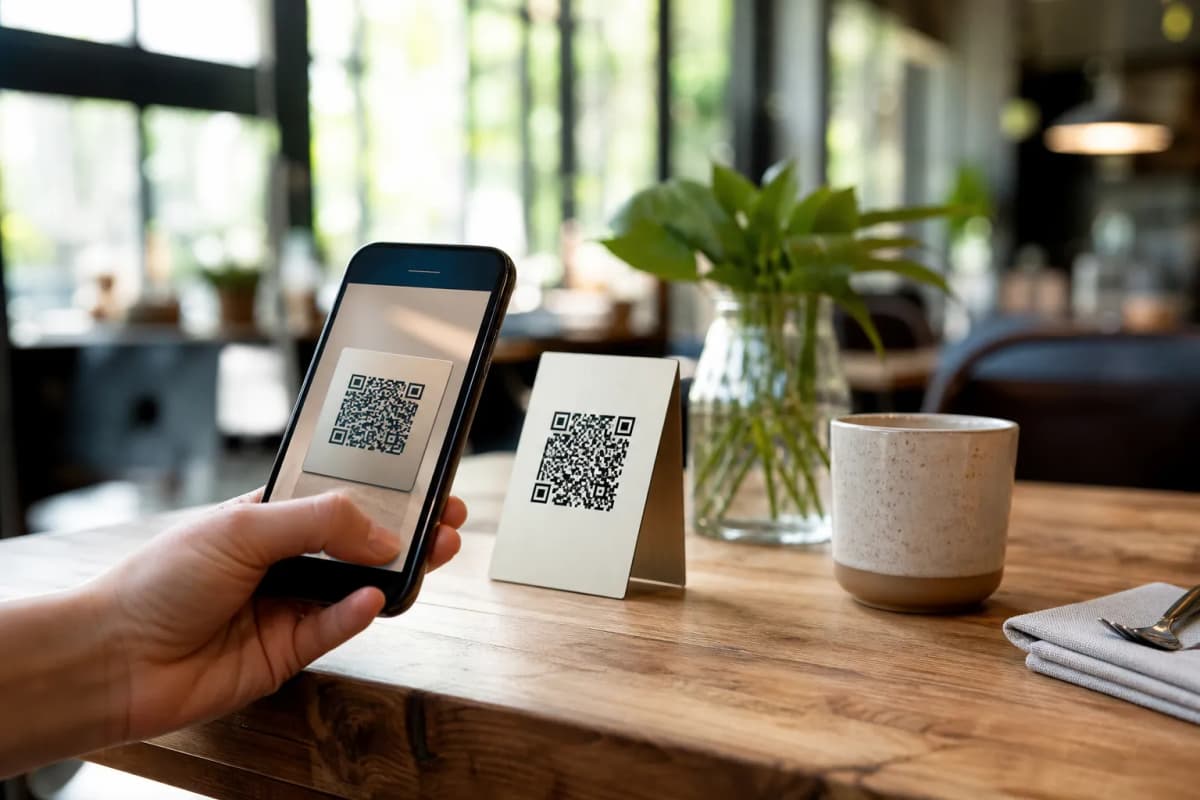
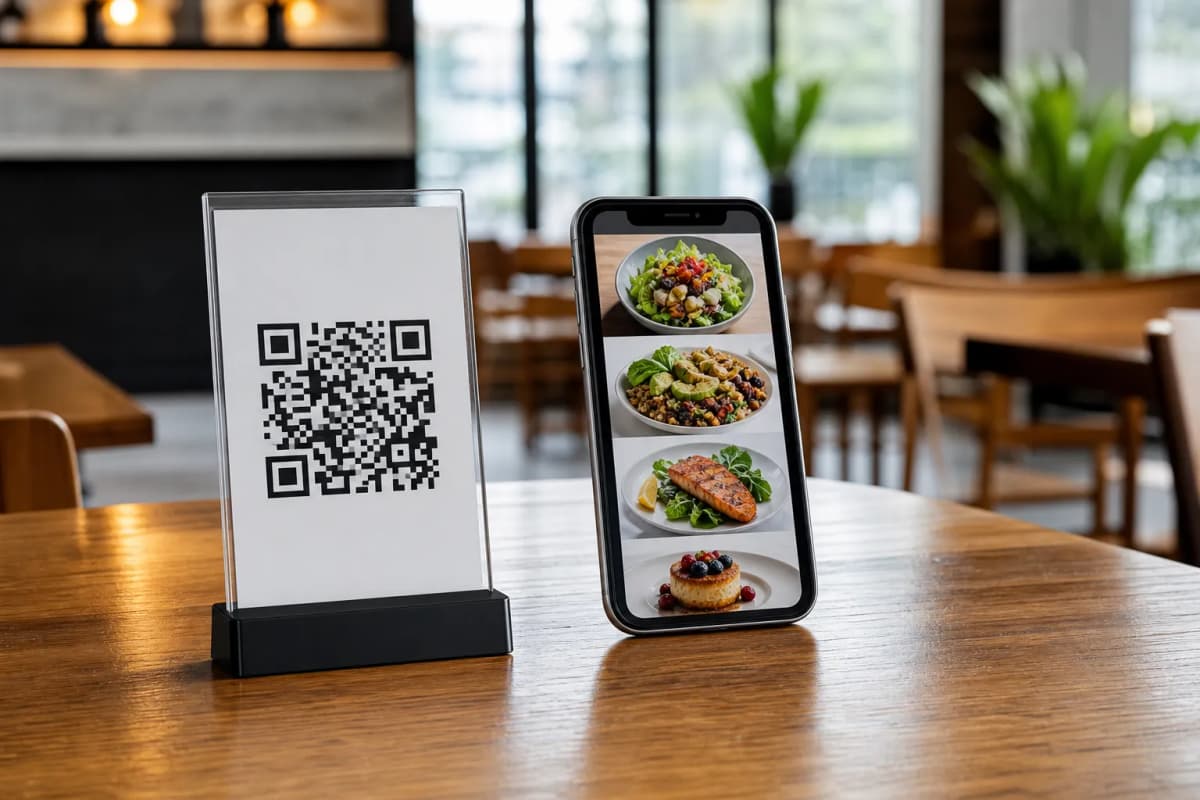
After your menu is configured, generate a professional QR code. Customize it with your restaurant colors and logo. Print these codes and place them on tables or at the entrance. When guests scan the code, they instantly access your platform.
Step 6: Activate Customer Experience Features
Turn on built-in features that make dining better for guests and easier for your team.
- Call Waiter: With one tap from the menu, customers request assistance or the bill. Staff get instant notifications with the table number and request type.
- Table Reservation System: Allow customers to book tables directly from within your menu before arriving.
- In-Menu Rating System: Collect comprehensive customer feedback directly inside the menu to improve your service.
Launching a modern system saves staff time and increases sales. eMenu AI offers very affordable plans, including a free tier to help you start immediately. Check out the pricing plans to find the best fit for your business.
Ready to transform your venue? Start building your menu today and give customers the fast service they expect.