How to Create and Launch Your e Menu in 5 Simple Steps
Step 1: Start Building Your e Menu
To get started, you need to access the eMenu AI platform. You can create your menu from any device, whether you prefer working on a web dashboard from your office computer or using an iPad or Android tablet. Once inside, start adding your sections, item descriptions, and pricing. If you lack professional photos for your food, do not worry. eMenu AI features a powerful AI food image generation tool that creates highly appetizing pictures for your items automatically, making your digital offerings look professional instantly.
Step 2: Customize Your Design and Languages
A great digital menu should reflect your brand perfectly. Browse through our multiple ready templates to find a layout that fits your cafe or fine-dining establishment. Every template is fully customizable, and custom templates are made free on request to match your brand. Next, you can instantly turn your menu into a global tool. eMenu AI supports over 100 world languages with automatic translation. When international guests scan your code, they can switch to their native language with one click, removing all language barriers.
Step 4: Enhance the Guest Experience
Turn on additional features to give your customers a premium treatment. Enable the Call Waiter function so diners can request assistance or the bill with one tap. Your staff will receive instant notifications showing the exact table number and request type. You can also activate the Table Reservation System, allowing guests to book tables directly from within the menu before they arrive. Finally, switch on the In-Menu Rating System to collect comprehensive customer feedback privately. This allows you to address issues before the customer leaves a public review.
Step 5: Print Your Professional QR Code
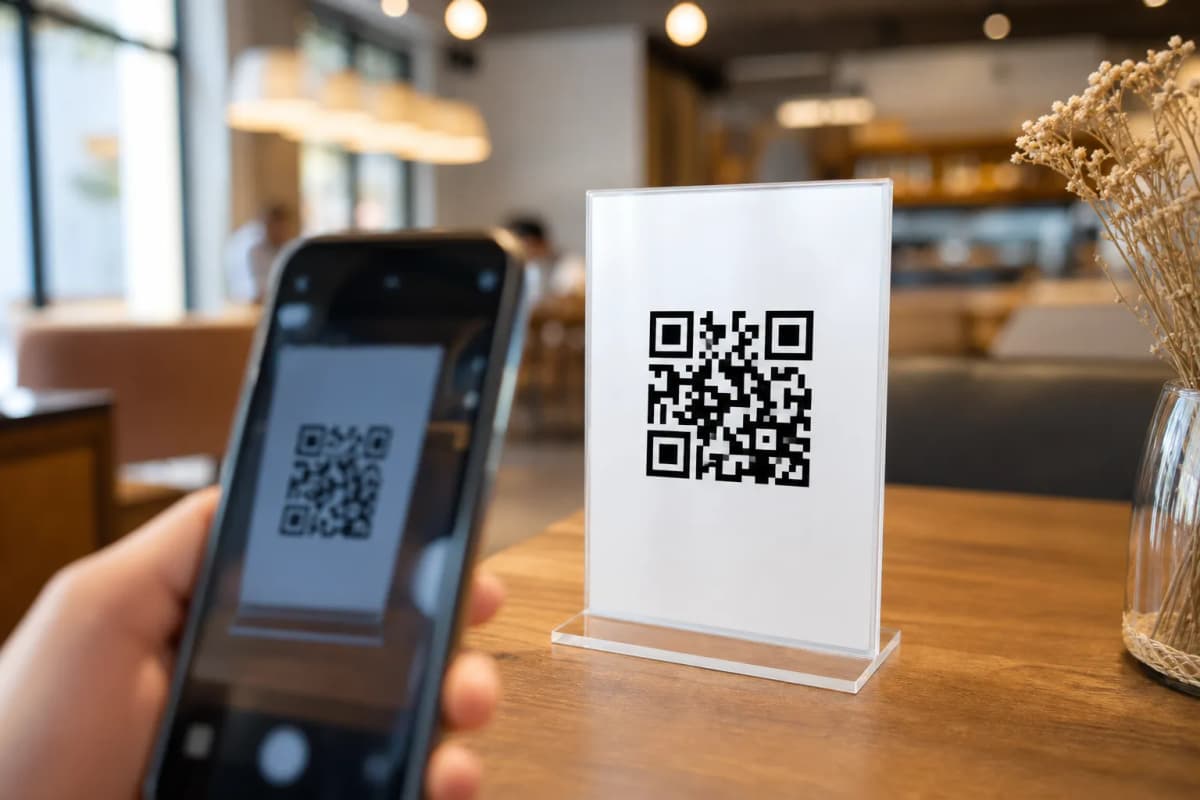
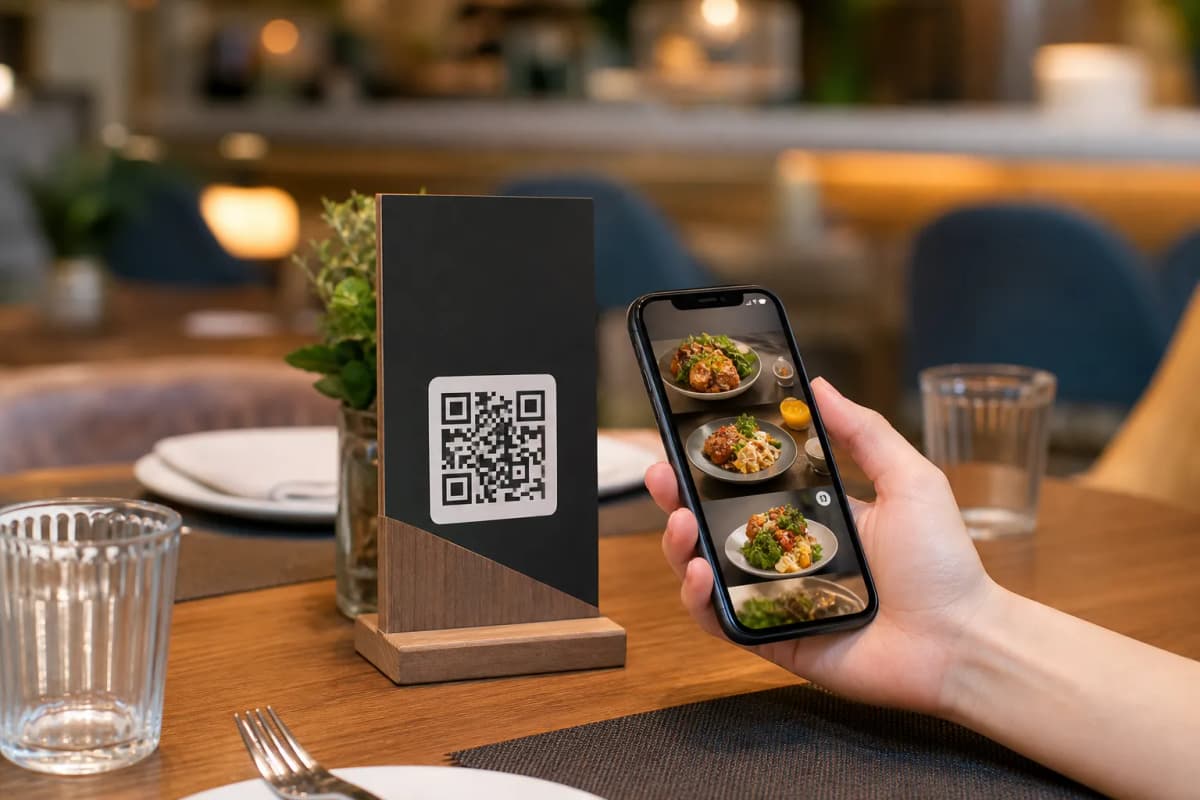
The last step is getting your new system in front of your customers. Generate a professional QR code right from the eMenu AI dashboard. You can fully customize the QR code with your brand colors and embed your unique logo in the center. Print these codes on table tents, stickers, or your front entrance window. When a guest points their phone camera at the code, they are connected to your full digital experience without downloading a single thing.
Ready to modernize your dining room and streamline daily operations? Start on the web or download the app today to begin setting up your digital menu. Check out our affordable pricing plans to see our packages, including a free tier to get started risk-free.