Getting Started with Your Digital Ordering System
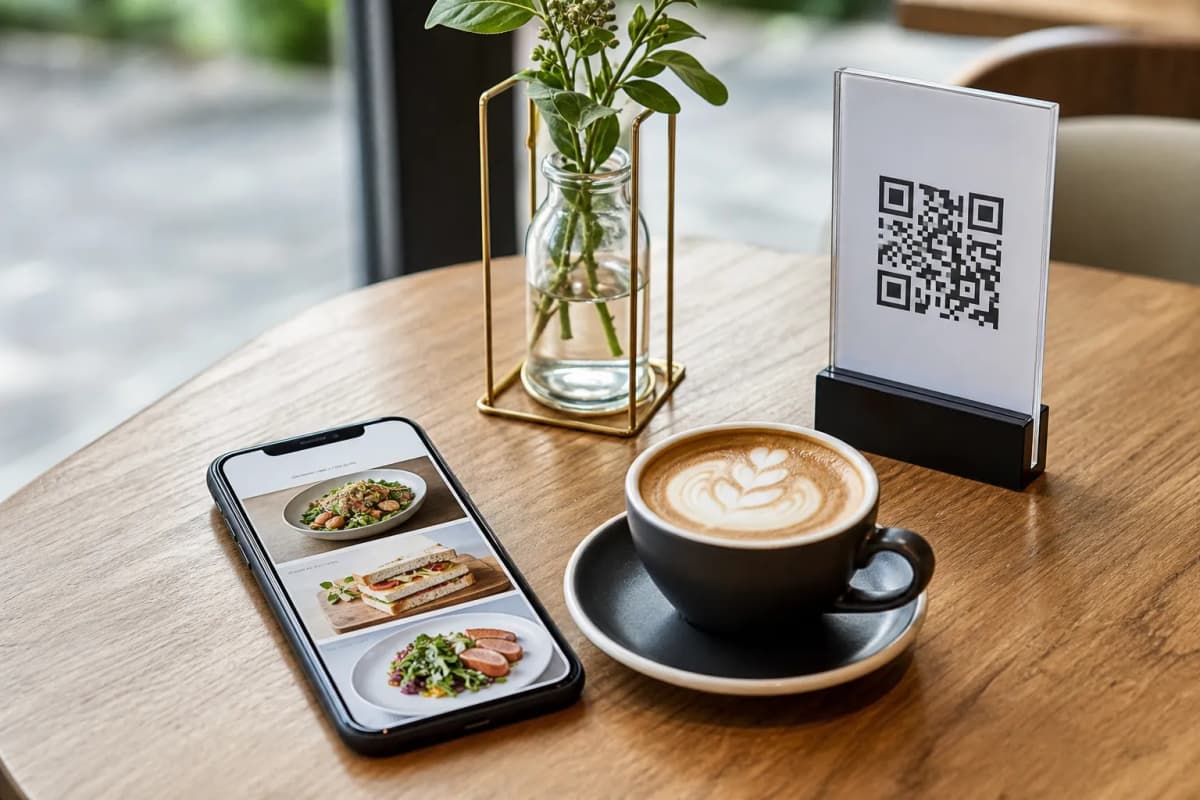
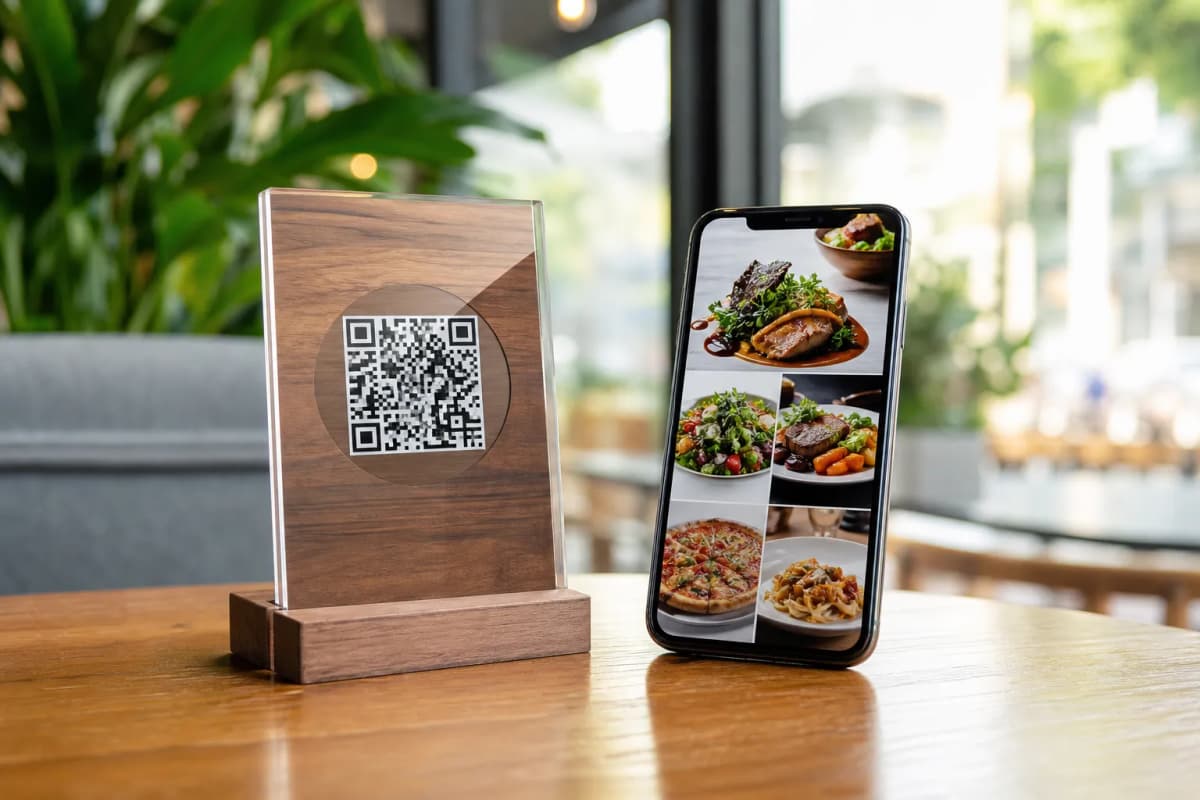
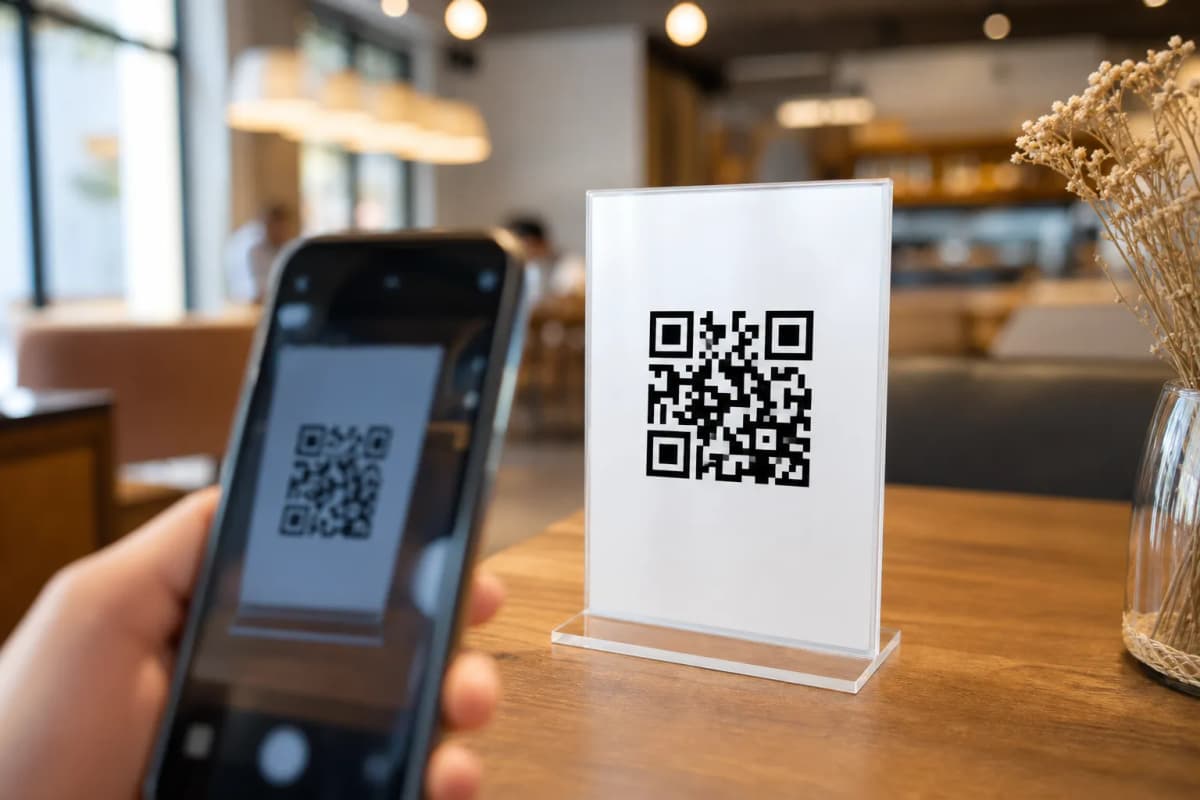
Many restaurant and cafe owners search for a reliable i menu solution to modernize their dining experience. Instead of relying on outdated paper prints, a smart digital setup allows your guests to scan, browse, and order directly from their own phones. eMenu AI provides all the tools you need to build this system quickly, without requiring your customers to download any apps.
Step 1: Access the Platform and Build Your Categories
You do not need specialized hardware to begin. You can manage everything right from your smartphone, tablet, or a computer browser. To start building, simply open eMenu AI on your preferred device. This smart link will automatically direct you to the App Store, Google Play, or the web dashboard based on what you are using.
Once inside, start by creating your main menu sections (like Starters, Mains, and Desserts). After organizing your categories, add your dishes and set your prices. If you are missing high-quality photos for your items, you can use the built-in AI food image generation feature to instantly create appetizing visuals for your digital menu.
Step 2: Customize Your Design and Languages
Your digital presentation should match your physical restaurant branding. eMenu AI offers a wide variety of professional designs. You can browse the multiple ready templates to find a layout that fits your cafe perfectly. Every template is fully customizable, and if you need a specific brand match, custom templates are made free on request.
Additionally, you can instantly break language barriers. The system supports over 100 world languages with automatic translation. Your guests can switch to their native language with a single click, making it incredibly easy for tourists and locals alike to read your offerings seamlessly.
A great digital menu does more than just display food. You can enable Table Ordering so customers can send requests straight from their seats to the kitchen. If you offer takeout, activate Pickup Orders to let customers place takeaway requests without calling in. You can even enable WhatsApp Orders for live order tracking directly through chat messages.
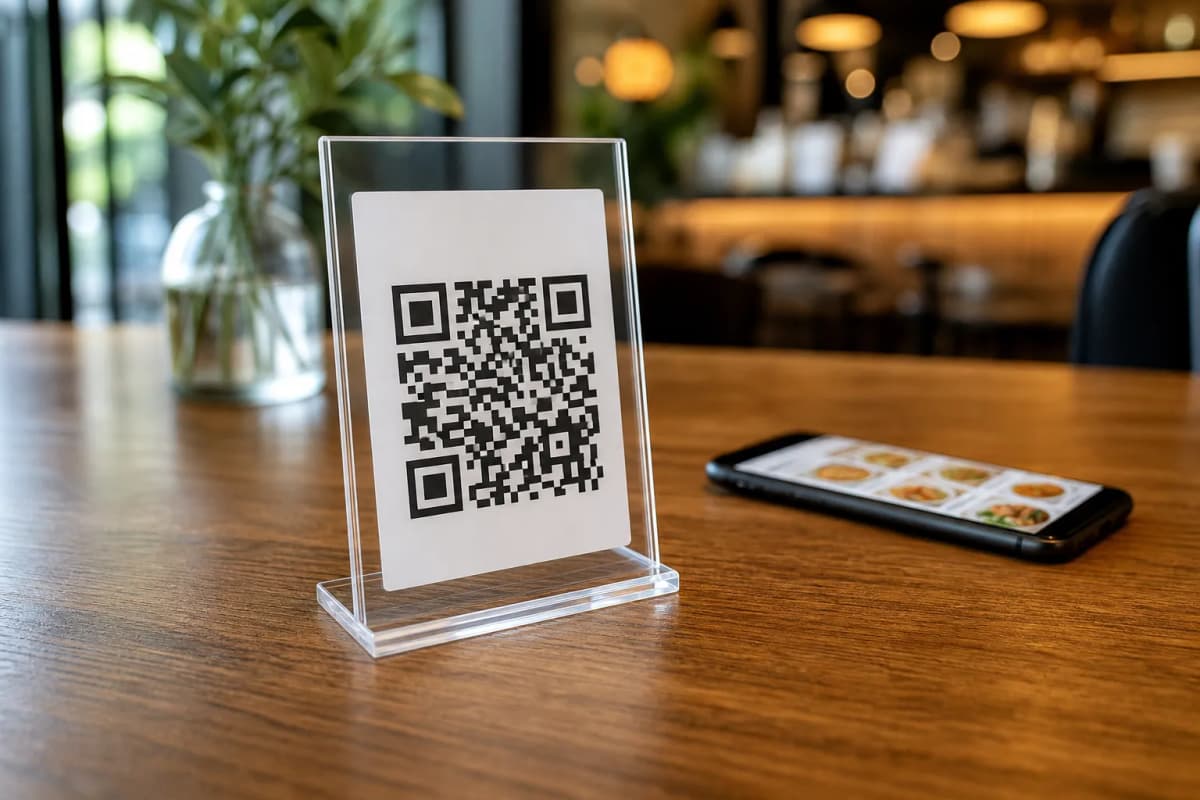
Step 4: Print Your QR Code and Gather Feedback
Once your customers start using the system, they can take advantage of the Call Waiter feature to request assistance or ask for the bill with one tap. Staff will receive instant notifications with the table number and request type. After the meal, the In-Menu Rating System helps you collect comprehensive customer feedback directly inside the menu, ensuring you maintain top service quality. You can even let them book future visits with the built-in Table Reservation System.
Launch Your Smart Menu Today
Upgrading your restaurant operations is faster than ever. From organizing items and prices to publishing menu updates in real time, the entire setup process is designed for busy owners. Start with a free plan and explore affordable upgrades by checking the pricing options. Ready to transform your tables? Create your menu right now and serve your guests better.