Getting Started with eMenu AI: Mobile Setup and First Menu Creation
Transitioning your restaurant or cafe to a digital menu does not have to be a complicated technical process. With eMenu AI, you can transition your physical paper menu into a dynamic, interactive QR menu in less than ten minutes. This guide provides a straightforward, step-by-step walkthrough to download the application on your mobile device and set up your very first digital menu.
Step 1: Download the eMenu AI App
Before you begin building your menu, you need to install the application on your smartphone or tablet. The system works seamlessly across all modern operating systems. You can use our smart app download link which automatically redirects you to the correct store for your device, or download the app directly using the links below:
- For Apple devices, download the eMenu AI iOS app from the App Store.
- For Android devices, download the eMenu AI Android app from the Google Play Store.
If you prefer working on a larger screen like a desktop or laptop, you can also access the full system via the web dashboard at any time.
Step 2: Register Your Restaurant Account
Once you open the app, you will need to set up your business profile. Follow these quick instructions:
- Tap on the "Sign Up" or "Register" button on the home screen.
- Enter your active email address and choose a secure password.
- Fill in your restaurant details, including the official business name, primary currency (we support over 95 world currencies), and your main language.
- Select your physical location and tap "Create Account" to access your dashboard.
Step 3: Create Categories and Add Your First Dishes
A clean, organized menu helps customers find what they want quickly. Start by building your menu structure:
- Create Menu Sections: Navigate to the "Menu" tab and tap "Add Category". Create your main sections (for example: Appetizers, Main Courses, Desserts, and Drinks).
- Add a New Dish: Tap on your newly created category and select "Add Item".
- Fill in the Details: Enter the name of the dish, a descriptive outline of the ingredients, and the price.
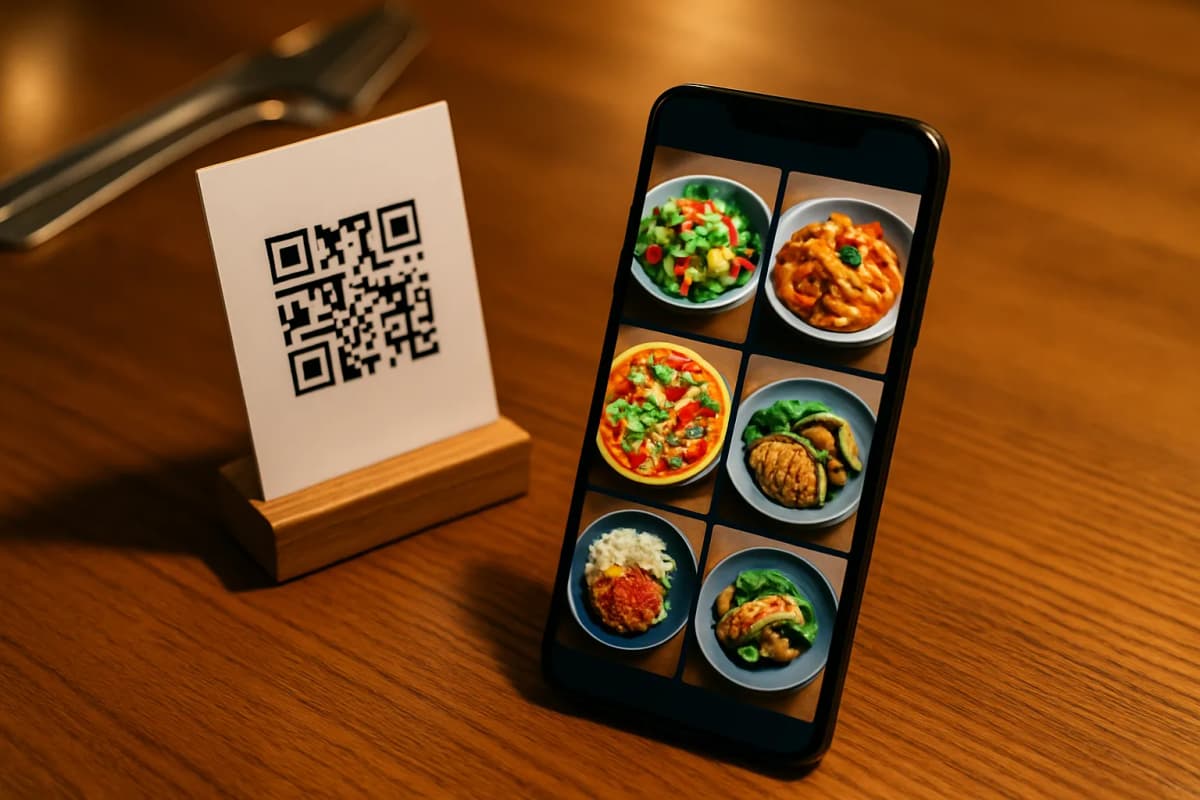
- Generate AI Food Images: If you do not have professional photographs of your dishes yet, you can use the built-in AI image generator inside the app to create high-quality, realistic visual representations of your food instantly.
Step 4: Customize Your Template and Generate Your QR Code
Now that your dishes are listed, you need to decide how your menu will look to your customers when they scan the code at their tables:
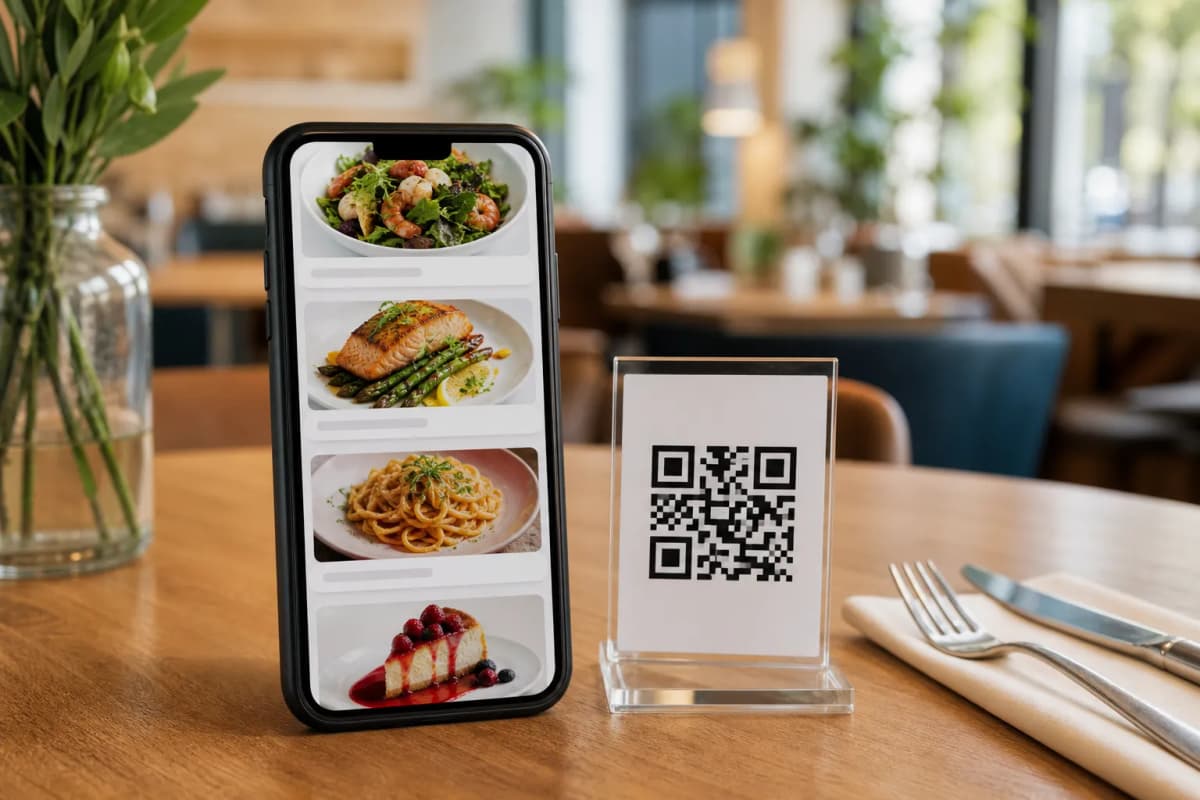
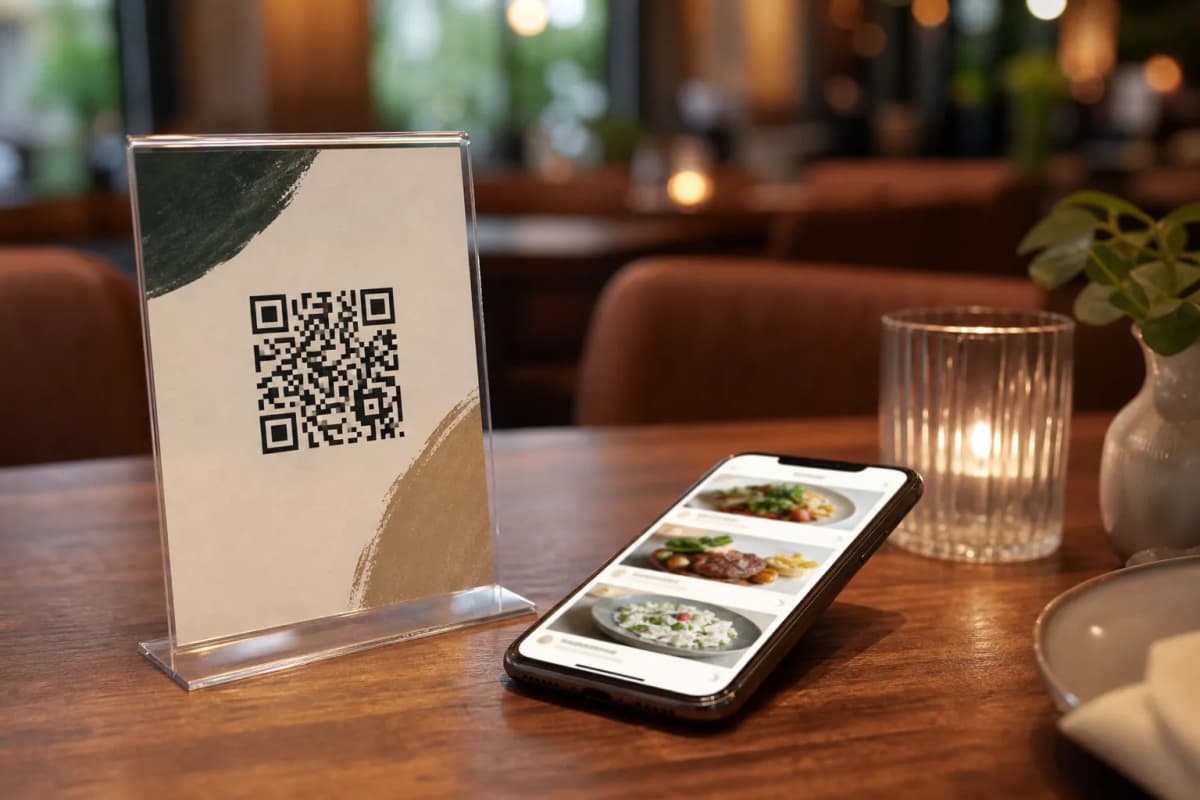
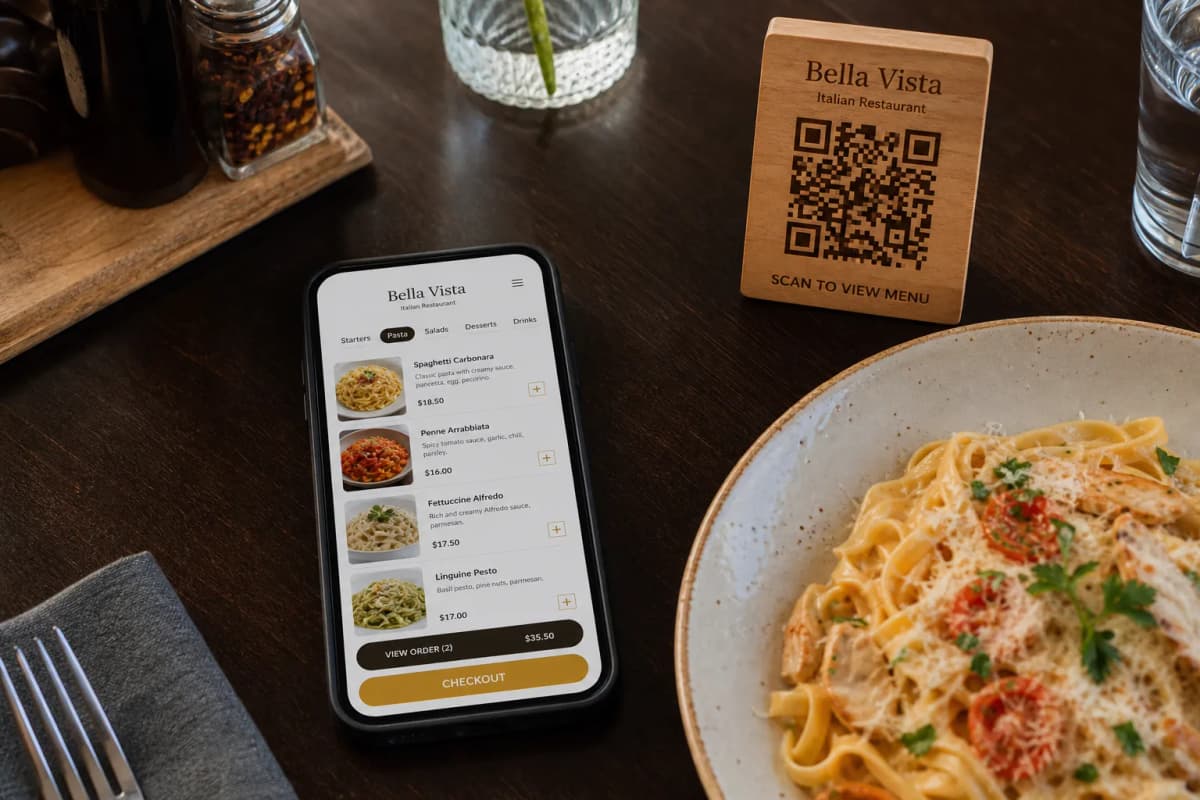
Go to the Design section in your app. You can select from several ready-made, professionally designed templates. To view the full list of options, visit our digital menu templates gallery. Every template is fully customizable, allowing you to match your restaurant's unique brand, colors, and logo. Once you select your design, click on the "Generate QR Code" button. You can download this custom high-resolution QR code to print on table tents, flyers, or window stickers.