Running a busy restaurant means every second counts. When you switch to a digital QR menu, the last thing you want is your staff manually copying orders from a customer's phone screen into your main system. Activating smart menu integrations bridges the gap between your digital menu and your physical kitchen, allowing orders to flow directly where they need to go without manual entry errors.
Why Menu Integrations Matter for Your Daily Operations
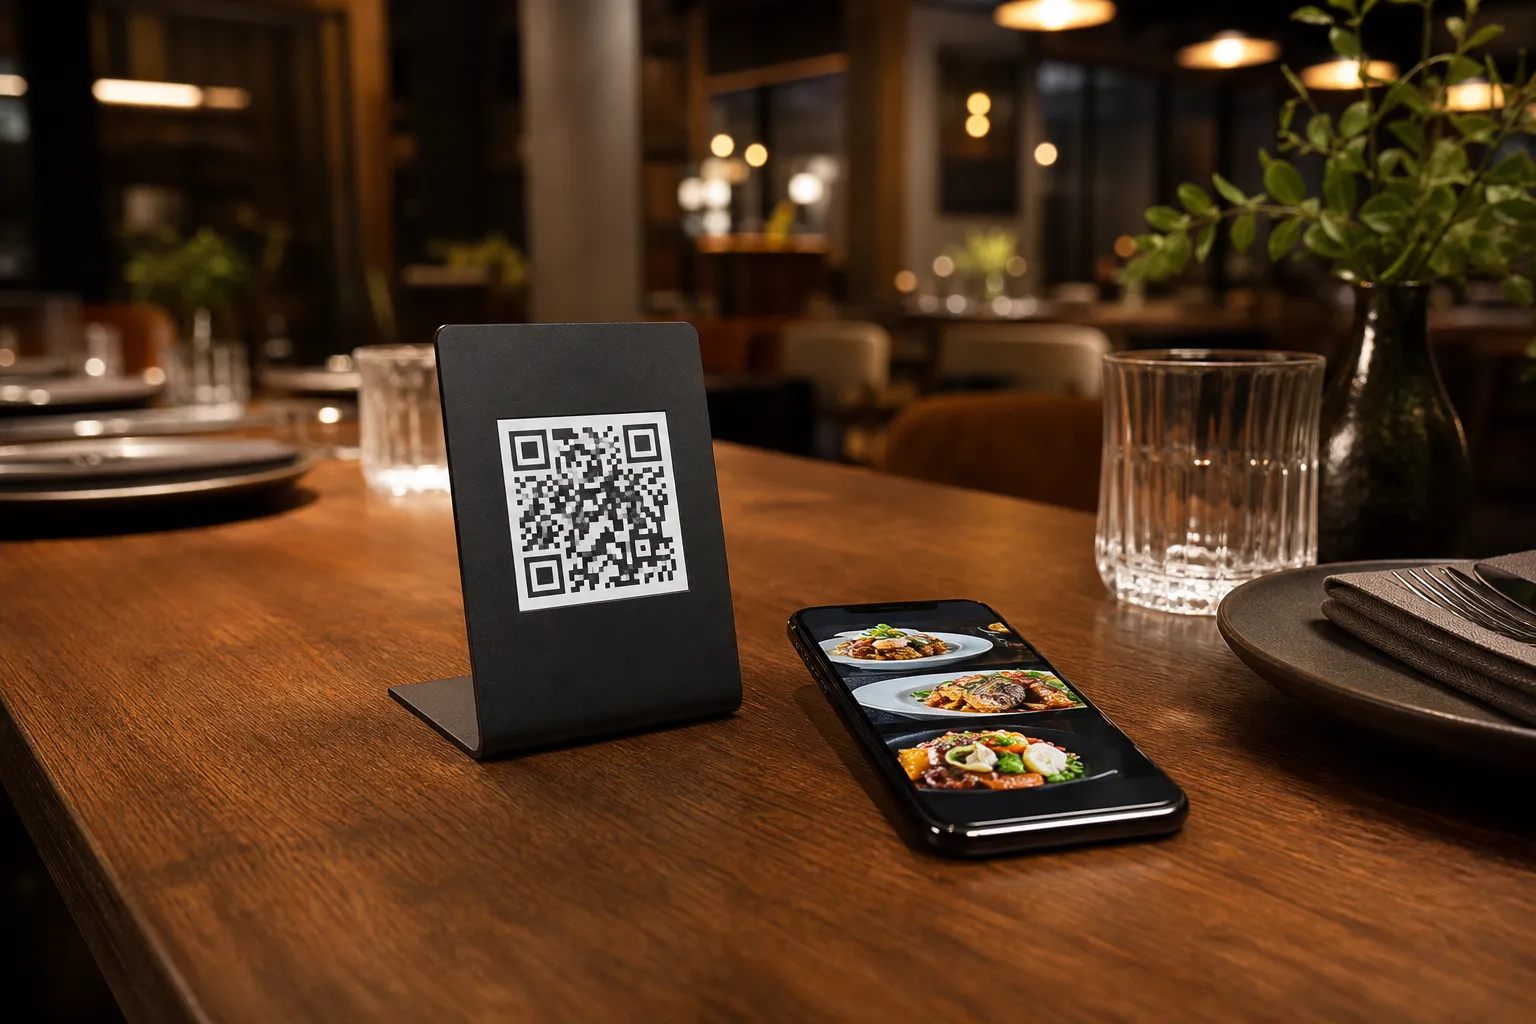
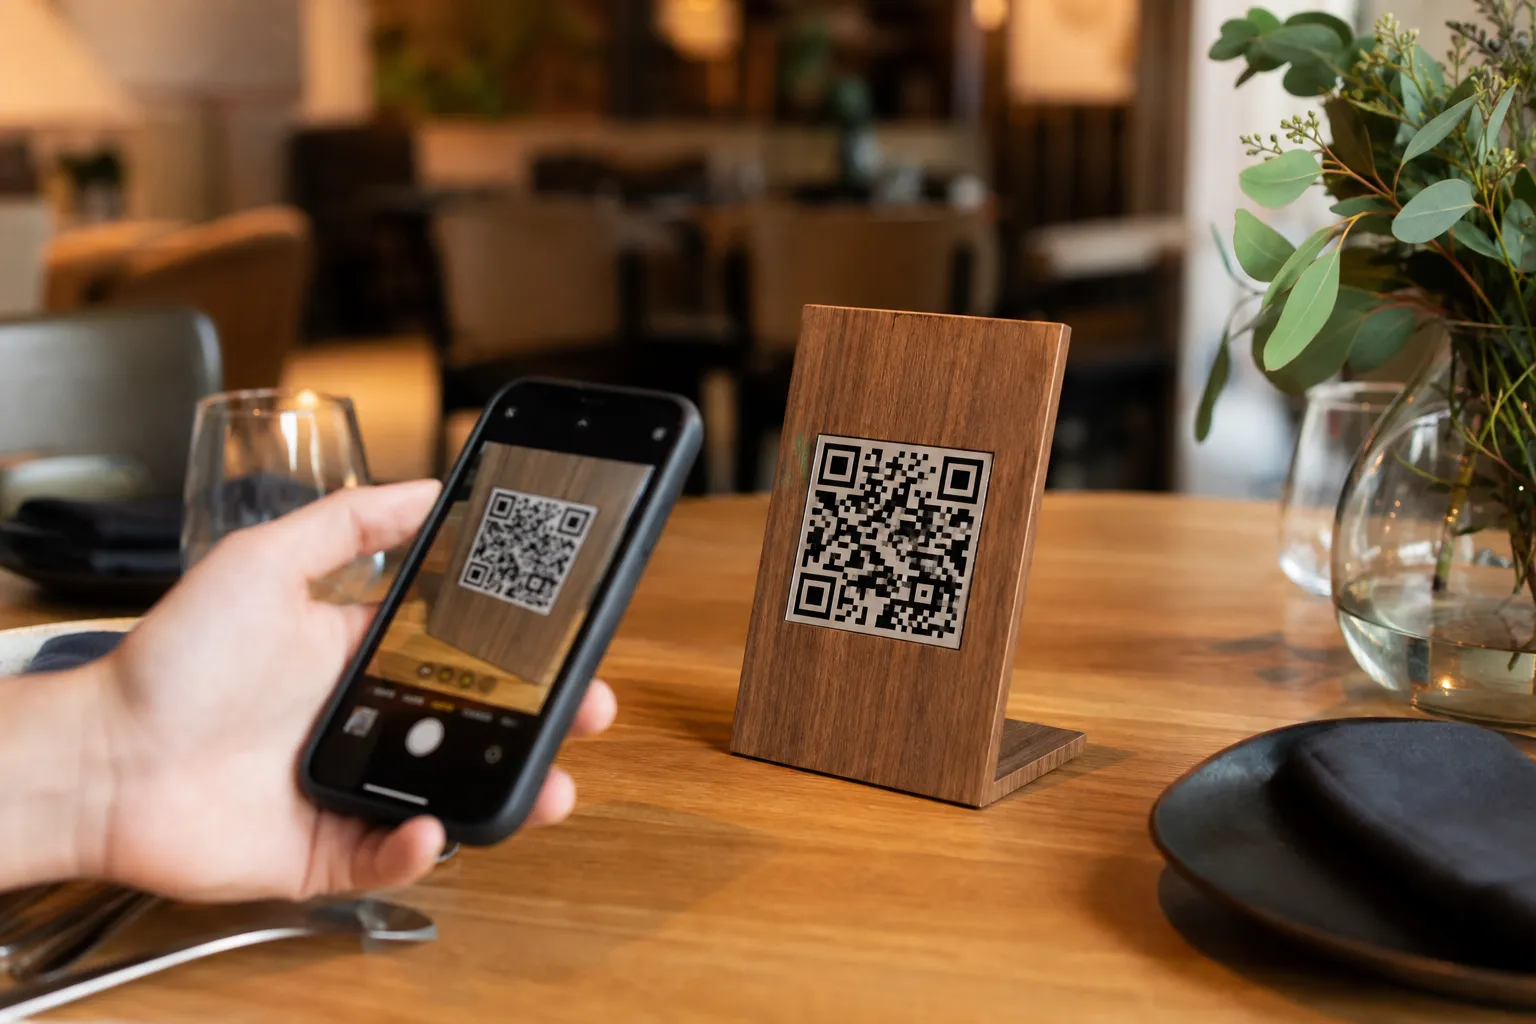
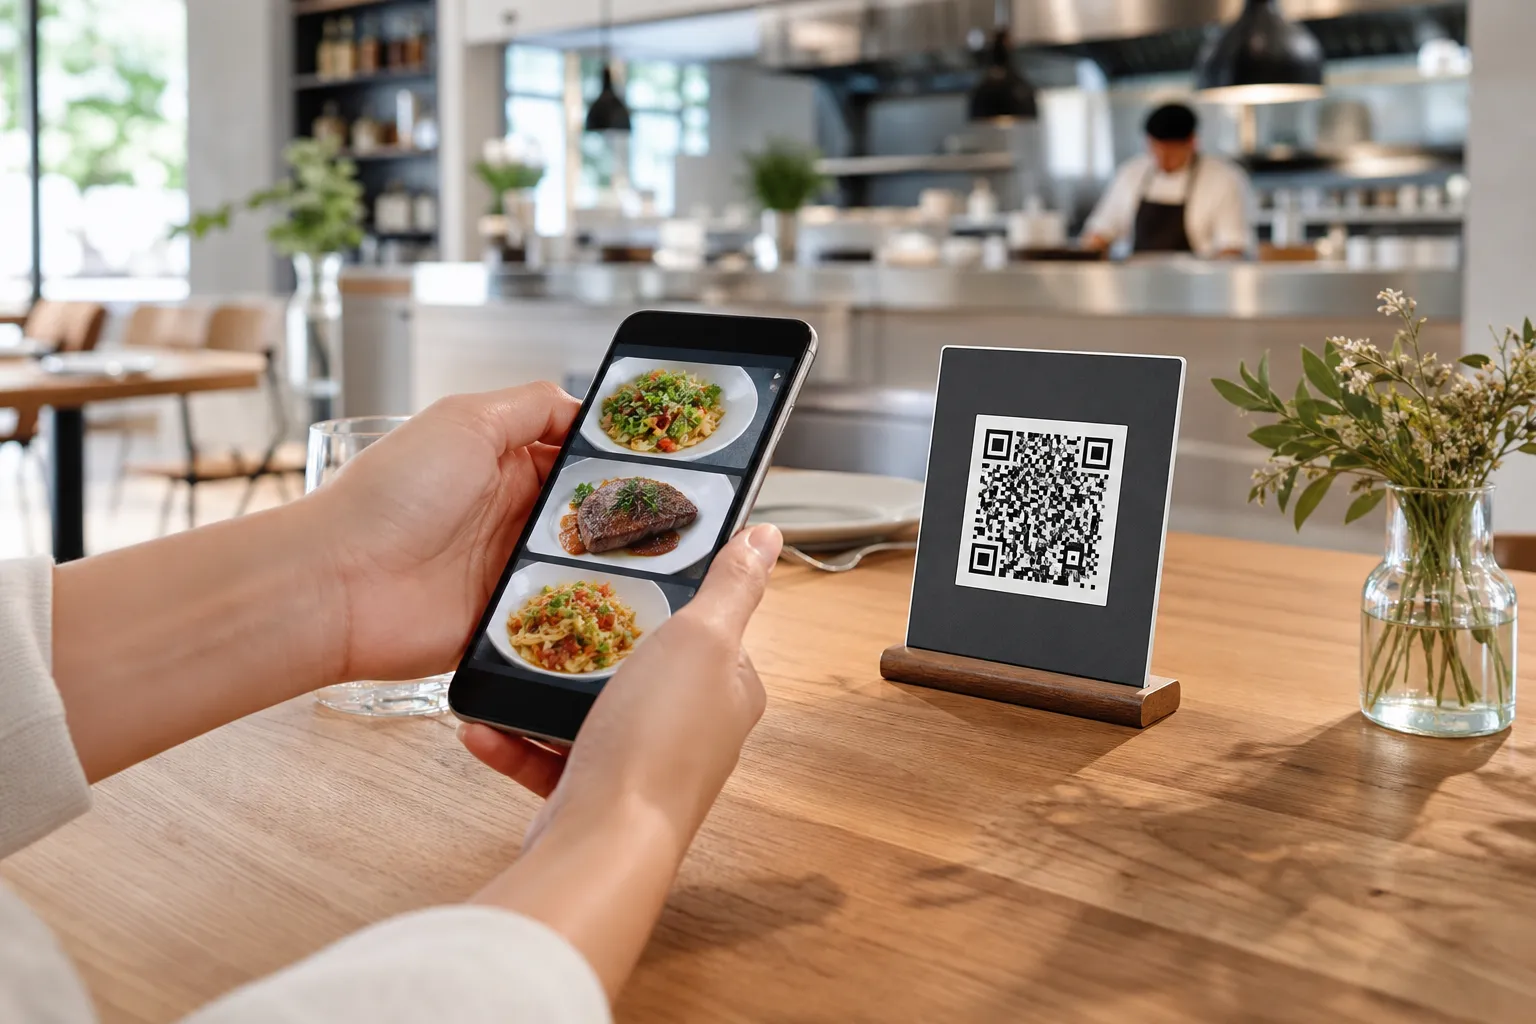
Modern menu integrations do more than just send data. They sync your sales, speed up your table turnaround, and reduce kitchen mistakes. When a customer scans your table QR code, they browse, choose, and order. With a fully integrated system, that order automatically prints in the kitchen or appears on your point of sale (POS) screen instantly. This keeps your waiters focused on hospitality rather than order entry.
With eMenu AI, setting up these connections is simple, straightforward, and requires no advanced technical skills. You can manage everything through a central web dashboard to connect your ordering channels to your kitchen staff.
Step 1: Set Up Your eMenu AI Account
Before connecting your systems, you need a live digital menu. You can quickly create your menu on eMenu AI by downloading the app or signing up via the web dashboard. The platform supports over 95 world currencies and automatically translates your items into more than 100 languages, making it instantly ready for a diverse customer base.
Step 2: Choose Your Order Channels
Integrations depend on how you want to receive orders. In your dashboard, you can enable different order types based on your service model:
- Table Ordering: Customers send orders straight from their physical table to the kitchen.
- WhatsApp Orders: Direct your digital menu selections into a structured WhatsApp message with live tracking.
- Pickup Orders: Allow customers to schedule and pay for takeaways directly through the menu.
Step 3: Connect Your POS and Kitchen Printers
To make your digital menu talk to your physical hardware, you need to enable the POS and printer integration feature inside the dashboard. Once configured, orders placed via table ordering or pickup will stream directly to your kitchen printers. This eliminates the delay between the customer making a decision and the kitchen starting the preparation.
Step 4: Enable Digital Payments
A complete integration also handles the checkout. By setting up the Pay in Menu feature, customers can pay directly on their phones using credit cards or local payment gateways. The funds are settled directly to your restaurant account, completing the loop from order to payment without staff intervention.
Step 5: Select and Brand Your Template
Your digital menu must look professional to encourage orders. Browse the available digital menu templates to find a design that fits your restaurant brand. Every template is fully customizable, and the team can even create a custom template for you for free to match your exact brand guidelines.
Ready to Automate Your Kitchen Workflow?
By connecting your menu directly to your kitchen and checkout systems, you save time, reduce order errors, and keep your customers happy. If you are ready to see how affordable it is to upgrade your operations, check out our simple pricing plans, which include a free option to get you started immediately. Set up your integration today and watch your table service run on autopilot.